Baked Pasta (Grown-up Mac and Cheese)

IMG_2049

Back in 2005 I baby sat my friend April’s kids often. While the 6 month old toddler, Sophie, absolutely loved eating Kichadi, the older one, Maddie often demanded Mac and Cheese. This was my introduction to this classic American comfort food. I am not a fan of packaged food, so I asked around for a recipe to get started. Traditionally this American dish is made using 3 simple ingredients: Macaroni, cheese (preferably sharp Cheddar) and butter. These are layered and then baked in a hot oven. However, I always sneaked in a serving of vegetables along with it.

Over the years I kept experimenting with various combinations of cheese, type of pasta and vegetables.

Pasta and cheese casseroles, Pasta al forno (pasta baked in an oven) have been an integral part of Italian cuisine for centuries. In addition there is an English version by Elizabeth Raffald which uses Béchamel sauce along with Cheddar cheese, mixed with cooked Macaroni, topped with grated parmesan then baked into gooey goodness. So there was plenty of inspiration out there to help me find the perfect balance of gooeyness, goodness and a little bit of nutrition (in that order!).

My cheese preference:

  • Smoked Gouda for the smokiness and the earthy flavor.
  • Swiss for its nutty sweet flavor.
  • Gruyere for the grainy texture and saltiness.
  • Cheddar for its sharpness.

For moisture I like using Alfredo sauce, because it just brings together the flavors of the cheeses. For a recipe click here.

Time for Prep: 20 mins     Time to Cook: 20-30 mins    Yield: 6 servings    Level: Easy

Ingredients:

  • 8oz of uncooked Penne
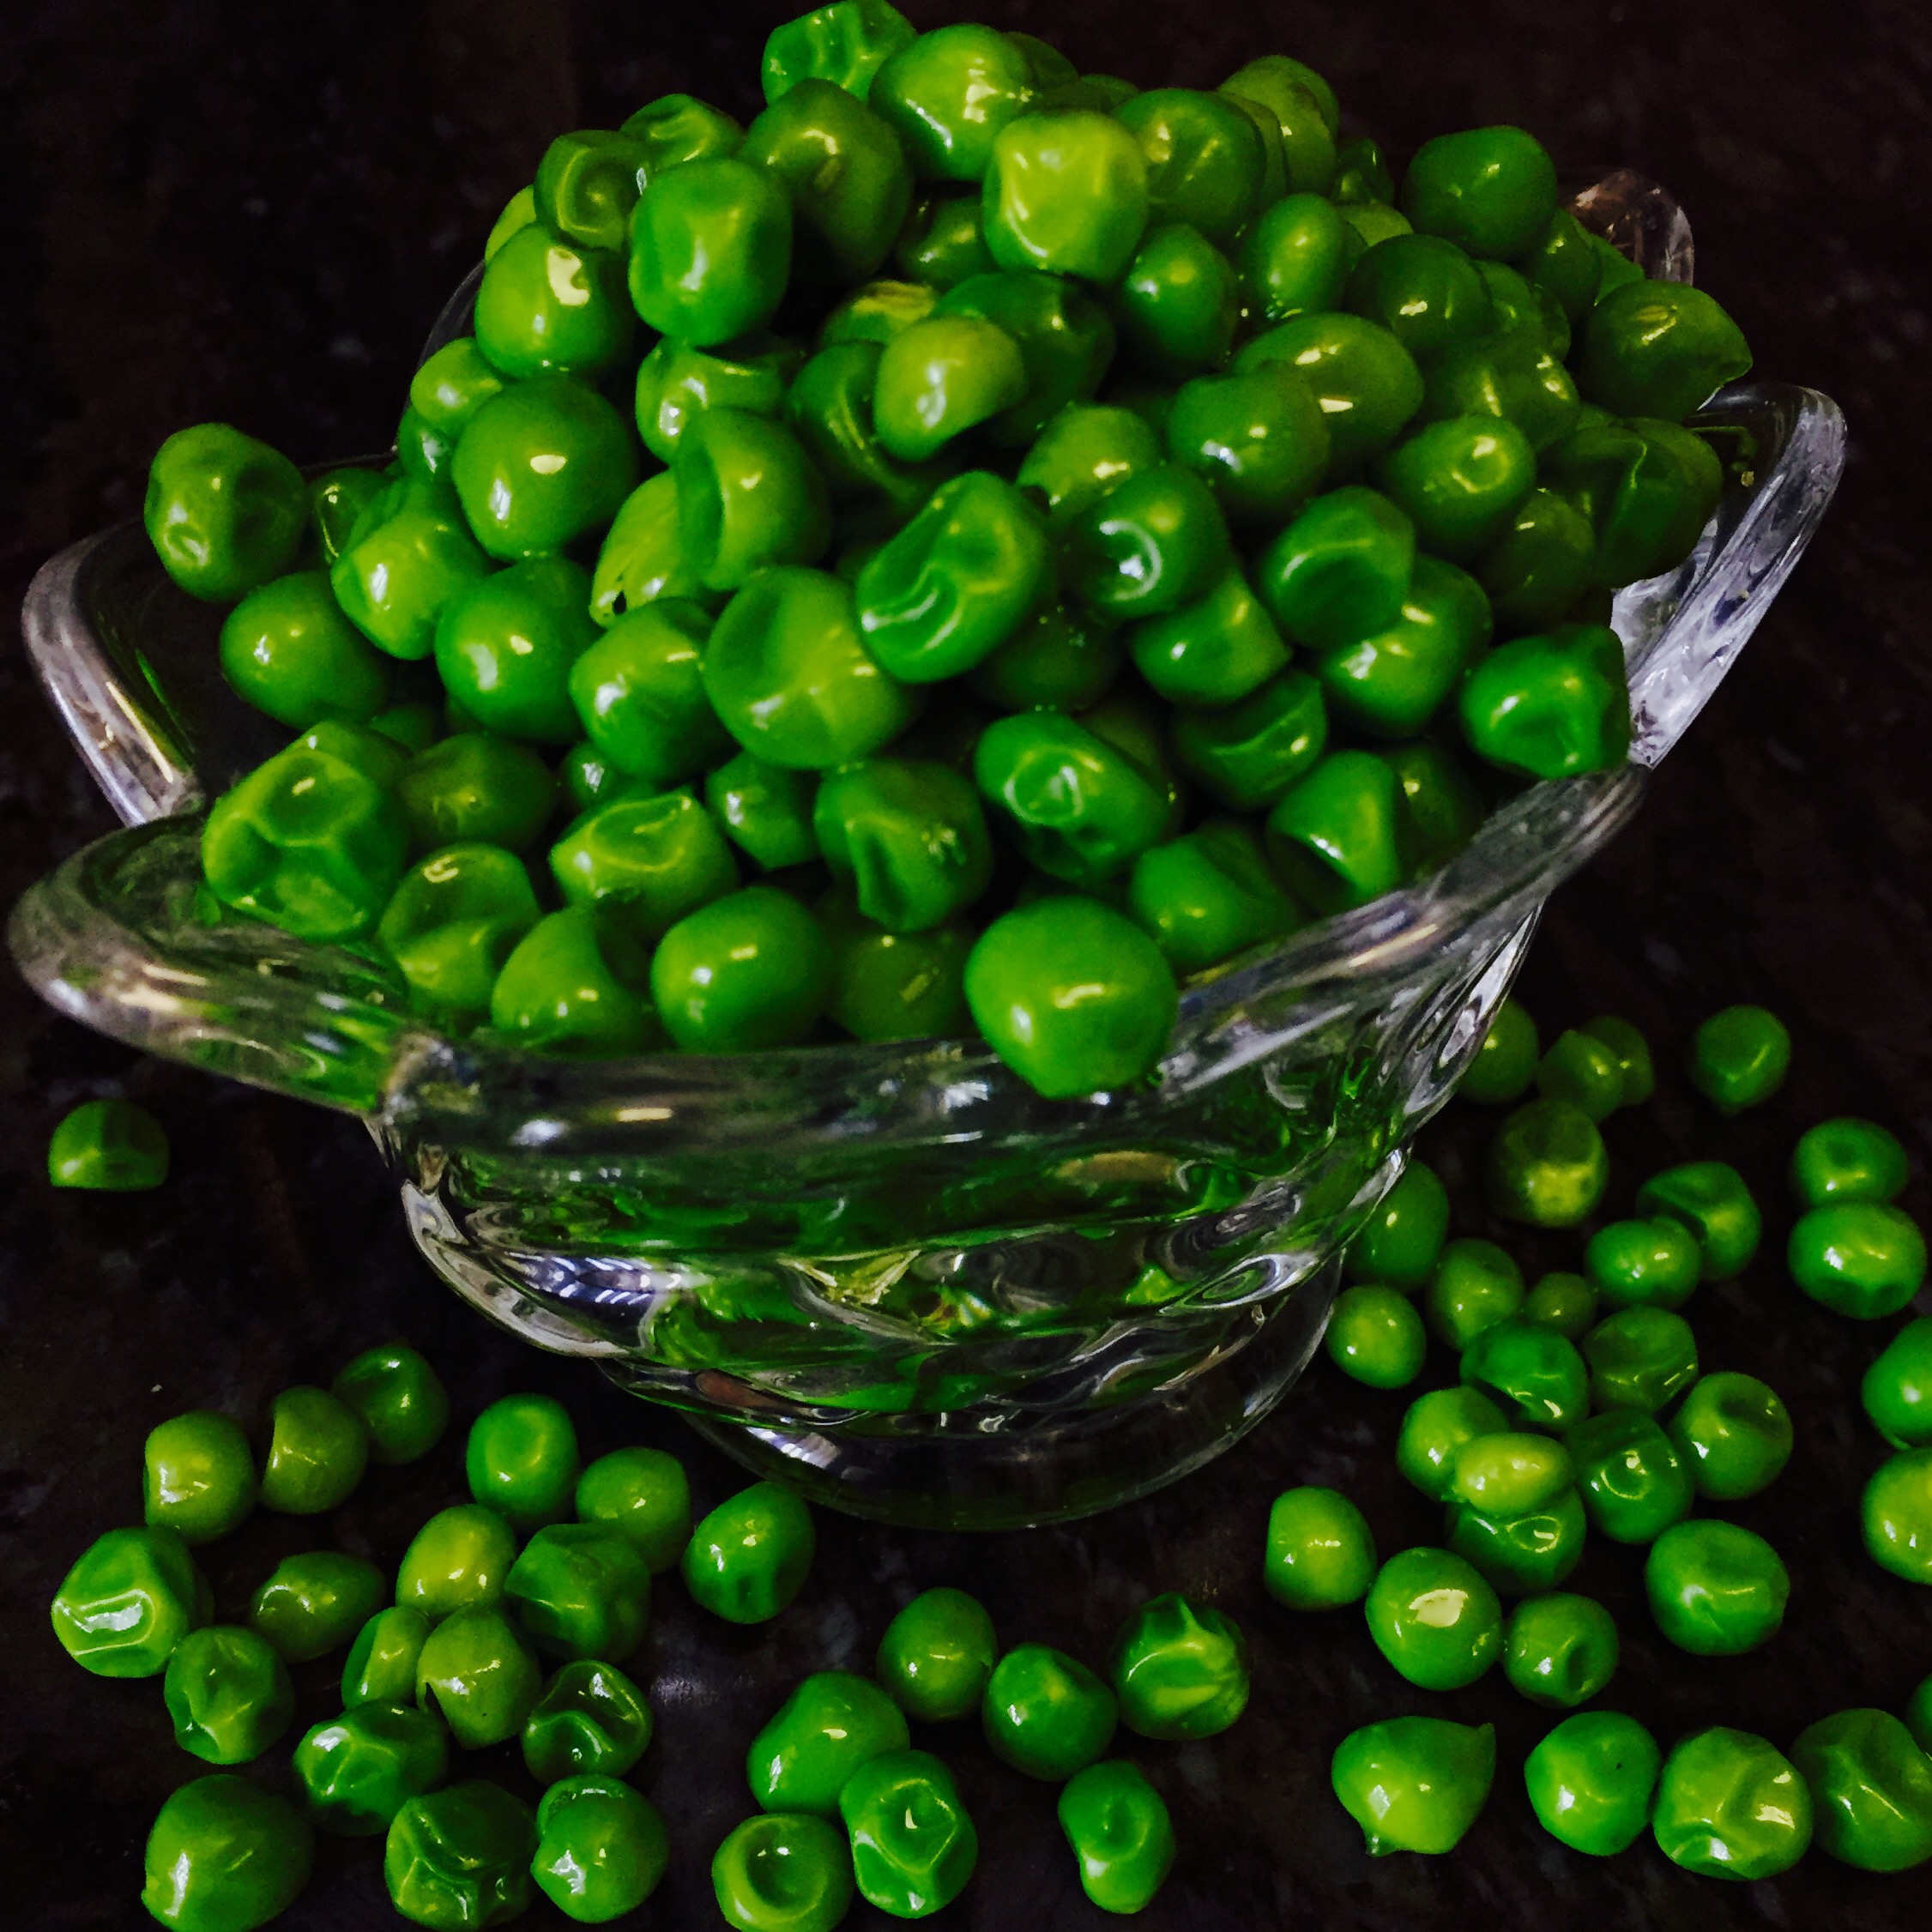
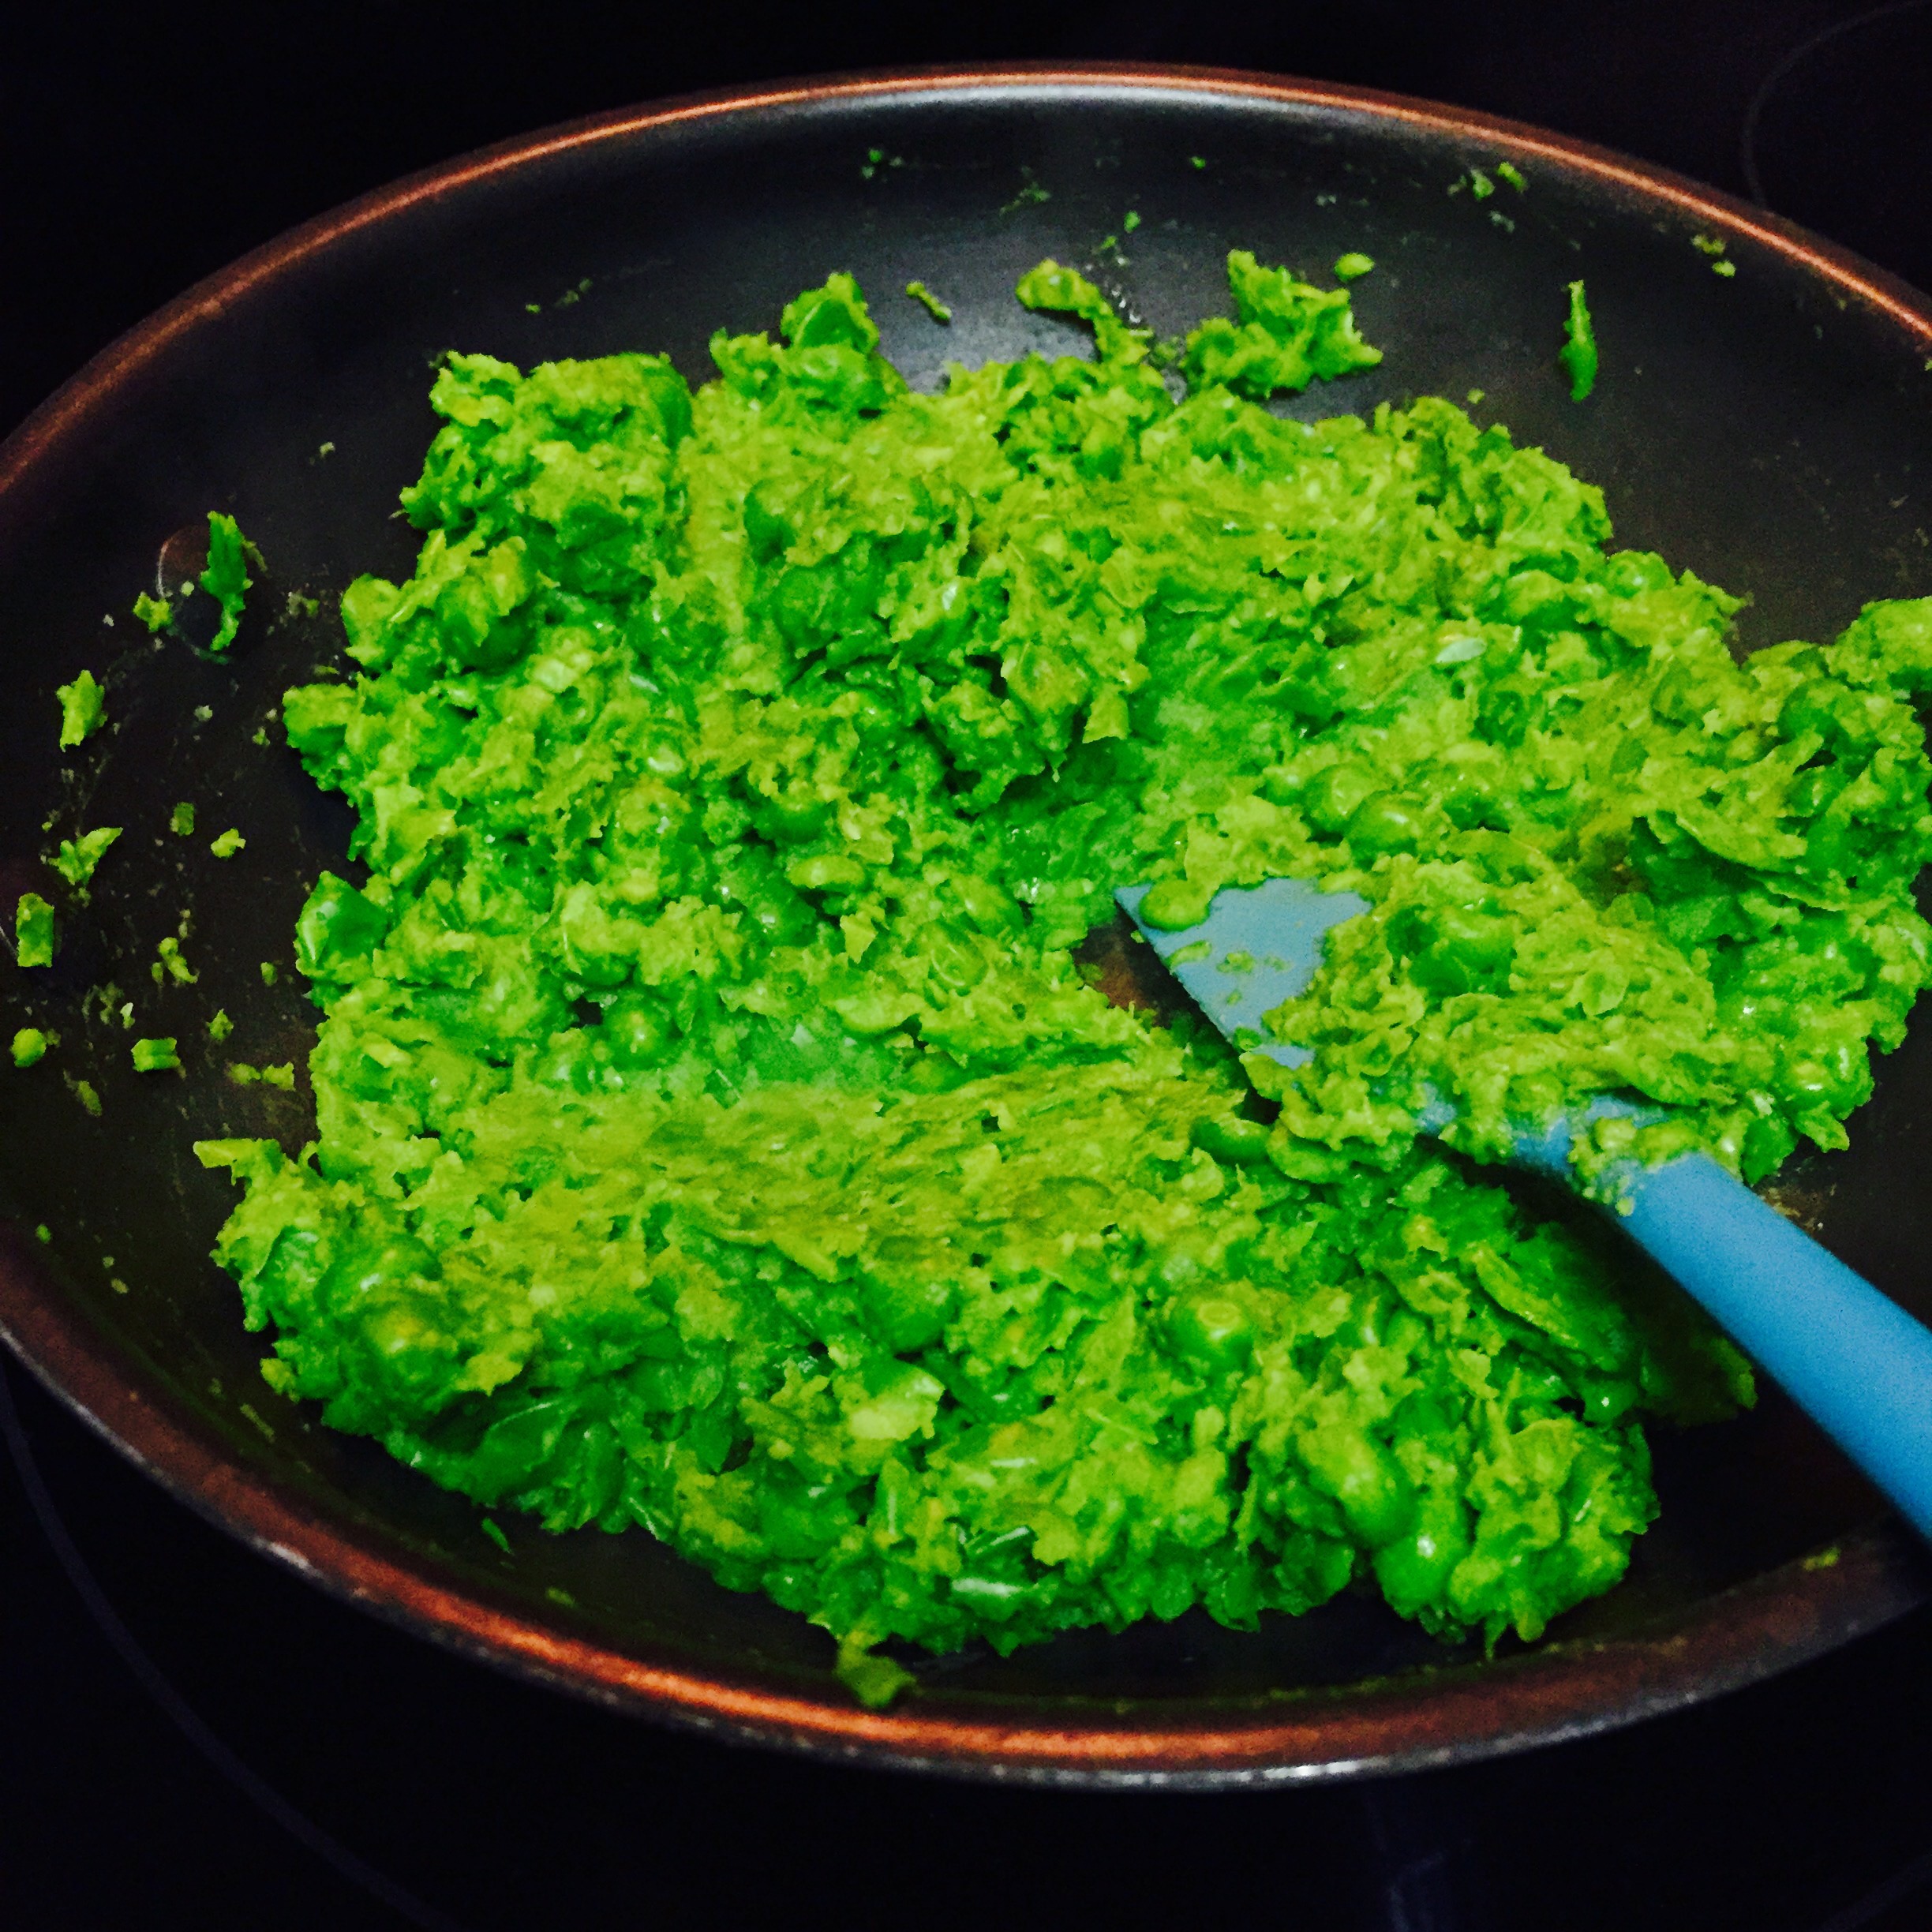
  • 1 cup of frozen or fresh green peas, Cooked
  • 1/2 cup baby kale, chopped
  • 1/2 cup baby spinach, chopped
  • 1/2 cup red bell peppers, chopped
  • 1/2 Alfredo sauce
  • 1/4 cup grated gruyere cheese
  • 1/4 cup grated cheddar cheese
  • 1/4 cup grated swiss cheese
  • 1/4 cup grated smoked gouda
  • 2 tbsp grated parmesan
  • 2 tbsp bread crumbs

Process:

  1. Pre-heat oven to 400°F.
  2. Cook the pasta in well salted water as you normally would, but drain the pasta while it is still slightly underdone.
  3. Pour drained pasta in a large bowl.
  4. Add the Alfredo Sauce and mix well.
  5. Add the green peas, spinach, kale and red bell peppers, fold in.
  6. Now add gruyere, cheddar, swiss and smoked gouda cheese, gently fold them in.
  7. In a separate bowl mix in the grated parmesan and bread crumbs.
  8. Transfer to a greased baking dish or smaller baking dishes for individual servings.
  9. Top it with the parmesan and bread crumb mixture and bake for 20-30 mins (Reduce time if doing individual servings) or until the top is nice and brown and the pasta is hot and bubbly.

Serve Hot!

Notes:

  • Any type of pasta can be used, however I had more success using shorter, tabular pastas like Penne, Rigatoni, Ziti or Macaroni.
  • The proportions here are just indicative you can always add more Alfredo sauce or milk or water if you want it to be more moist, more cheese for creamier texture and cooked meat for some protein.

Koraishutir Kochuri – Puri Stuffed with Green Peas

A few years back my husband and I took wine classes at the Devine Wine Emporium in Niantic CT. Ken, the wine educator started the 6 weekend long class saying (and I am paraphrasing here) “Good wine is like a trip down memory lane. Each layer of aroma and flavor is transcending, taking you back to a memory”. Good food has the exact same effect on me.

IMG_2031
Koraishutir Kochuri (Puri stuffed with green peas)

This dish brings back numerous good memories. My dad coming back from his evening walks with a bag of fresh green peas, all of us helping with peeling pea pods, eating half of it in the process, chit chat, laughter and so much more fun. And the fact that my husband absolutely loves this (Even learnt to say it like a bengali) is an added bonus.

Hope that you make some wonderful memories of your own while trying out this recipe.

IMG_2022

Traditionally this is made in winters (because fresh green peas are available in abundance in the season) for breakfast and served with Aloor Dom (potato curry). Husband likes to eat this as is, so I usually don’t make the potato curry, unless entertaining.

Time for Prep: 30 mins     Time to Cook: 30 mins    Yield: 10 Kochuri     Level: Medium

Ingredients:

IMG_2018

For the puri:

  • 1.5 cups All purpose flour or whole wheat flour or a combination of both.
  • 1/2 cup warm water (Plus more if needed)
  • 1/2 tsp salt
  • 1 tbsp oil or clarified butter (I prefer using Clarified butter)

IMG_2019

For the stuffing:

  • 1 cup fresh or frozen green peas
  • 1 tbsp cumin seeds
  • 1 tbsp fennel seeds
  • 1 tbsp pepper corn
  • 4-5 dry red chili
  • 1/4 tsp asafetida
  • salt to taste

Process:

Poori dough if making by hand: (I make it in the food processor)

  1. Sieve the flour. Make a well in the center and add salt and oil/Ghee. Mix it together till it looks like crumbles
  2. Once again make a well in the center and pour warm water, little at a time to make a soft dough.
  3. Cover with damp cloth and let rest for 30 mins to an hour.

IMG_2024

Stuffing:

  1. Wash and clean green peas in water, if using frozen peas then thaw them first.
  2. Put the peas in a microwave safe bowl and cook for 5 – 6 mins or until cooked. This can be done on stovetop by adding the peas to a heated heavy bottom pan and steam it. Set it aside to cool.
  3. Heat a non-stick sauce pan and add the cumin, fennel, pepper corn and dry red chillies to it. Dry roast them for 3-4 mins. Set it aside to cool.
  4. Corse grind the spice mix in a coffee grinder.
  5. In a food processor add the green peas and pulse them. Mix in the spice mix, salt and asafetida.
  6. If the stuffing is wet, dry it out by cooking it a little in a non-stick pan

IMG_2025IMG_2026

Assembling or putting it all together:

  1. Make small balls from the dough
  2. Take one ball at a time, press gently with your thumb to make it bigger and flatter. Be careful not to make the center to thin. Make it bigger by gently streching at the edges.
  3. Add a ball of filling to each flattened ball, bring together the edges to seal the stuffing inside.
  4. Grease your work surface and roll out the stuffed balls. Be careful not make any cracks by over stretching the dough.

IMG_2027

Cooking:

  1. Deep fry each stuffed puri one at a time.
  2. Gently slide the rolled puri in hot oil. It will go to the bottom first and then slowly float up.
  3. Gently press the center with a spatula. Two things will happen at this stage: The puri will puff and will turn golden brown, flip and let the other side get some color too. Remove when it gets a golden brown color and place on paper towels to rid off the excess oil.

Serve them hot!

Note:

  • The stuffing needs to be dry or it will be really difficult to roll them out.

Paan Ice Cream

Paanwala
Paanwala crafting a Paan.

Paan is a preparation which combines various ingredients all wrapped up in a betel leaf. It has been an integral part of Indian (South East Asian) cultures for centuries, eaten at the end of a meal and believed to help with digestion. There is a whole host of varieties available for the hard core connoisseurs; Ram Pyaari, Meenakshi, Lal Pari, Kasturi, Surabhi, Mohini, Calcutta are just a few of them.  A Paanwala is the master craftsman who uses his skills to create the most perfectly delectable paans. Its a niche skill, really.

IMG_0578
Meetha Paan

Our Sunday family ritual growing up was a heavy lunch, usually Mangshor Jhol and Bhaath (Mutton Curry and Rice) followed by my dad treating us all to some paan and chocolates. Calcutta Ram Pyaari for them and Chocolates for my sister and me, which slowly turned into a delicious Meetha Pan. One summer my cousins were visiting and we followed the usual ritual. The kids chose to have a lollipops. While I was slowly enjoying my lollipop, my cousin, who is just 2 years younger to me, finished his in one bite and started to eye mine. He watched for a minute or so and then in one swift motion snatched my lollipop and quickly gulped it down. Typical boy!! To get me to stop crying my dad bribed me with a meetha (sweet) paan.. and thats how my love for paan began.

FullSizeRender
Gulkand (Rose petal preserve)

Its nearly impossible to find good paan in US, even in Bay Area where you get everything Indian. So a few weeks back I decided to attempt in making some on my own. The main ingredients of a meetha paan are Betel Leaf, Gulkand (Rose petal preserve), Kharek (Dried Dates), roasted fennel seeds, cardamon powder, coconut powder and lime paste. I set out to find the ingredients. All ingredients are very easy to find in any Indian stores, unless your really particular like me, then you just make your own Gulkand at home. I ordered the betel leaves from Amazon, big mistake because by the time they reached me they were moldy and rotting, California heat! So I decided to beat the heat with some ice cream instead, paan flavored ice cream.

Time for Prep: 20 mins     Time to freeze: 12 hours      Yield: 8 Servings     Level: Easy

FullSizeRender 6Ingredients:

  • 2 cups milk, chilled
  • 1 cup heavy cream, chilled
  • 1/4 cup sugar
  • 1/4 cup Gulkand (Rose petal preserve)
  • 6-8 Dates- soaked, peeled and chopped (Kharek)
  • 1 tbsp roasted fennel seeds, corse powder
  • pinch of Cardamon powder
  • 1 tbsp Coconut powder
  • 1 tbsp lemon juice
  • 2 tbsp betel leaf juice
  • 1/2 tsp menthol (optional)

Process if using an ice cream machine:

  1. Mix all ingredients and follow instructions by the manufacturing company.

Process if Not using an ice cream machine:

  1. Whip the heavy cream till you get soft peaks, slowly add the sugar and continue whipping. Mix the milk in and chill in the refrigerator for 2-3 hours.
  2. Mix the paan flavoring- Gulkand, chopped dates, cardamon powder, coconut powder, lemon juice, betel leaf juice fennel seeds. Mix this into chilled cream mixture from step1.
  3. Transfer to a shallow container and freeze.
  4. Take it out in a couple hours or after the mixture gets slushy. Whip or blend it and freeze again. Follow this step a couple times to get a very smooth ice cream.

Scoop and serve. You can garnish it with a pinch of saffron to give it some extra kick.

IMG_2017

Best served on a betel leaf, just don’t order them online.

Notes:

  • The Milk and cream has to be chilled before you add lemon juice to avoid it from curdling.
  • If you do not want to whip in between freezing, then replace milk with a 10 oz can of condensed milk and skip the sugar completely.

Gulkand (Rose Petal Preserve)

FullSizeRender

It all started with a craving for some meetha (sweet) paan. Since I moved to US, I have searched for a place to get good paan. Not the pre-packaged, chemical laden version you get in a store, but a freshly made one. Finally I decided to attempt in making some on my own. Gulkand is the main ingredients of a meetha paan and can be easily found at any Indian stores (and Amazon), unless your really particular like me, then you just have to make your own at home.

In my last trip to India I made it a point to chat with the local Paanwala and charm my way to get his secret recipe. You will be surprised by how charming dollar bills are to them! So here is his secret recipe, ssshhh! don’t tell anyone.

Time for Prep: 20 mins     Time to get done: 6-10 days      Yield: 10 oz     Level: Easy

Ingredients:

  • 1 cup rose petals – I bought a bunch of  light pink roses from the local farmers market.
  • 1/4 cup sugar
  • 2 tbsp honey (I used local wild flower honey)
  • Rose essence (Optional)

Process:

  1. Wash and dry the rose petals and roughly chop them.
  2. Sterilize a masons jar (or any Glass jar).
  3. Spread a layer of the rose petals, followed by a layer of sugar, drizzle a little honey.
  4. Repeat step 3 till all petals are over.
  5. Close the jar and place it in sunlight 3 weeks for only 6 hours everyday. Every couple of days turn the jar upside down so that all contents really integrate well.
  6. Store it in an airtight container in the fridge.

Notes:

  • The more fragrant the roses, better flavor and aroma of Gulkand.
  • It tastes wonderful on a piece of toast as well.

Basic Yellow Dal – the best comfort food

Some food just gives you that instant calm and satisfied feeling, takes you to a place where you feel nurtured and confident. Growing up I remember getting back home from a long day at school, frustrated with something very silly and venting to mom while she cooked dinner. I would sit on the counter and snack on whatever it is she was using, onions, cabbage, green peas.,. and talk as if it was the end of the world. She would listen, give me a hug and say ‘Tomorrow is a new and better day, don’t worry”. And at that moment everything felt good. This dish takes me back to that moment, it is the ultimate comfort food in my book.
And in case your wondering, Yes, I was a very dramatic teenager!
FullSizeRender 3
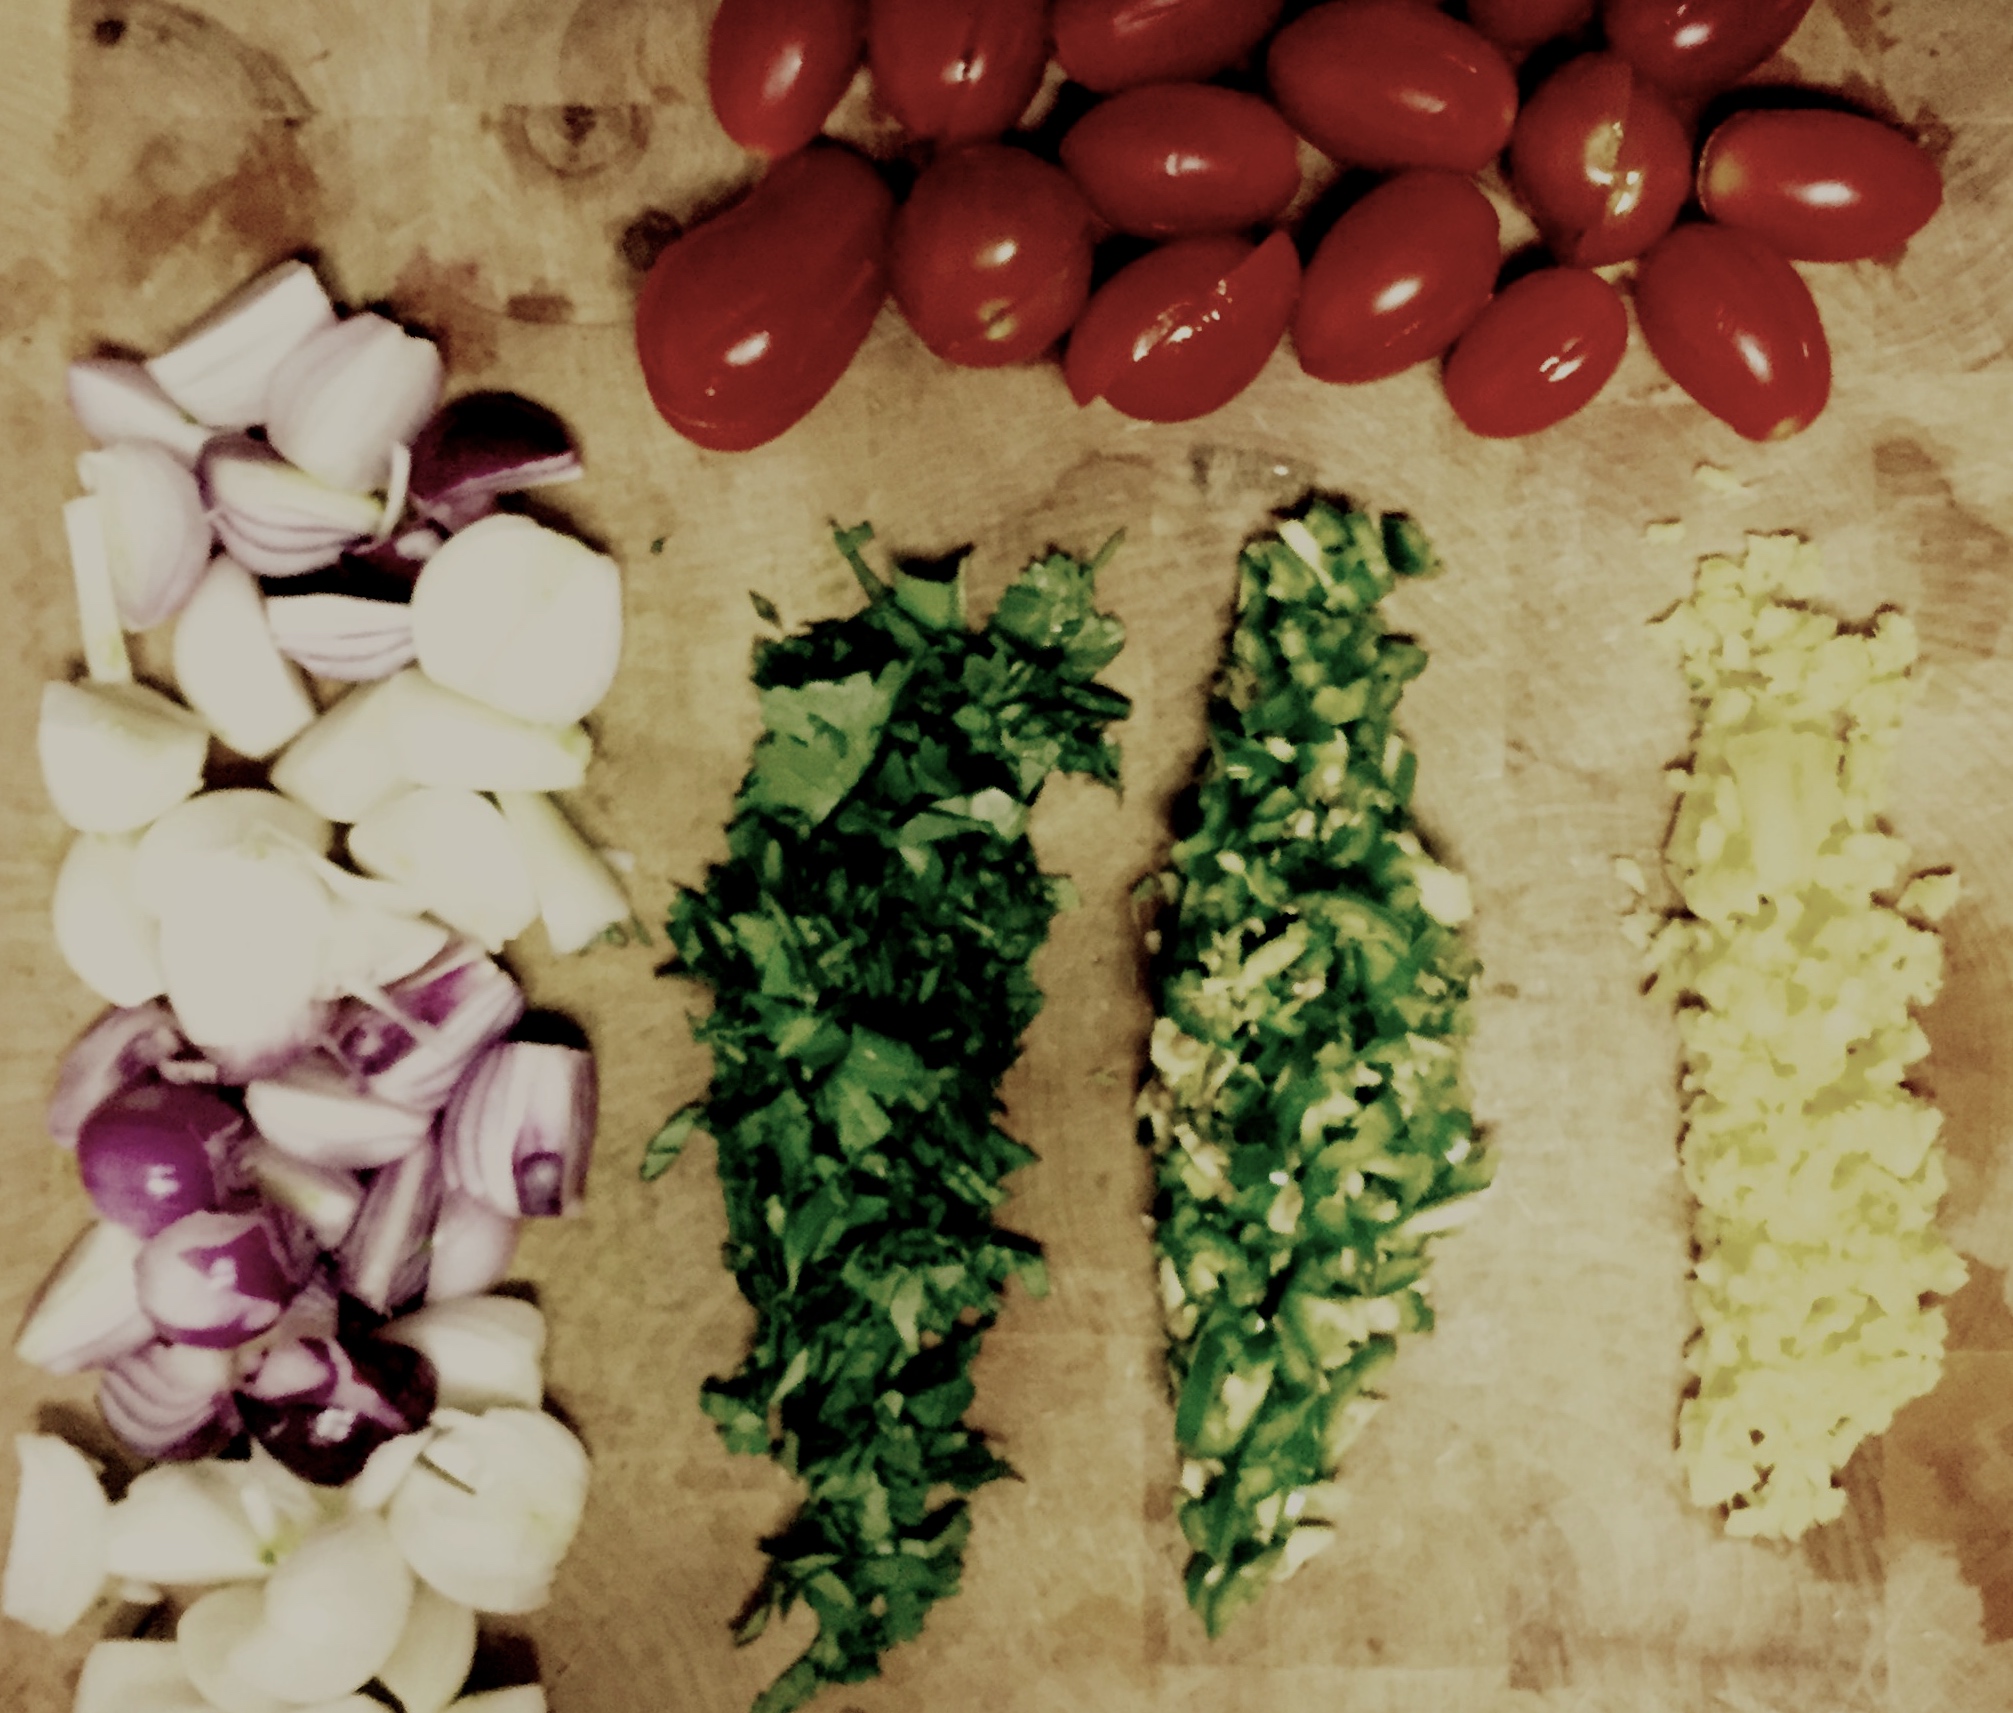
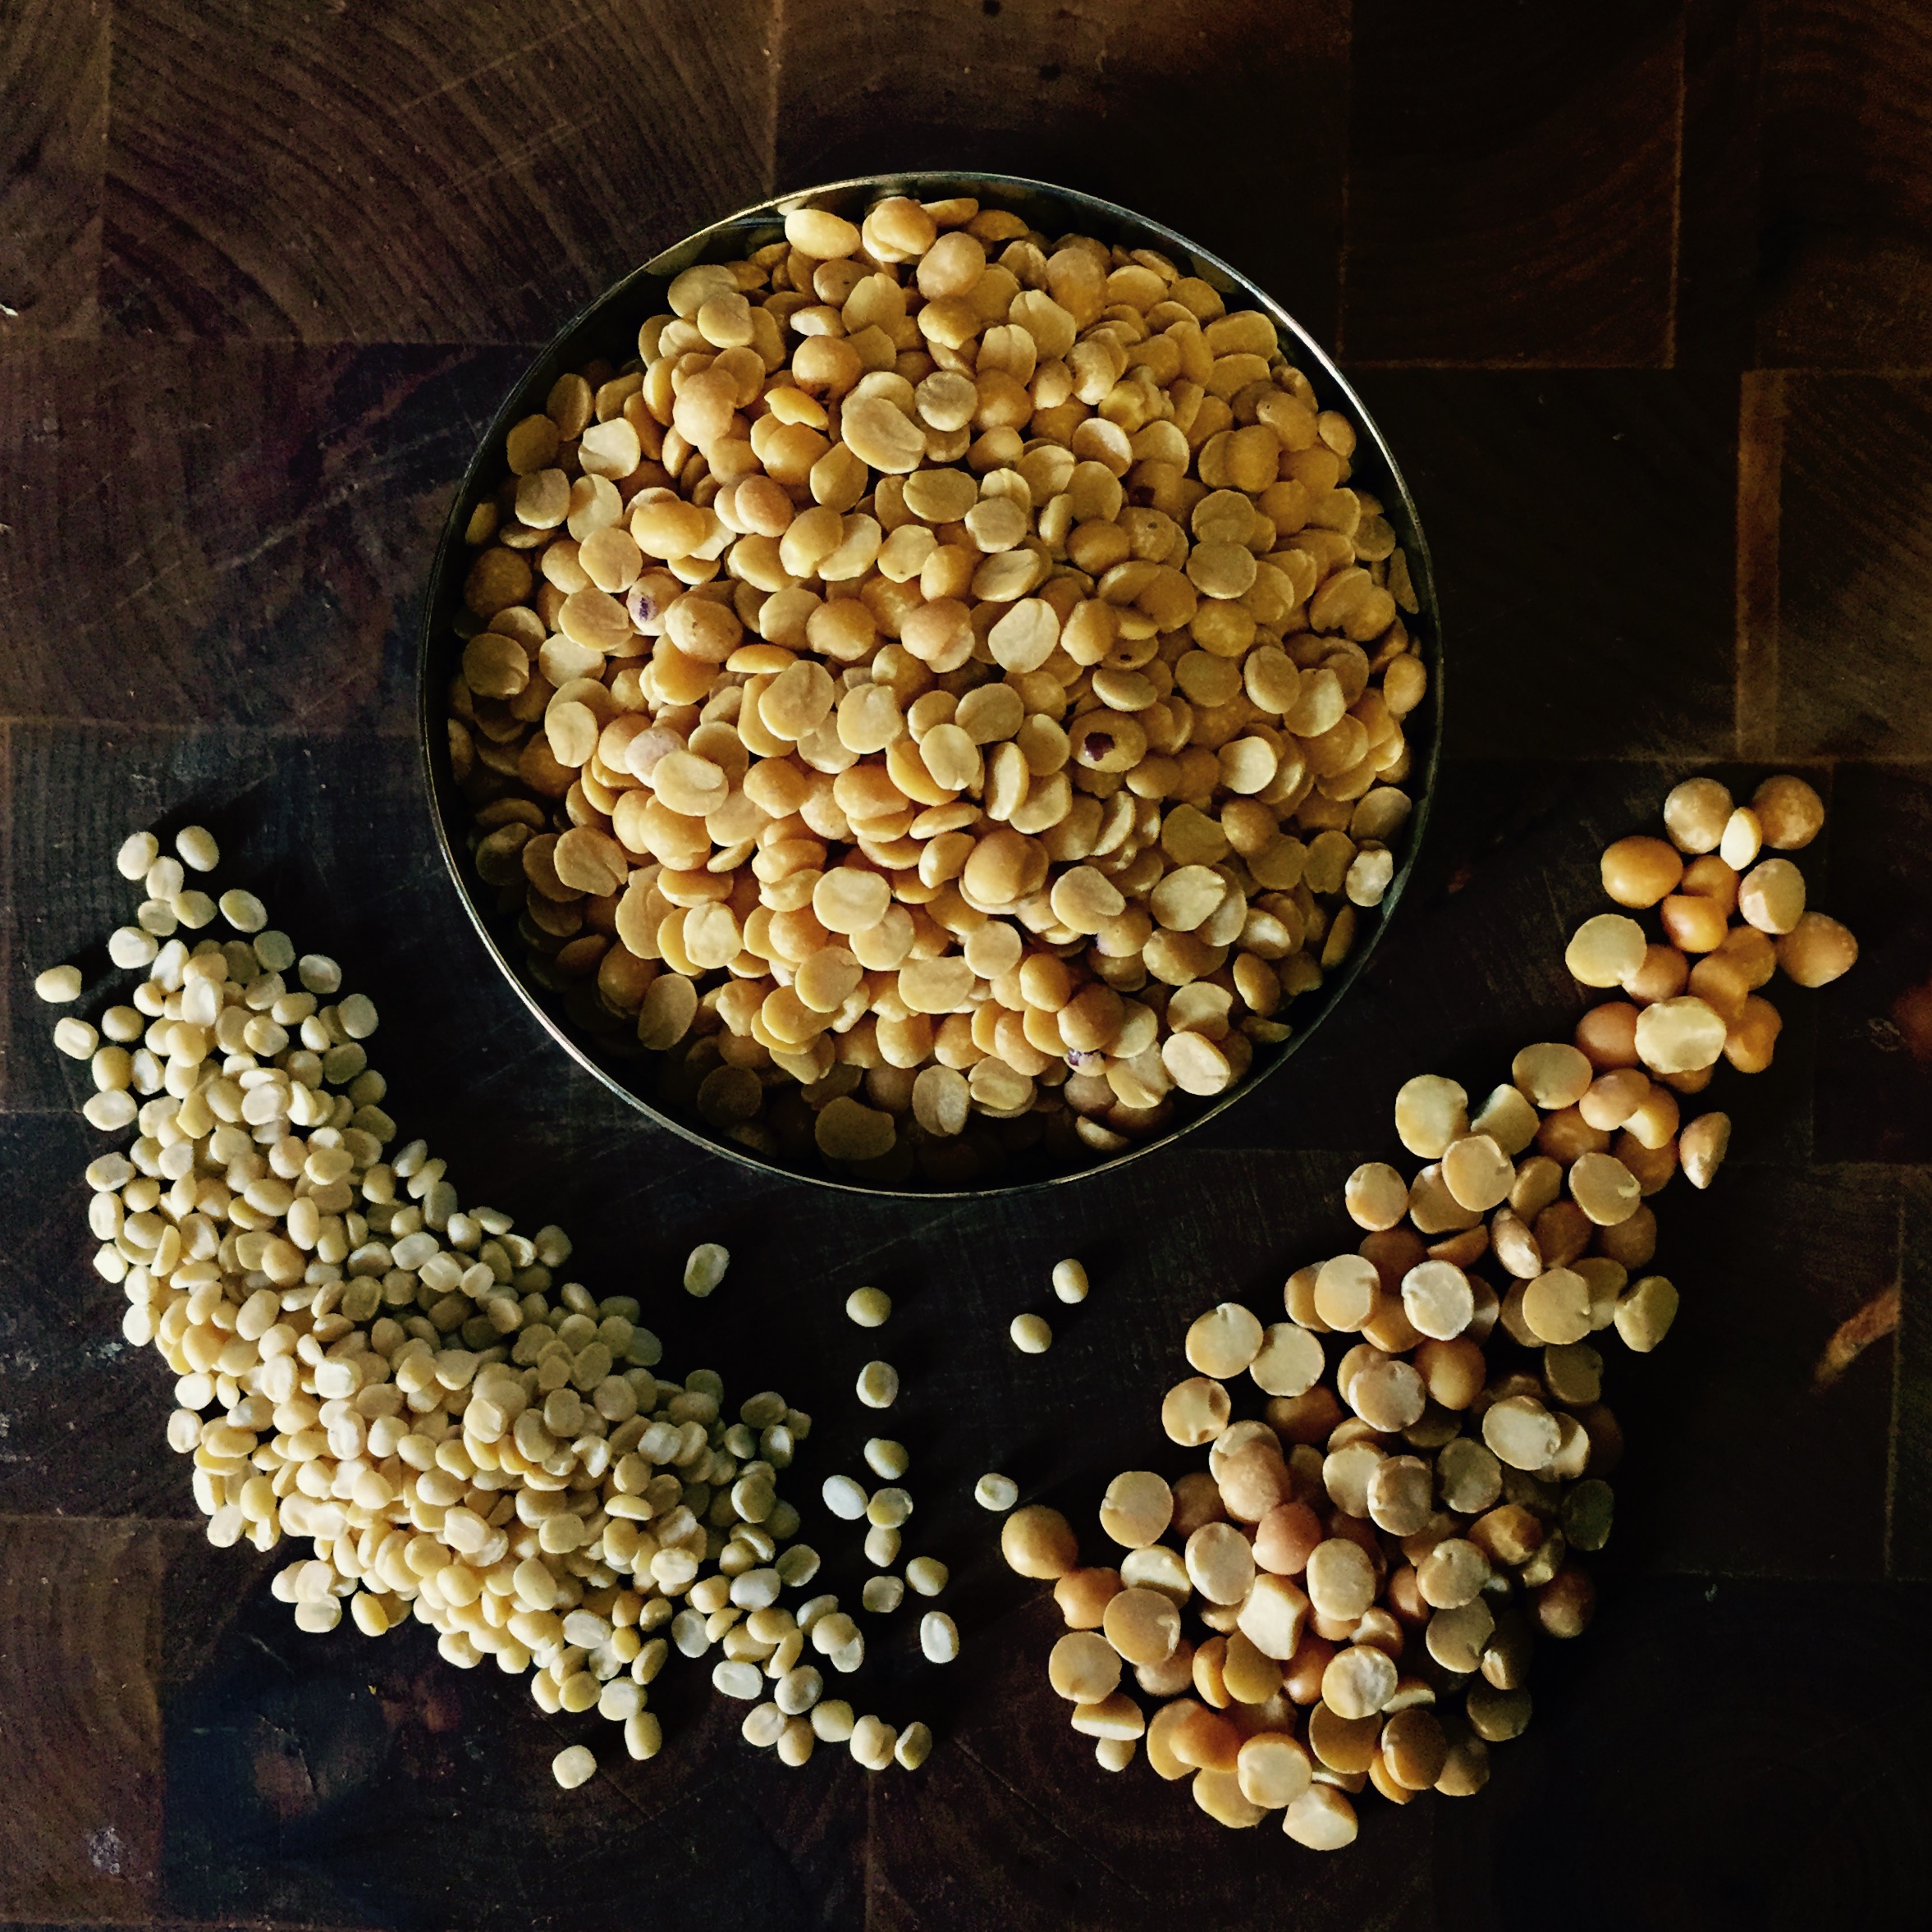
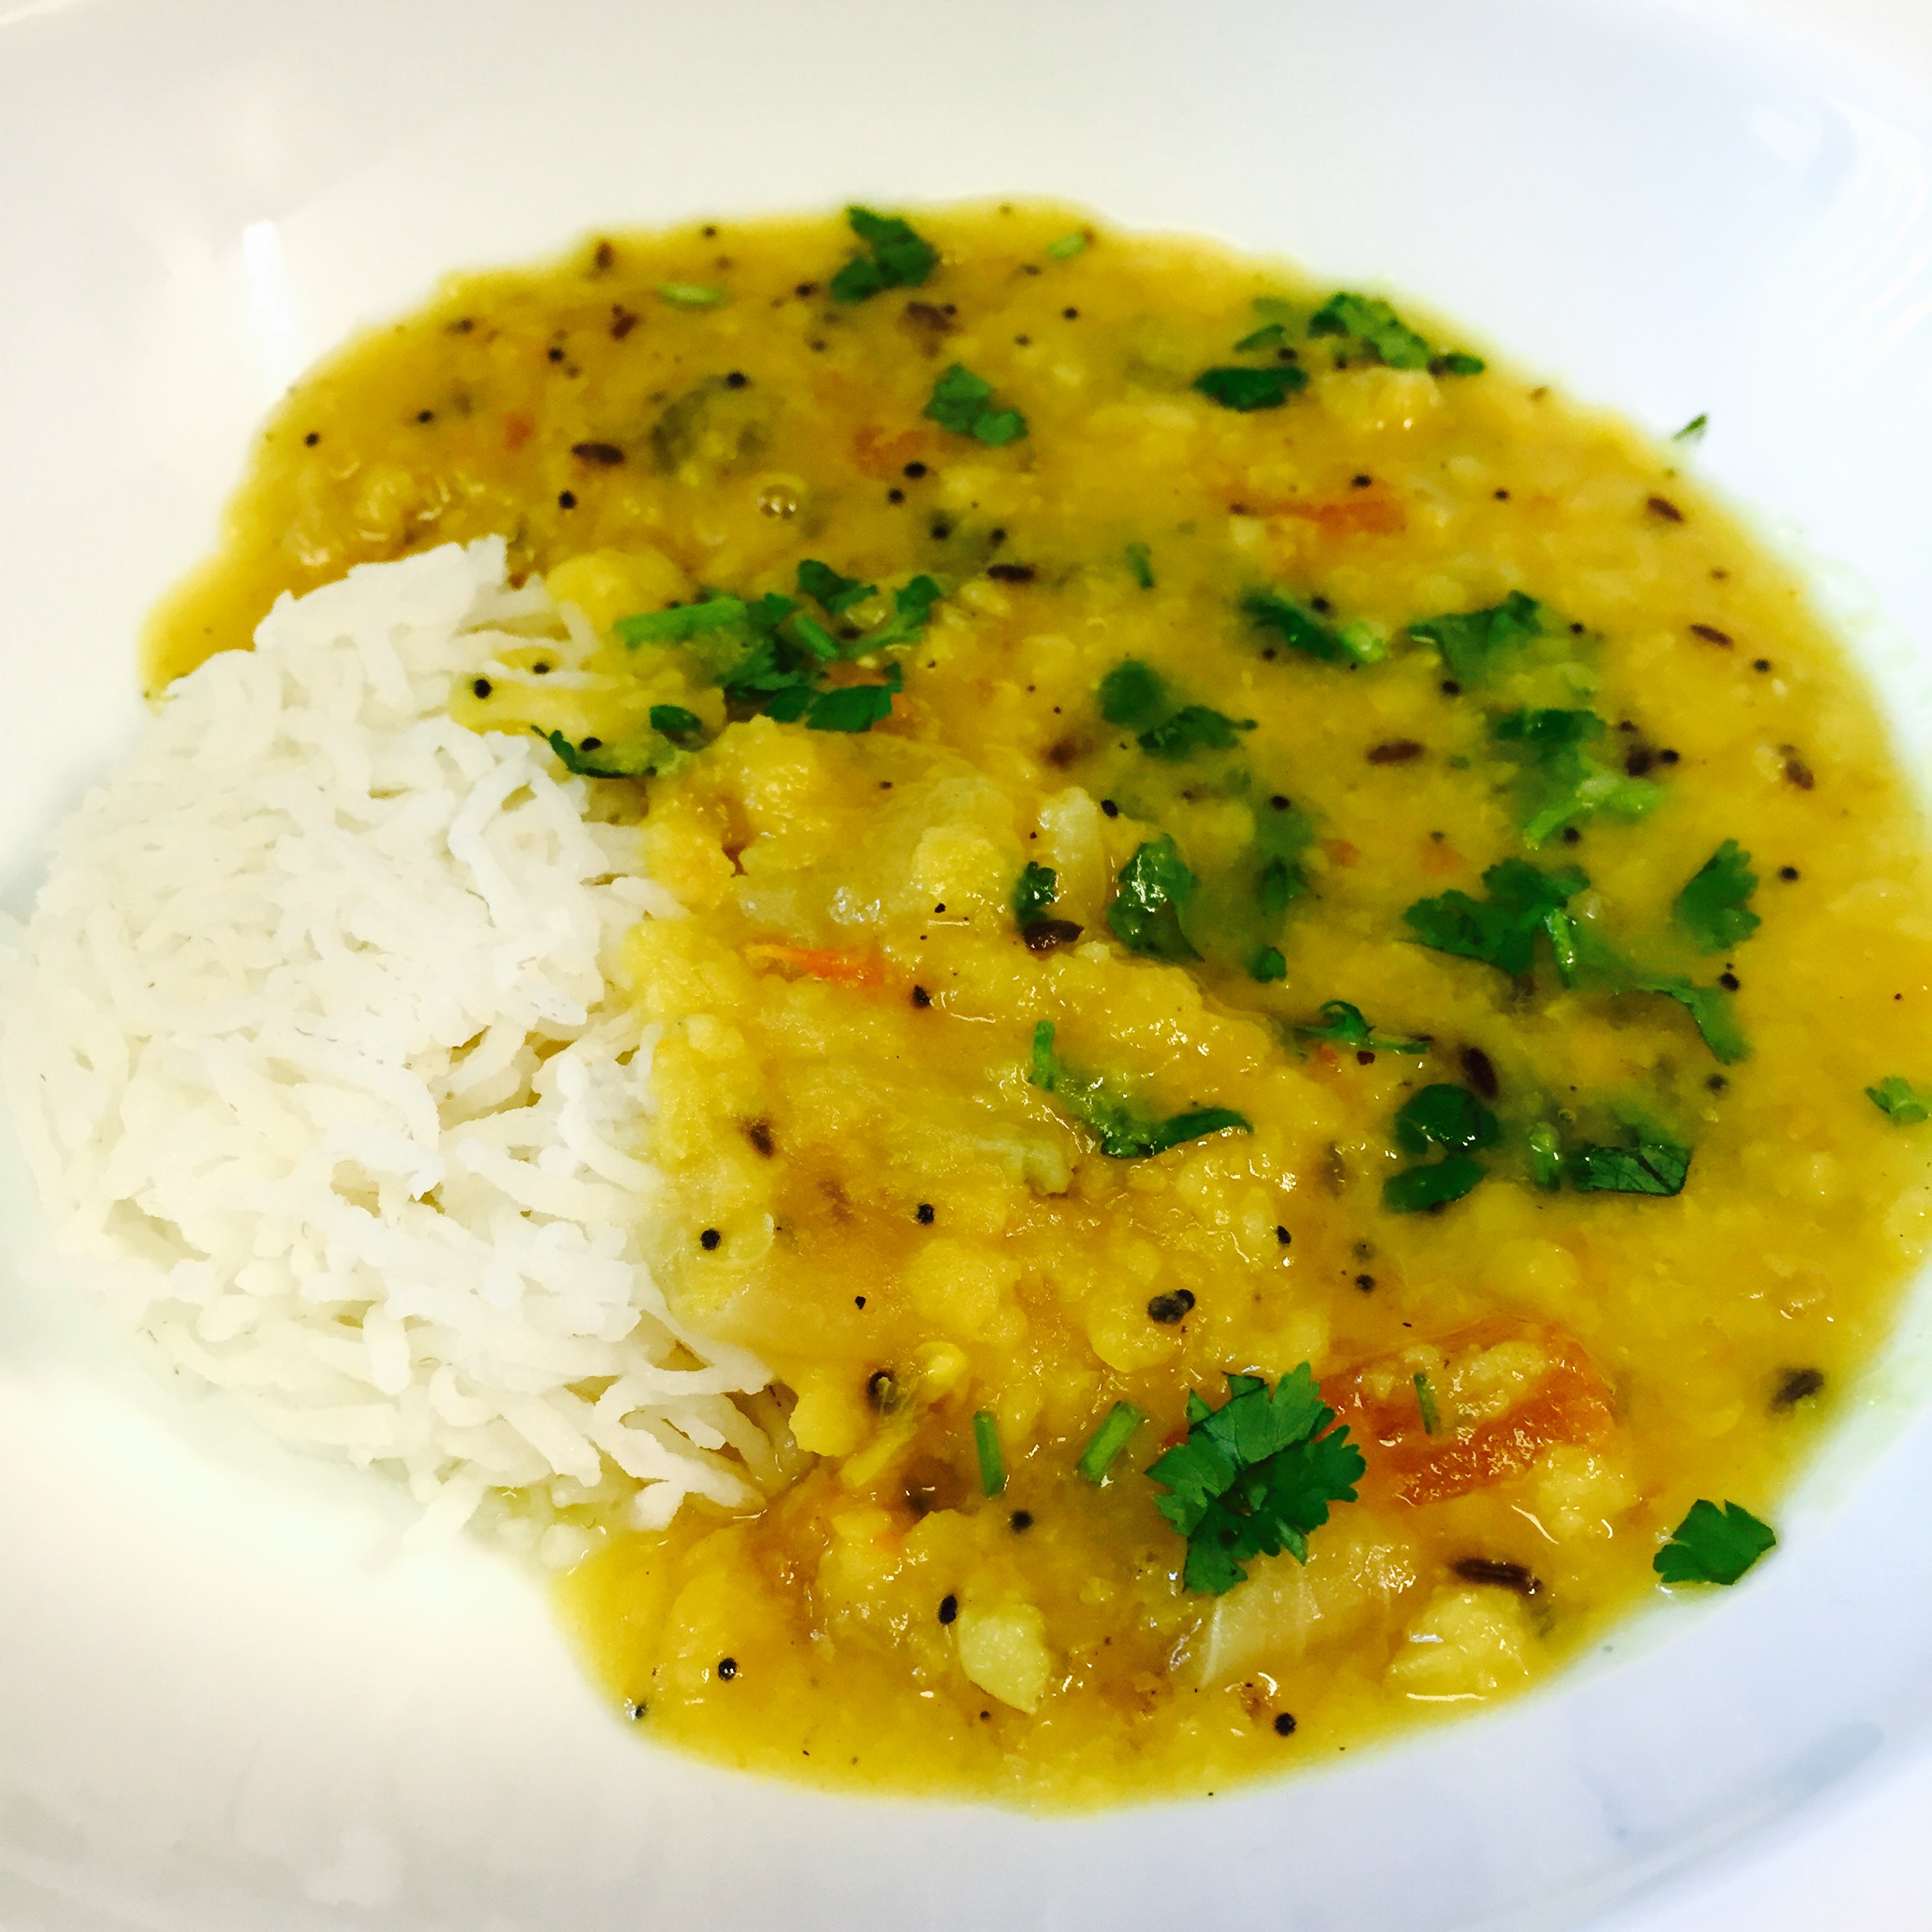
India has numerous regional cuisine and every region has its own way of making this basic yellow dal. My way is a hybrid of my mom’s Bengali cooking and my mom-in-laws Havyaka style. I cook it for almost 3 hours in low heat either in a Crockpot or a Tagine, but thats not necessary. I prefer slow cooking because it really enhances the flavors and allows them to mingle with each other. You can use a pressure cooker and make this a quick meal too.

FullSizeRender

I use Shallots and Grape tomatoes in this recipe. But you can use regular red onion and tomatoes if thats what you already have in your pantry. Grape tomatoes have extra sweetness, which enhances the flavors of the ginger, plus the red ovals look nice on a plate. As for the Shallots, they integrate better with the dal and have a milder flavor when compared to a regular onion which maintains its shape even if finely chopped.

This can be served with plain white rice, cumin rice or roti.

Time for Prep: 20 mins     Time to Cook: 3 hours      Yield: 4 Servings     Level: Easy FullSizeRender 2 Ingredients:
For the Dal:

  • 1 cup Toor Dal (Pigeon Pea)
  • 2 tbsp Moong Bean
  • 2 tbsp Chana Dal (Split Chickpea)
  • 3-4 Green Chilli Peppers, finely chopped
  • 1 inch Ginger Root, finely chopped
  • 9-10 Grape Tomatoes, cut.
  • 6-7 Shallots, Cut
  • 1/2 tsp Salt (or more depending on your personal taste)
  • 1/2 tsp Turmeric powder

For Tempering:

  • 1 tsp Cumin
  • 1 tsp Mustard seeds
  • 1/4 tsp Asafetida (Hing)
  • 4-5 Curry leaves
  • 2-3 Dried Red Chillies
  • 1 tbsp Ghee (Clarified Butter)

For Garnish:

  • 2 tbsp fresh Cilantro, chopped

Process:

Cooking the Dal:

  1. Rinse and soak the lentils for 30-40 mins.
  2. Drain the water, transfer it to the cooking pot. To this add the chopped onions, tomatoes, green chillies, ginger, salt and turmeric. Add 3 cups of water. Stir Well
  3. Cook on medium heat till you get a boil, then reduce heat to low and let cook for around 3 hours (Or till the lentils are soft). If the dal is too thick, you can add more water to get desirable consistency. Check salt and add more if needed based on taste.

FullSizeRender 5

Tempering:

  1. Heat Ghee in a small pan. Add the curry leaves, cumin, mustard seeds and dried red chillies. Let it crackle.
  2. Add the Asafetida. Fry for 30 seconds.
  3. Pour this entire tempering, along with the ghee in to the cooked dal and mix it in. You can also serve with the tempering on top of it.

Garnish with chopped cilantro leaves.

FullSizeRender 4

Notes:

  • I prefer Grape Tomatoes for the sweetness they add, you can use 1 regular tomato also.
  • I use Shallots because they integrate better and have a milder flavor, you can use 1 regular onion if thats what you have in your pantry.
  • This can be cooked in a pressure cooker as well. Let the cooker whistle 6-7 minutes or more, until the lentils are soft.
  • Oil can be used instead of Ghee for the tempering.