Chorchuri is a char flavored bengali style stir fry, Chorchori being the noun and the vegetable used to make it, the adjectives. As a child I had asked my mom why this dish was called Chorchori, she said it is because when the vegetables are getting charred, they make a sizzling sound that sounds like ‘chor’ which is also an indicator that the dish is almost done. I am not sure if that’s accurate or not, but thats the story I go with.
Any number of vegetables can be used to make this, but in the Aloo loving Mukherjee household, potatoes have always been the main ingredient with others making a guest appearance or not. This particular dish was a breakfast favorite served with Luchi or BashiPorotha (Stale Parathas made the night before). There is somethingabout warm porotha, potatoes along with the smell and taste of mustard oil that makes it one of the most comforting dish for lazy mornings.
The charred part is the best part of the dish and my sister and I always called dibs on who gets to clean up (read lick) the wok, mom won most times, go figure!
I like to cut the potatoes and onions in wedges, because thats how my mom did it, but its not a rule.
This and a few other bengali recipes will call for Paanch Phoron for tempering. It is a combination of Cumin Seeds, Mustard Seeds, Fenugreek Seeds, Fennel Seeds and Nigella Seeds in equal proportion.
Time for Prep: 20 mins Time to Cook: 20-30 mins Yield: 6 servings Level: Easy
Ingredients:
2-3 medium size potatoes, cut into wedges
1 medium sized onion, cut into wedges
3-4 green chile pepper, slit
1 tbsp Paanch Phoron
1 tbsp oil (preferably mustard oil)
1 tsp turmeric
salt to taste
2 tbsp cilantro, chopped for garnishing
Process:
Heat oil in a Wok on medium heat, add paanch phoron. Sauté till aromatic.
Add the potatoes, onions, green chili pepper, turmeric and salt. Sauté, cover and cook till vegetables are done (tender) around 12-15 mins.
Let the vegetables char a little at the bottom.
Remove from heat, fold in the thin charred crust.
Garnish and serve.
Note:
If you want to add some protein in to it, shrimp or scallops is the way to go.
“Good bread is the most fundamentally satisfying of all foods; and good bread with fresh butter, the greatest of feasts.” – James Beard
This statement holds true for any kind of bread there is, especially Parathas. There is something deliciously satisfying about hot fresh off the griddle parathas on cold wintry evenings. All I need with it is some salt, a couple fresh green chile and fresh butter, Yum! Short-Cut Ranna (Cooking) in our house on lazy cold evenings usually meant Aloor Pyager Chorchori and Porotha, a few extra would always be made for my dads favorite breakfast of Baashi Porotha and Lonka (One day old paratha with fresh green chilli) the next morning. A ritual every time we were T-few hours away from a family vacations.
Parathas are very popular in India and pretty much every region has a version or two of it. I am calling this Bangali, because so far I have only eaten this shape of paratha in bengali households. Tikona in Bangla means triangle.
Time for Prep: 10 mins Time to Cook: 15-20 mins Yield: 10 parathas Level: Easy
Ingredients:
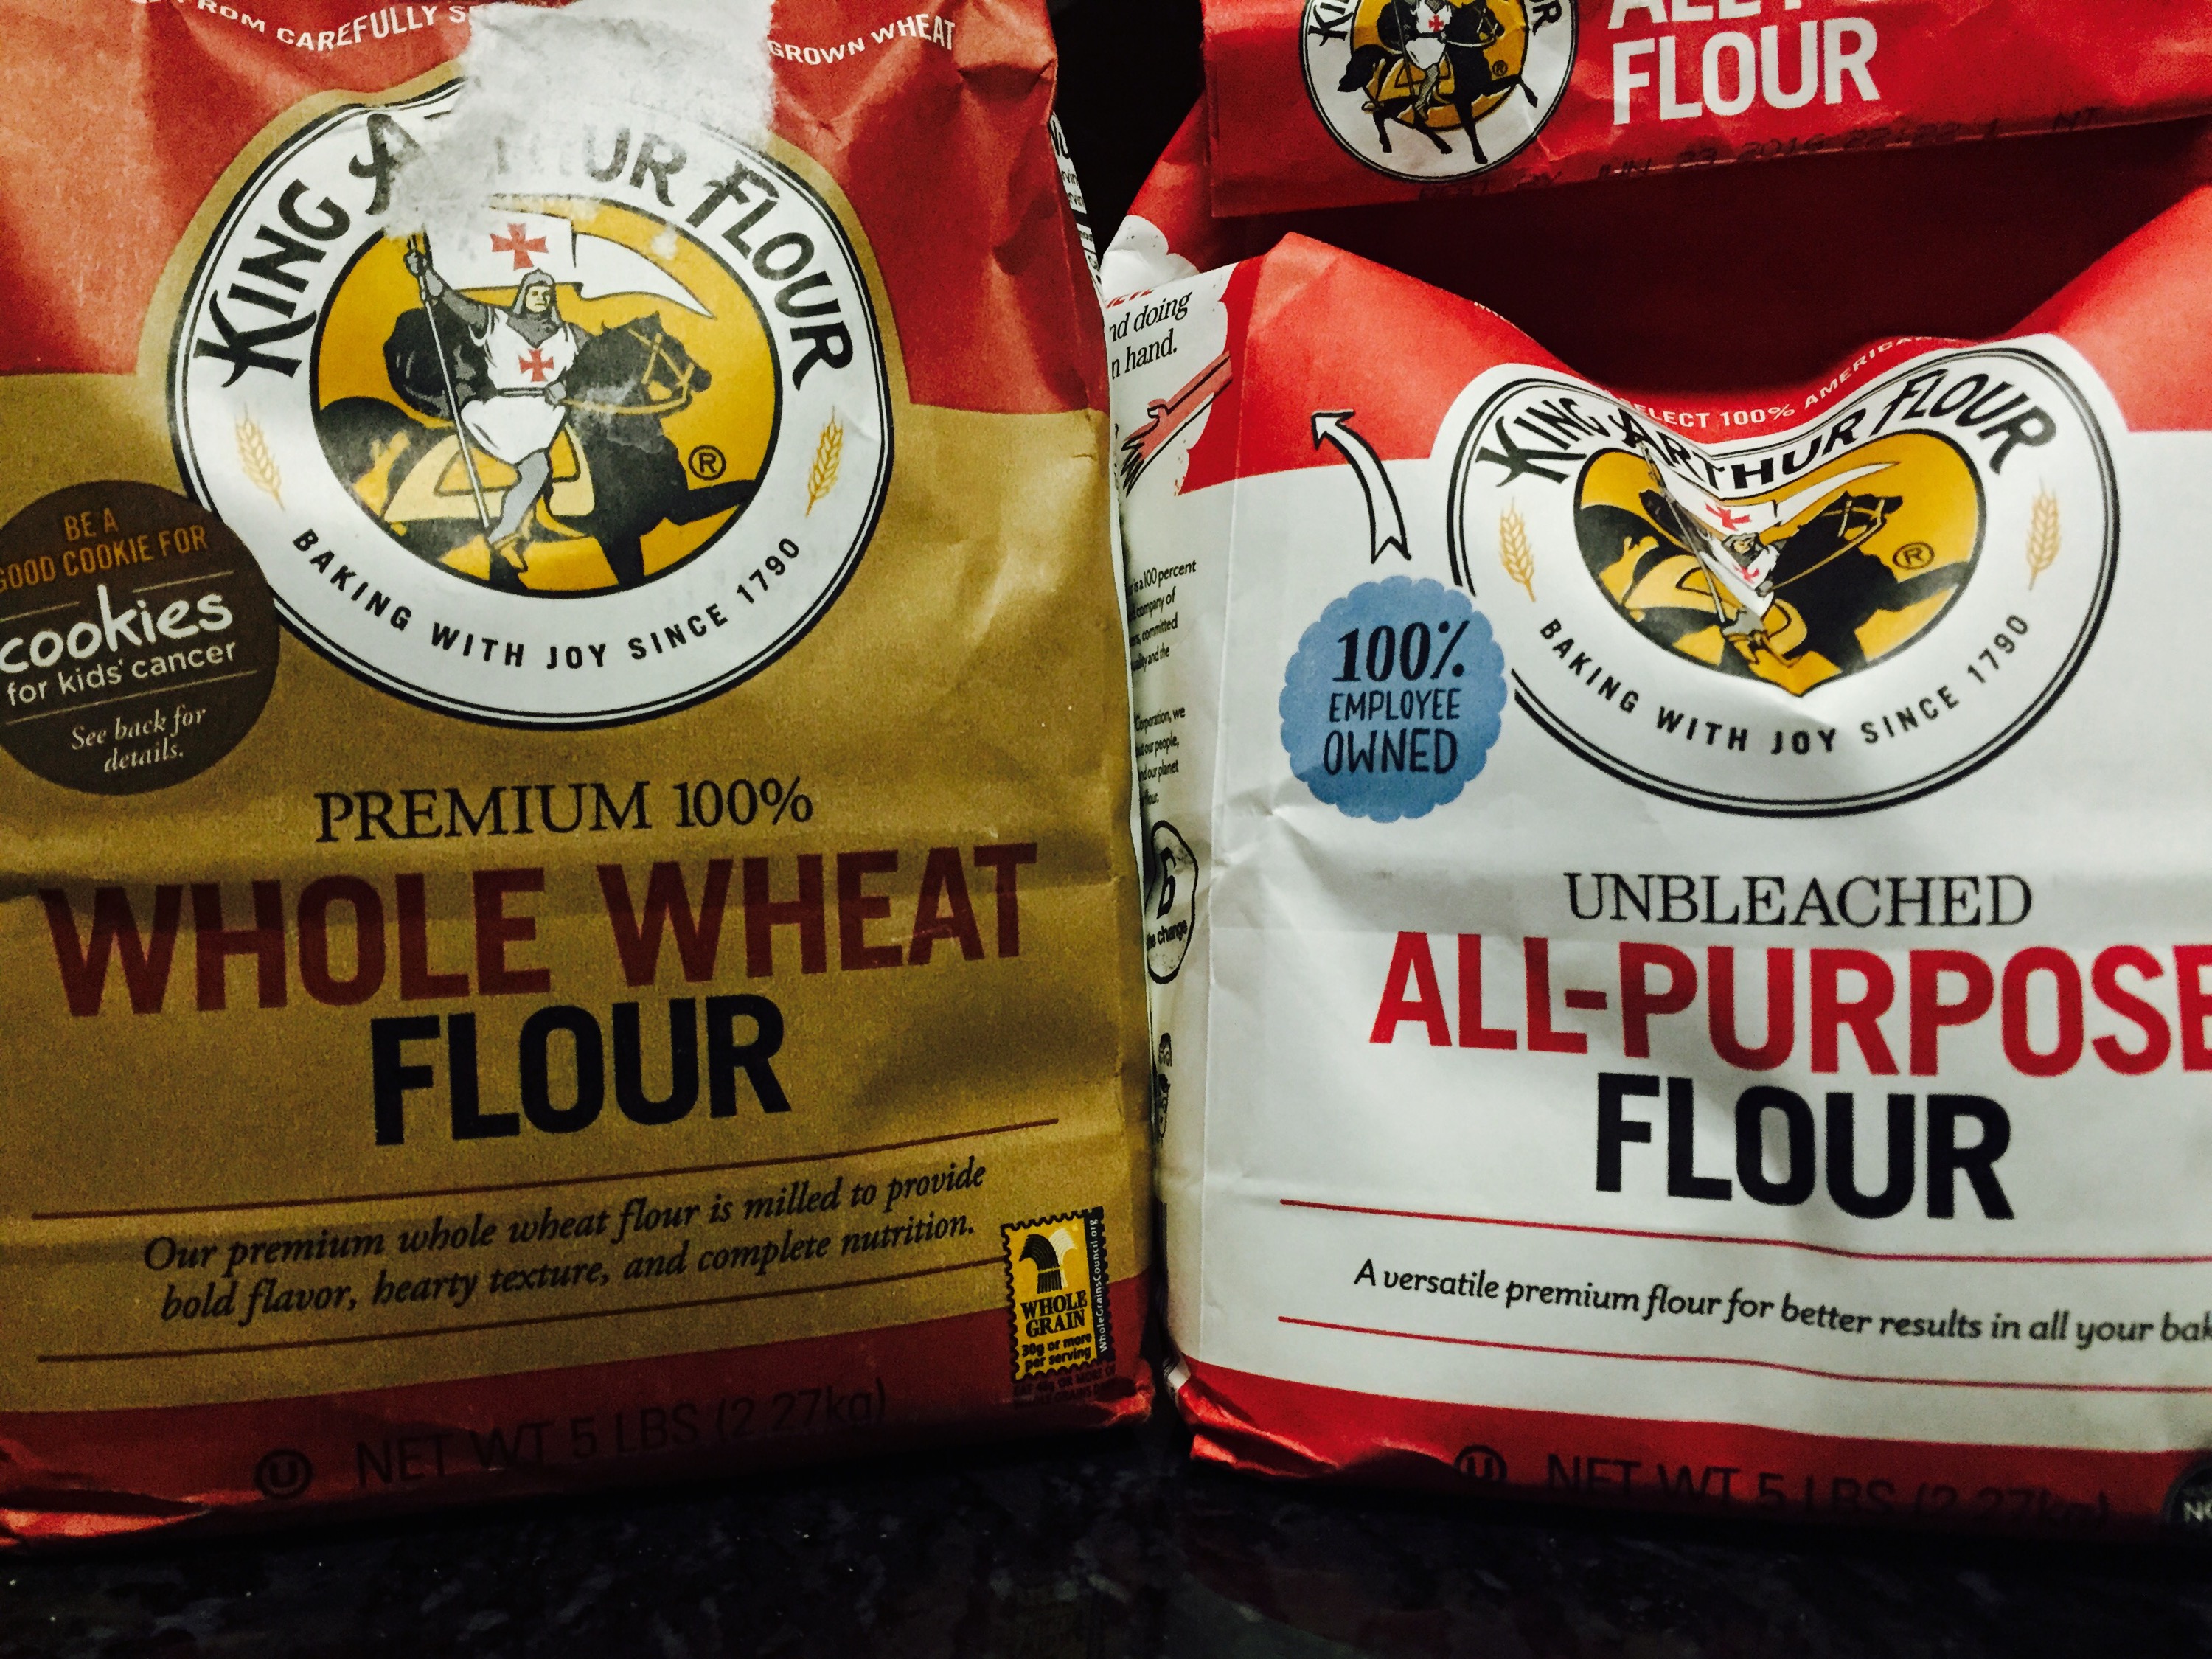
1.5 cup whole wheat flour + more for dusting
1/4 cup all purpose flour (optional)
1 tbsp ghee or oil as shortening + more for cooking
1/4 tsp salt
Warm water as needed to make dough
Process:
Making the dough:
In a wide mouth bowl/ food processor mix in the flour and ghee/oil.
Then gradually add in the warm water and work the flour to make dough.
Knead till the dough is soft, smooth, pliable and does not stick to your hands.
Cover with damp cloth/paper towel and let sit for 20-30 mins.
Rolling the Paratha:
Take a golf ball size portion of the dough and roll it into a ball.
Dust it with flour and flatten it using your fingers to form a disc.
Place the disc on a flat surface and roll it out into a circle around 1/8 inch thick.
Brush the surface with a little bit of oil/ghee. This is just to make the parathas flaky, don’t use too much oil, just a drop or two and spread it out.
Fold into half to make a semi-circle
Brush surface with a little bit oil/ghee
Fold again to make a quarter of a circle.
Dust it with a little flour and roll it into a triangle shape (roughly) around 1/8 inch thick.
Cooking the Paratha:
Heat griddle to medium-high heat (I usually test by waving my palm over the griddle to feel if its hot enough). If your using one of the electric griddle with temperature control, heat griddle to 375-400F.
Toss one of the rolled paratha on a heated griddle.
Flip when it begins to puff a little.
Press down the sides with a spatula to ensure they get cooked too. It will ballon up a little at this stage.
Brush a little oil/ghee and flip.
Again press down to ensure corners are cooked.
When you see a few dark spots forming here and there, on both sides, take it off the heat.
Notes:
My mom says that cooking the rolled side (top part touching the rolling pin) first results in better parathas.
I love eggs and pretty much every preparation of it, but omelettes have a special place in my heart. Bitting into a piece takes me back to long train journeys from Hyderabad to Agra filled with my dads jokes, my moms come backs and us giggling our guts out, early morning stops at Jhansi station and our family ritual to always relish freshly made omelette from one of the street vendors before our final stop at Agra.
For this dish, we start by first making a masala omelette and then simmer it in tal talle jhol (thin and runny gravy) for a fat and fluffy goodness to enjoy with rice, chapati or bread. Why not just the eat the omelette as is? Because this dish takes the omelette from delicious to DELICIOUS!! My dad was in sales and marketing and travelled often in my growing up years. This was something special my mom made for us girls to make those days feel like fun. We called it the ‘Girls Night Jhol’. I make this with left over Frittatas as well. And if you don’t feel like eating an omelette, bake or fry a couple fish fillets and simmer that in the same gravy and you will get classic bengali maacher jhol (Fish curry).
Time to Prep: 10 mins|Time to Cook: 30 mins|Yield: 4 Servings|Level: Easy
Ingredients:
For the Omlette
4 eggs (I use just egg whites)
2 tbsp milk
1/2 tsp black pepper powder
2 tbsp onion, finely chopped
2 tbsp plum tomatoes, chopped
2 tbsp green bell pepper, finely chopped (optional)
1 green chili peppers, finely chopped
1 tbsp cilantro, finely chopped
Red pepper flakes (Optional)
salt to taste
pinch of sugar
For the Jhol (Gravy)
1 tbsp oil (or less)
1 tsp cumin seeds
1 tsp caraway seeds
1 onion, finely chopped
2 plum tomatoes, chopped
2-3 green chili peppers, finely chopped
1/2 inch ginger, mined
2 cloves of garlic, minced
1 tsp chile powder
1 tsp coriander powder
1 tsp turmeric
Salt to taste
1 potato, cut in thin half-moon shape (around 1/8 inch thick)
1 carrot, cut in thin half-moon shape (around 1/8 inch thick)
1/2 fresh or frozen green peas
2 cups of water
pinch of sugar
2-3 tbsp cilantro, finely chopped for garnishing
1 tsp Harissa or Sriracha (optional)
Process:
Making the Masala Omelette:
Break eggs in a bowl, beat it. Add milk, salt, pepper and sugar and beat some more (this helps making the omelettes nice and fluffy).
Fold in the onions, tomatoes, peppers, chiles and cilantro.
Heat some oil in a frying pan/omelette pan in medium heat, pour the egg batter and swirl till its evenly distributed. Cover and let it cook.
Slide it on a plate and slice it into triangles, stripes or however you fancy.
Making the Jhol (gravy):
Heat oil in a pan and temper it with cumin and caraway seeds.
When you can smell the aroma add the onions and chile peppers, sauté till the onions soften.
Add in the potatoes and carrots, turmeric, coriander powder and chilli powder. Fry till they start turning golden.
Add the ginger and garlic, sauté
Add the tomatoes and green peas, fold everything in. Cover and cook till tomatoes are mushy.
Add 2 cups of water, bring it to a simmer then cover and cook till the potatoes are cooked.
Taste and adjust seasoning, add a pinch of sugar.
Add the omelette pieces and simmer for 3-4 mins.
Garnish and serve warm
Notes:
If you have left over frittata, cut it up into pieces and use instead of omelette. This help converting leftovers into something delicious and new in a jiffy.
I like to mix in a spoonful of Sriracha or Harissa to the Jhol to add some extra zing to it.
While traditionally its served with rice, my favorite way of eating this make a sandwich with the omelette piece and dip that in the jhol before every bite.
If you don’t feel like eating an omelette, bake or fry a couple fish fillets and simmer that in the same gravy and you will get a classic bengali maacher jhol (Fish curry)
Anyone who has grown up in Hyderabad will swear that a good tea party is incomplete unless served with Chand Biscuit, Osmania Biscuit, Fruit Biscuit and Dilkhush. Treats that can be found in any traditional Hyderabadi Bakery, my favorite neighborhood bakery growing up was ‘King and Cardinal’ in Himayatnagar. You cannot really call yourself a true bred Hyderabadi if you haven’t spent your college days hanging out in one of these bakeries or an Irani Cafe with friends relishing a baked good over class notes.
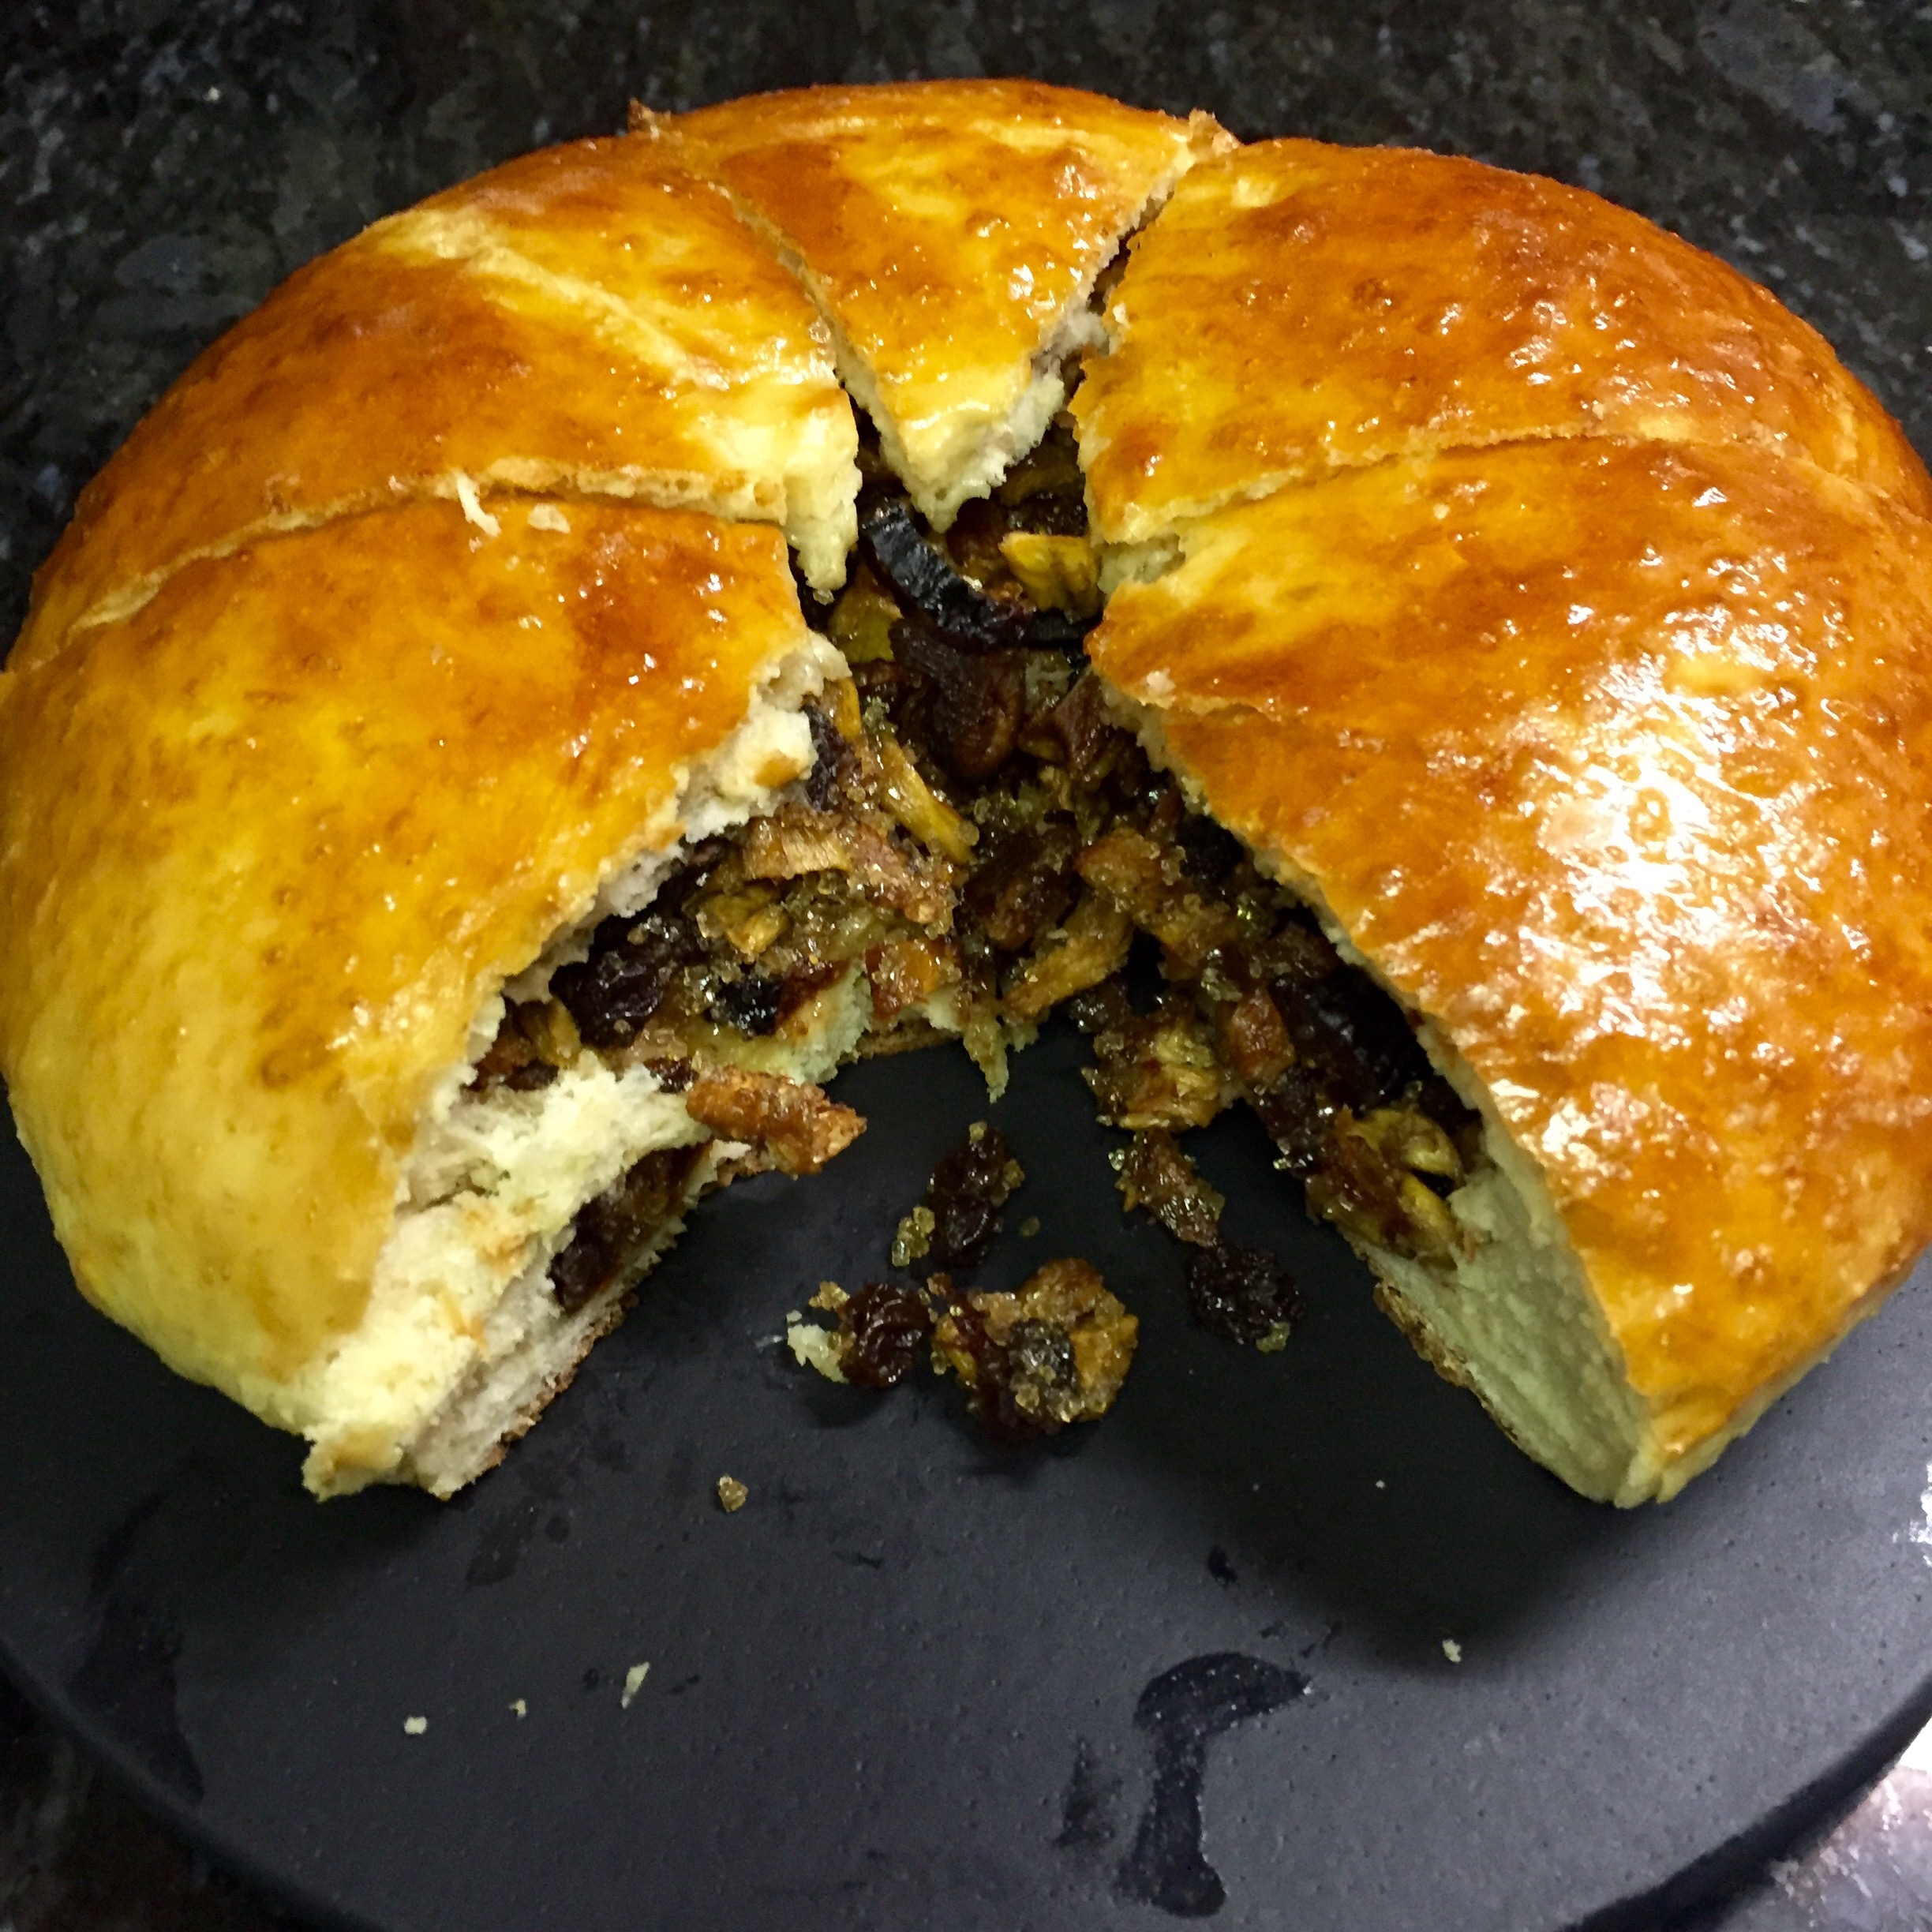
Dilkhush means ‘happy heart’. A piece of this with a cup of tea makes my heart very happy. It’s a round spongy sweet bun stuffed with sweet fillings. Traditionally its stuffed with ‘Tutty Fruity’ or cake left overs, some even add coconut to it. Since I am very particular about ingredients, I use dry fruits as the stuffing and avoid the coconut. You can use ingredients that you like eating. This can be stored for 4-5 days in a air tight container, but who are we kidding we will be lucky to not have a fight over the last bite on the first night itself.
Bread making is actually very simple if you can remember 1 key rule: ‘Less is More’. There are some breads which require complicated steps where we need to manipulate the gluten and starch in the flour to get a specific structure. This is NOT one of them. For this recipe, we don’t need worry about all of those. All you need to make sure of is:
All ingredients of the dough are fully incorporated
Its a good practice to first mix the dry ingredients before adding in the wet ingredients
Be patient! give the dough time to rise (ferment) and proof (resting after assembly)
Brush the top with egg white to get the beautiful golden color
Score (make small cuts) on the dough before placing it in the oven, this allows for the steam to escape.
Most importantly, if your making bread for the first time, just follow the recipe to the T for the dough.
The cut on top is to help with venting of steam
Technically using a scale to measure each ingredient is recommended. But I have a tiny kitchen and tinier work surface and no place for a scale. So here’s what I do.
Store my ingredients in jars with wide mouth
If I need 1 cup, I fill my measuring cup with flour so that its loosely packed, use 1 finger or butter knife and run it over the rim of the cup to remove any excess flour.
DO NOT press in the flour to pack it in the 1 cup, that will result in more flour than you need.
This recipe calls for using Yeast. Some like to test yeast before using, however if its not expired your good to go. I prefer using Active Dry Yeast for bread making. If your not a everyday baker, then buy the individual sachets of yeast instead of a jar. Another thing a lot of recipes talk about is using warm water to activate the yeast, this is not necessary if your living in warmer places. It’s safer to just use regular tap water at room tempreture, because if your water is too warm, that will kills the yeast.
Time for Prep: 20 mins Time to bake: 20mins Yield: 6 Servings Level: Medium
Time for First Rise: 2 hours Time for Proofing: 40 min Total Time: 3 hour 20 mins
Ingredients:
For the Dough:
2 cups flour
2 tsp yeast
1/3 cup of sugar
1/2 cup milk, slightly warm (you should be able to dip your finger in comfortably)
1 egg, beaten
2 tbsp water
a generous pinch of salt
For the Filling:
2 tbsp raisins
2 tbsp dried mango, chopped
2 tbsp dried banana, chopped
2 tbsp dried papaya, chopped
2 tbsp dates, chopped
2 tbsp dried apricots, chopped
2 tbsp dried pineapple, chopped
2 tbsp dried raspberries, chopped
1 tbsp crystalized ginger
2 tbsp sugar
1 tsp vanilla essence
1 egg white to brush on the dough before baking.
Process:
Making the dough:
Mix the flour and salt in a bowl, and create a well in the center to pour the liquid ingredients in.
In a separate bowl beat the egg and sugar. Add milk and water and beat it in.
Add yeast and mix in
Pour this mixture in the bowl with the flour and mix in.
If using hands, wet your hands and mix till all ingredients are fully incorporated
If using and standing mixer, use the paddle attachment.
Cover and set aside for it to rise (for the yeast to work its magic) for 2 hours or overnight in the refrigerator.
Making the filling:
Mix all the ingredients and set aside.
Assembly:
Line a baking tray/ cookie sheet with parchment paper.
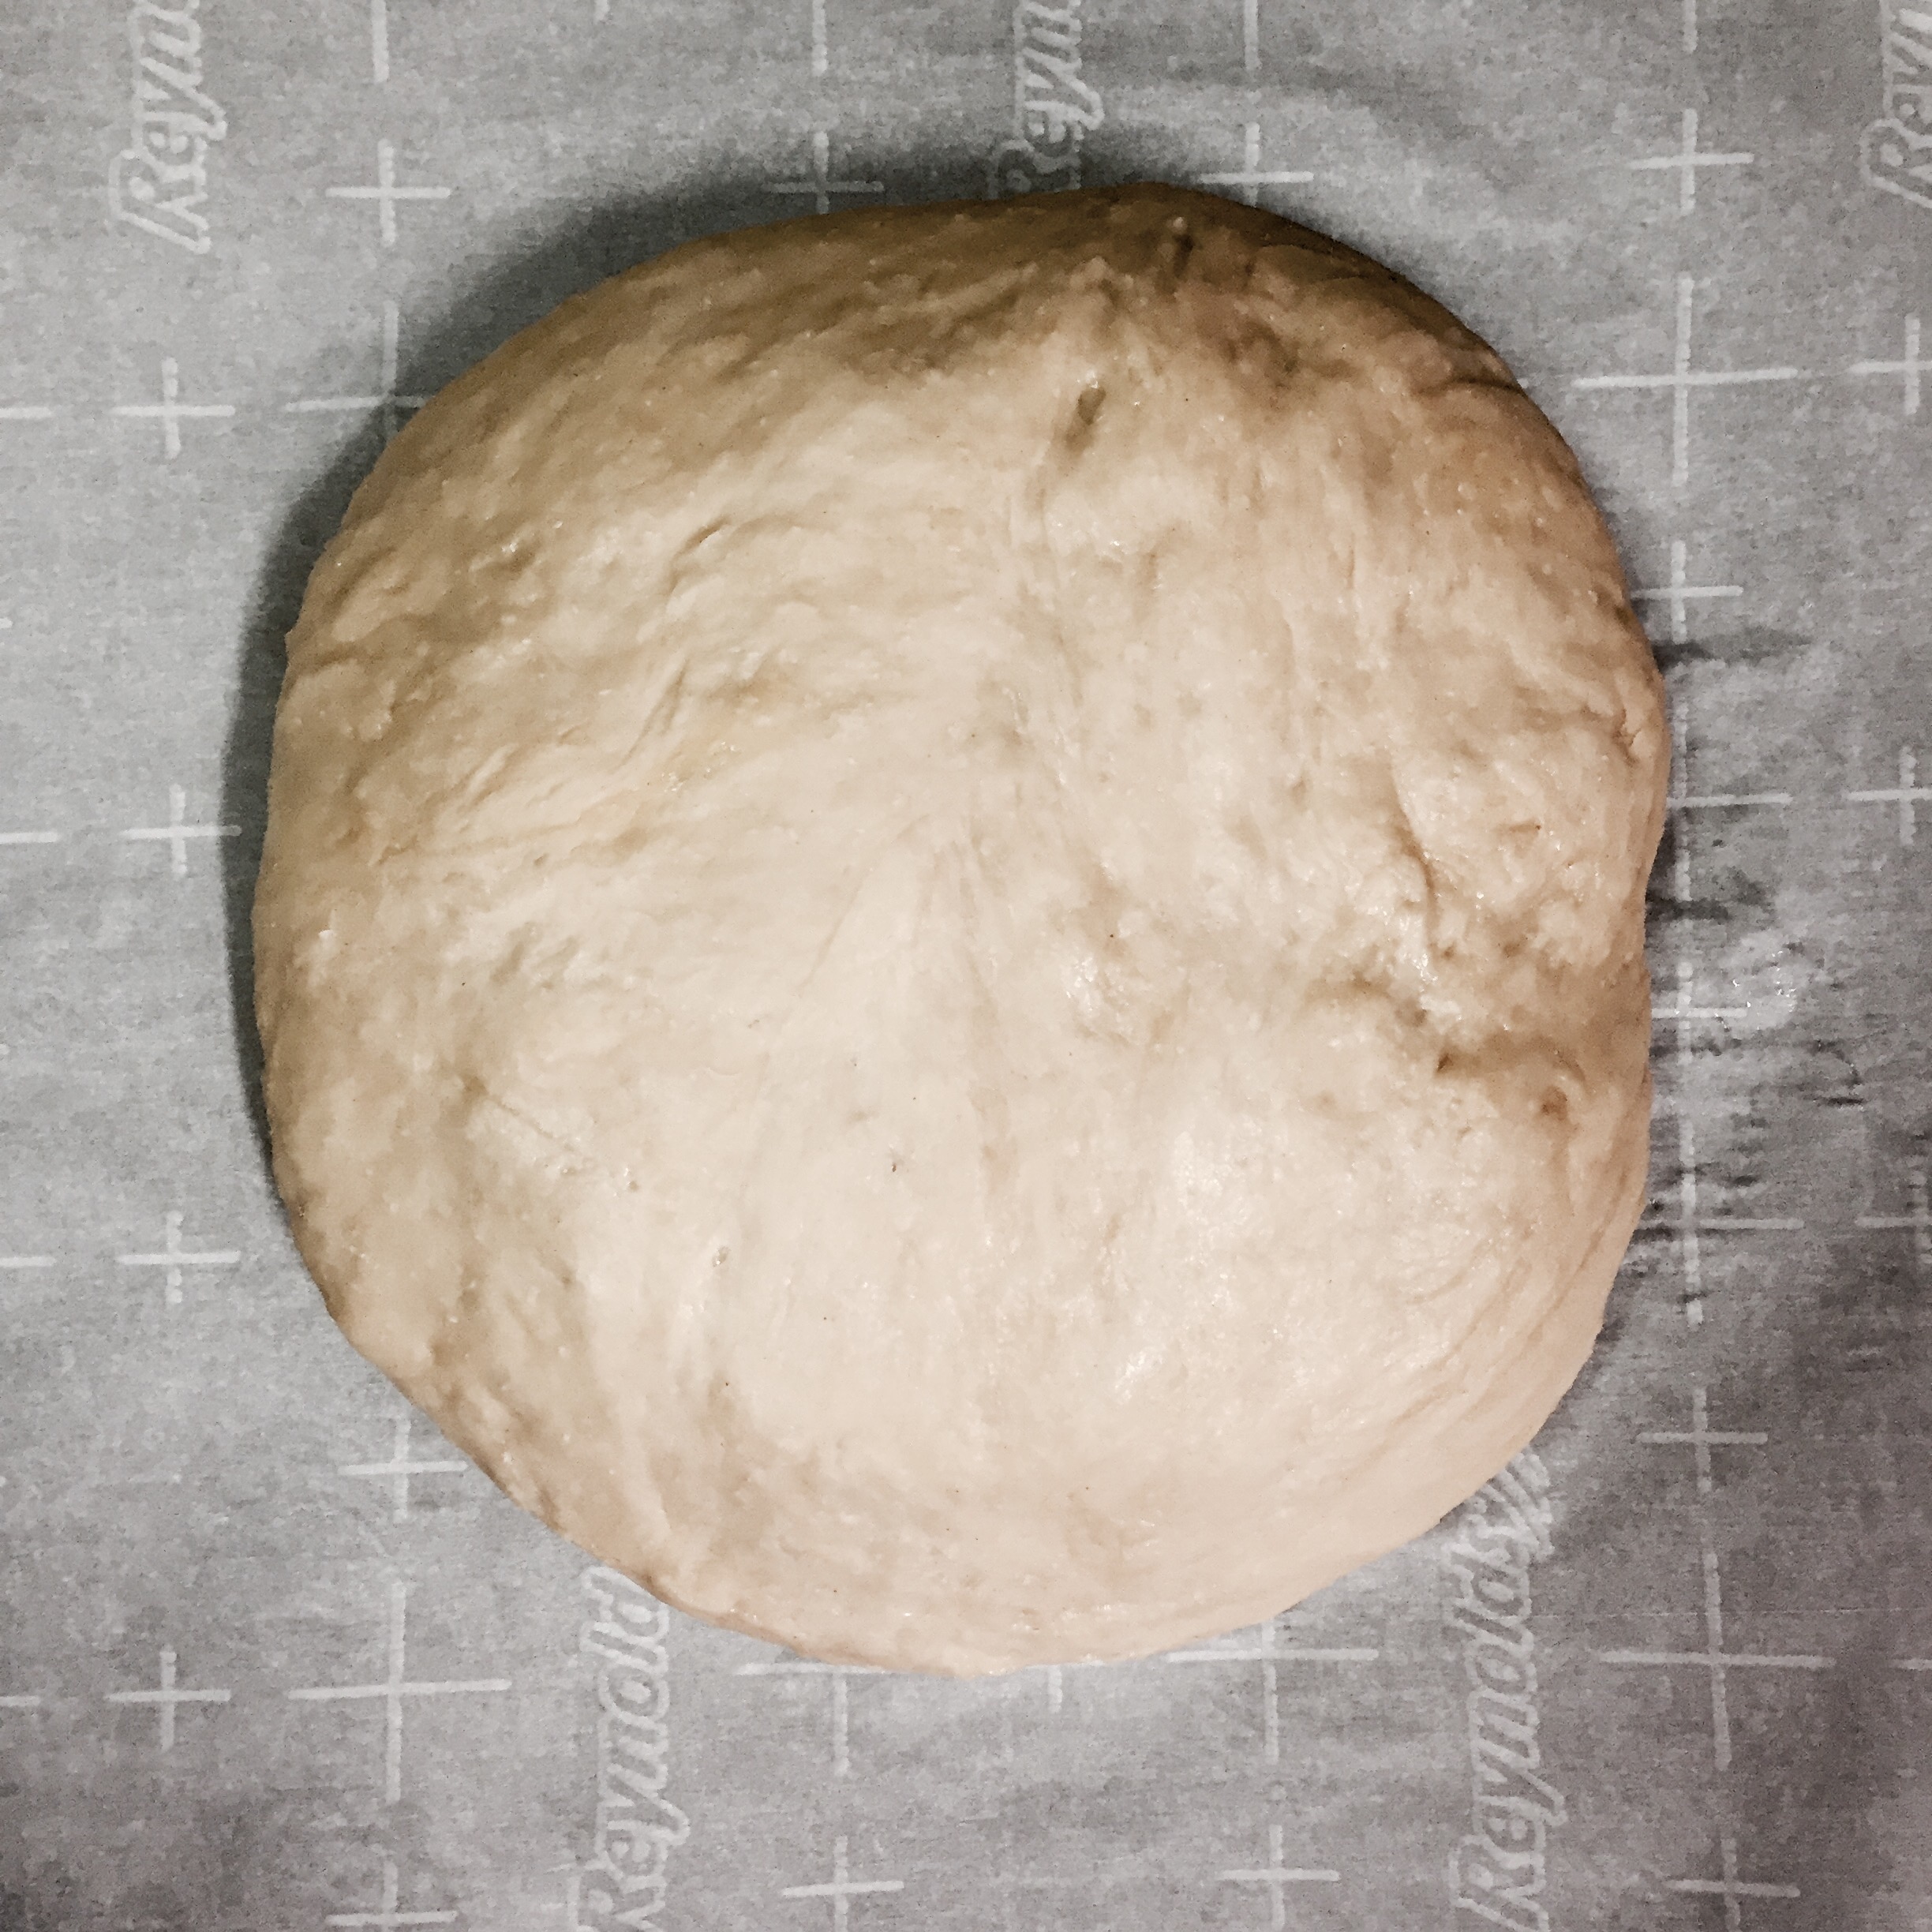
After the first rise (2 hours or overnight in refrigerator) the dough should be nice a fluffy and almost double.
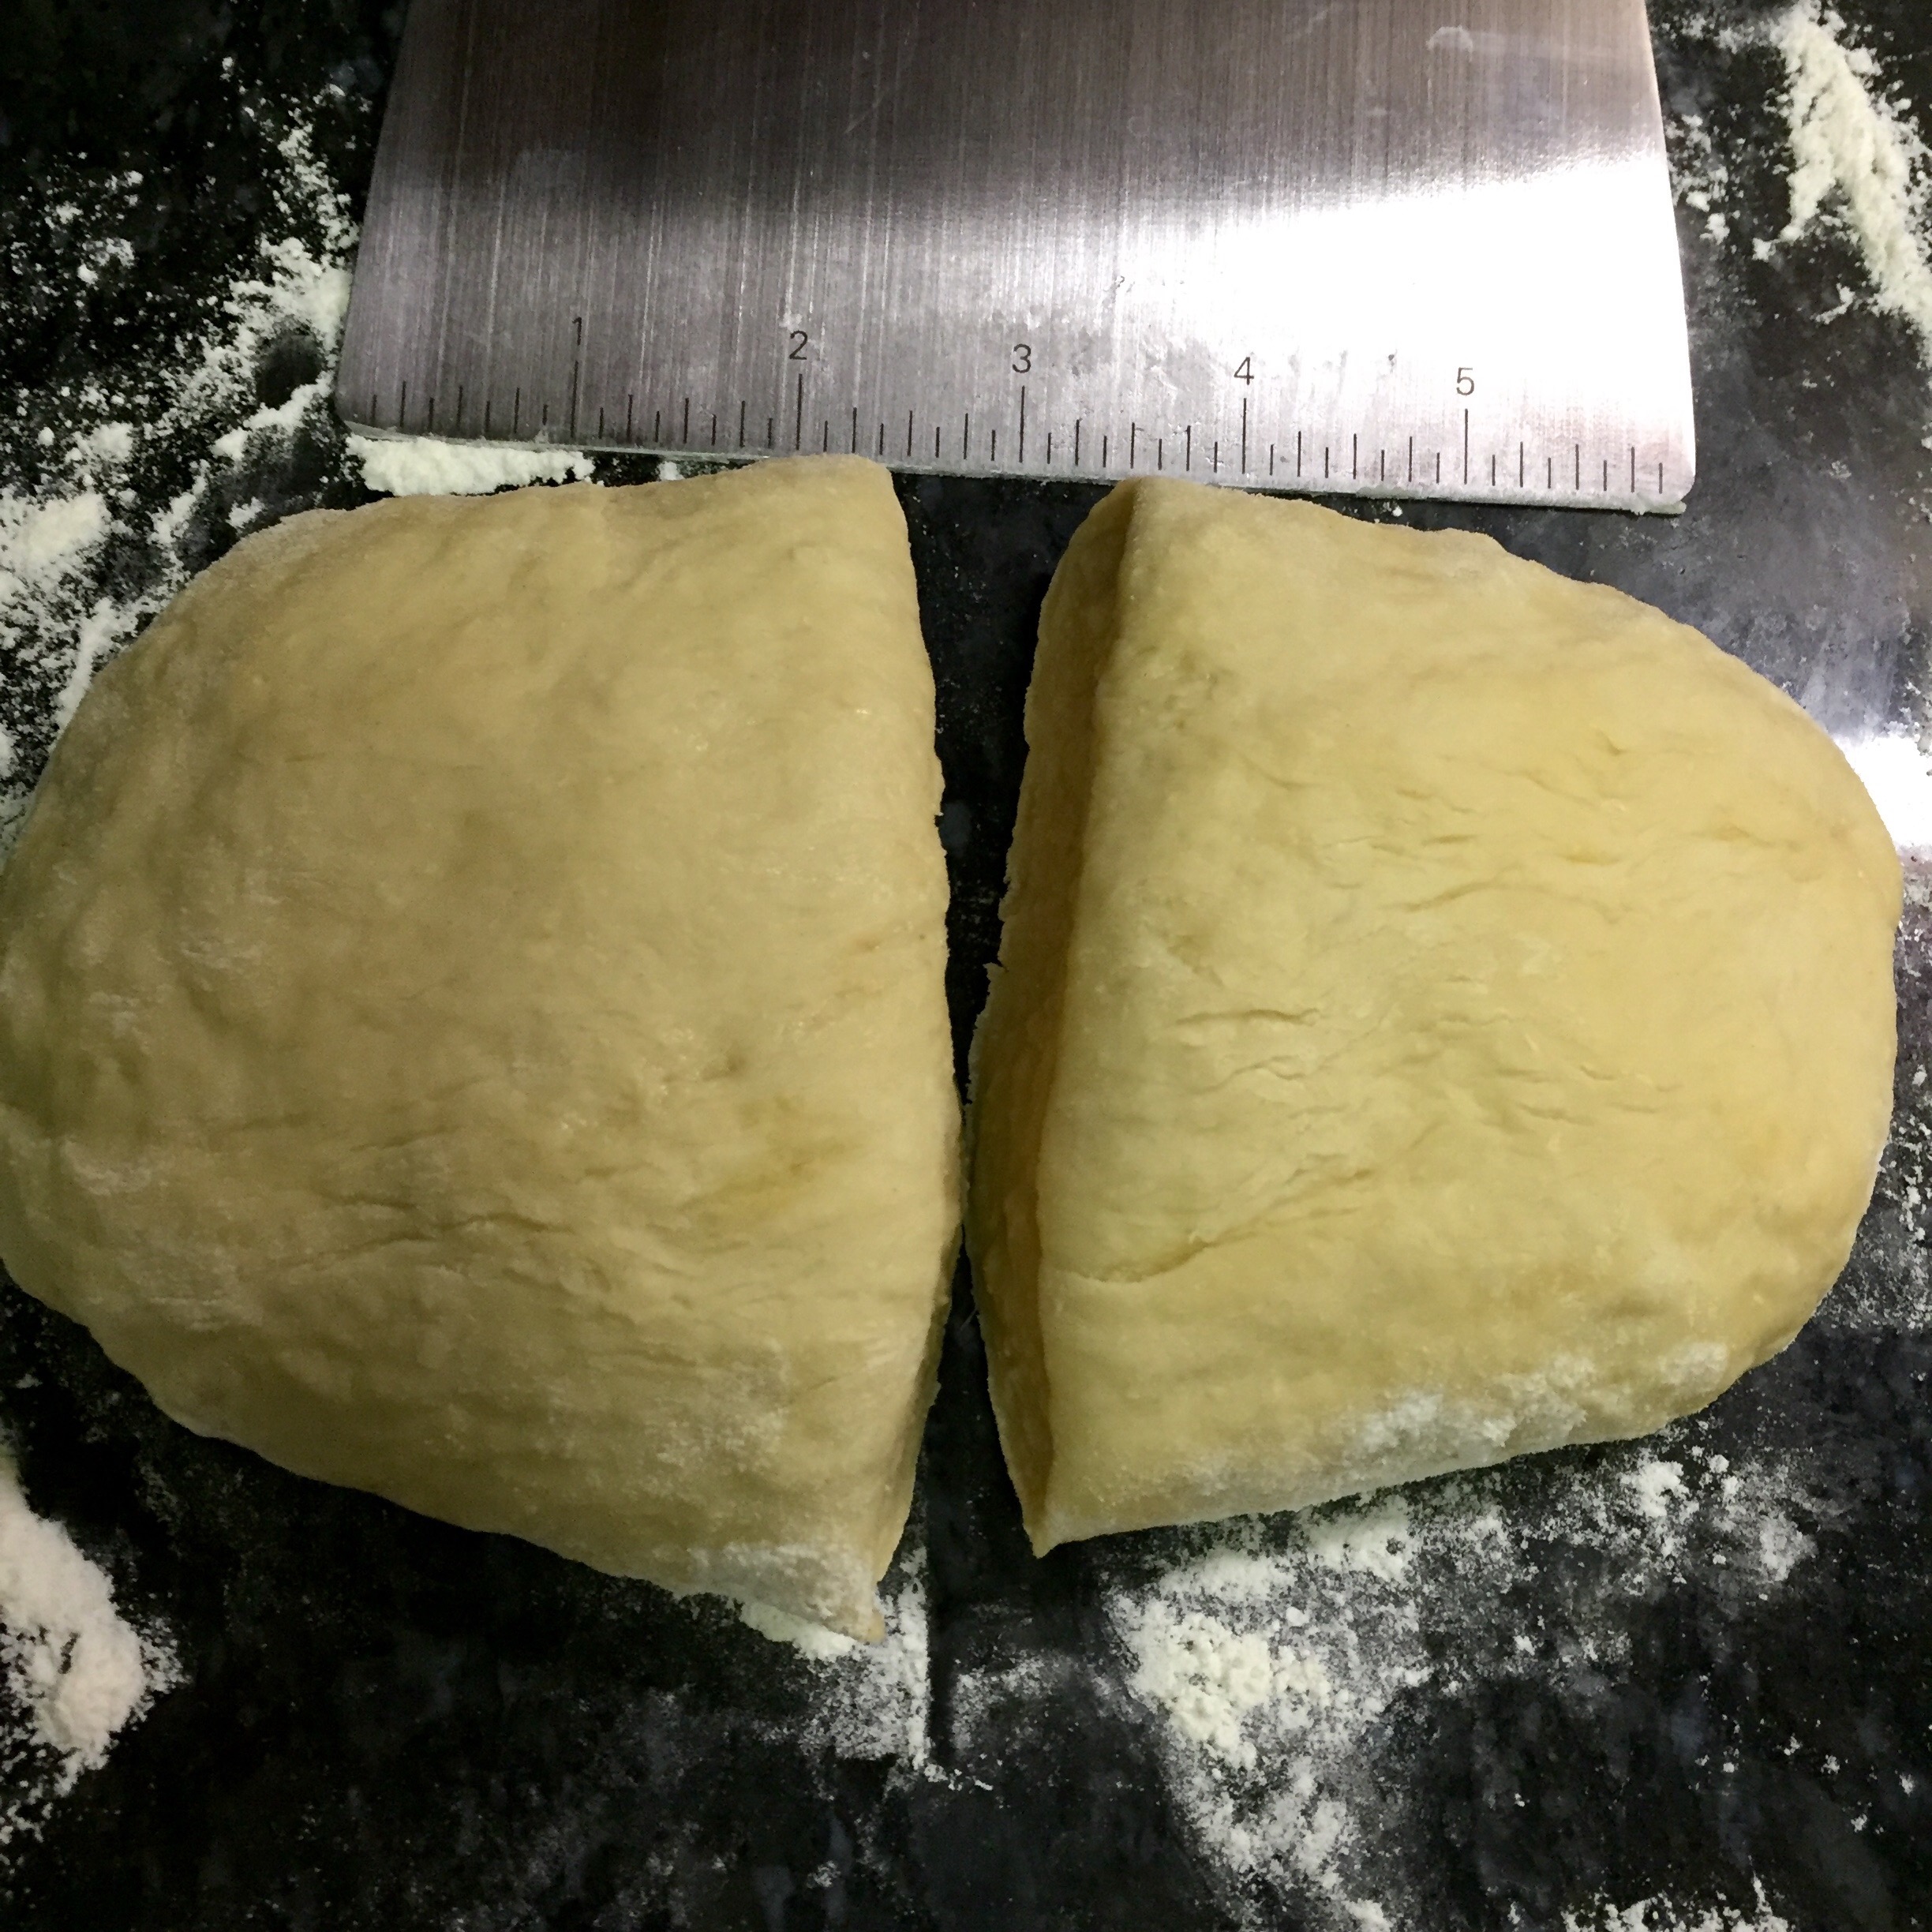
Transfer on a floured surface and punch down the air.
Divide into two, one portion slightly bigger than the other, make each portion into a ball.
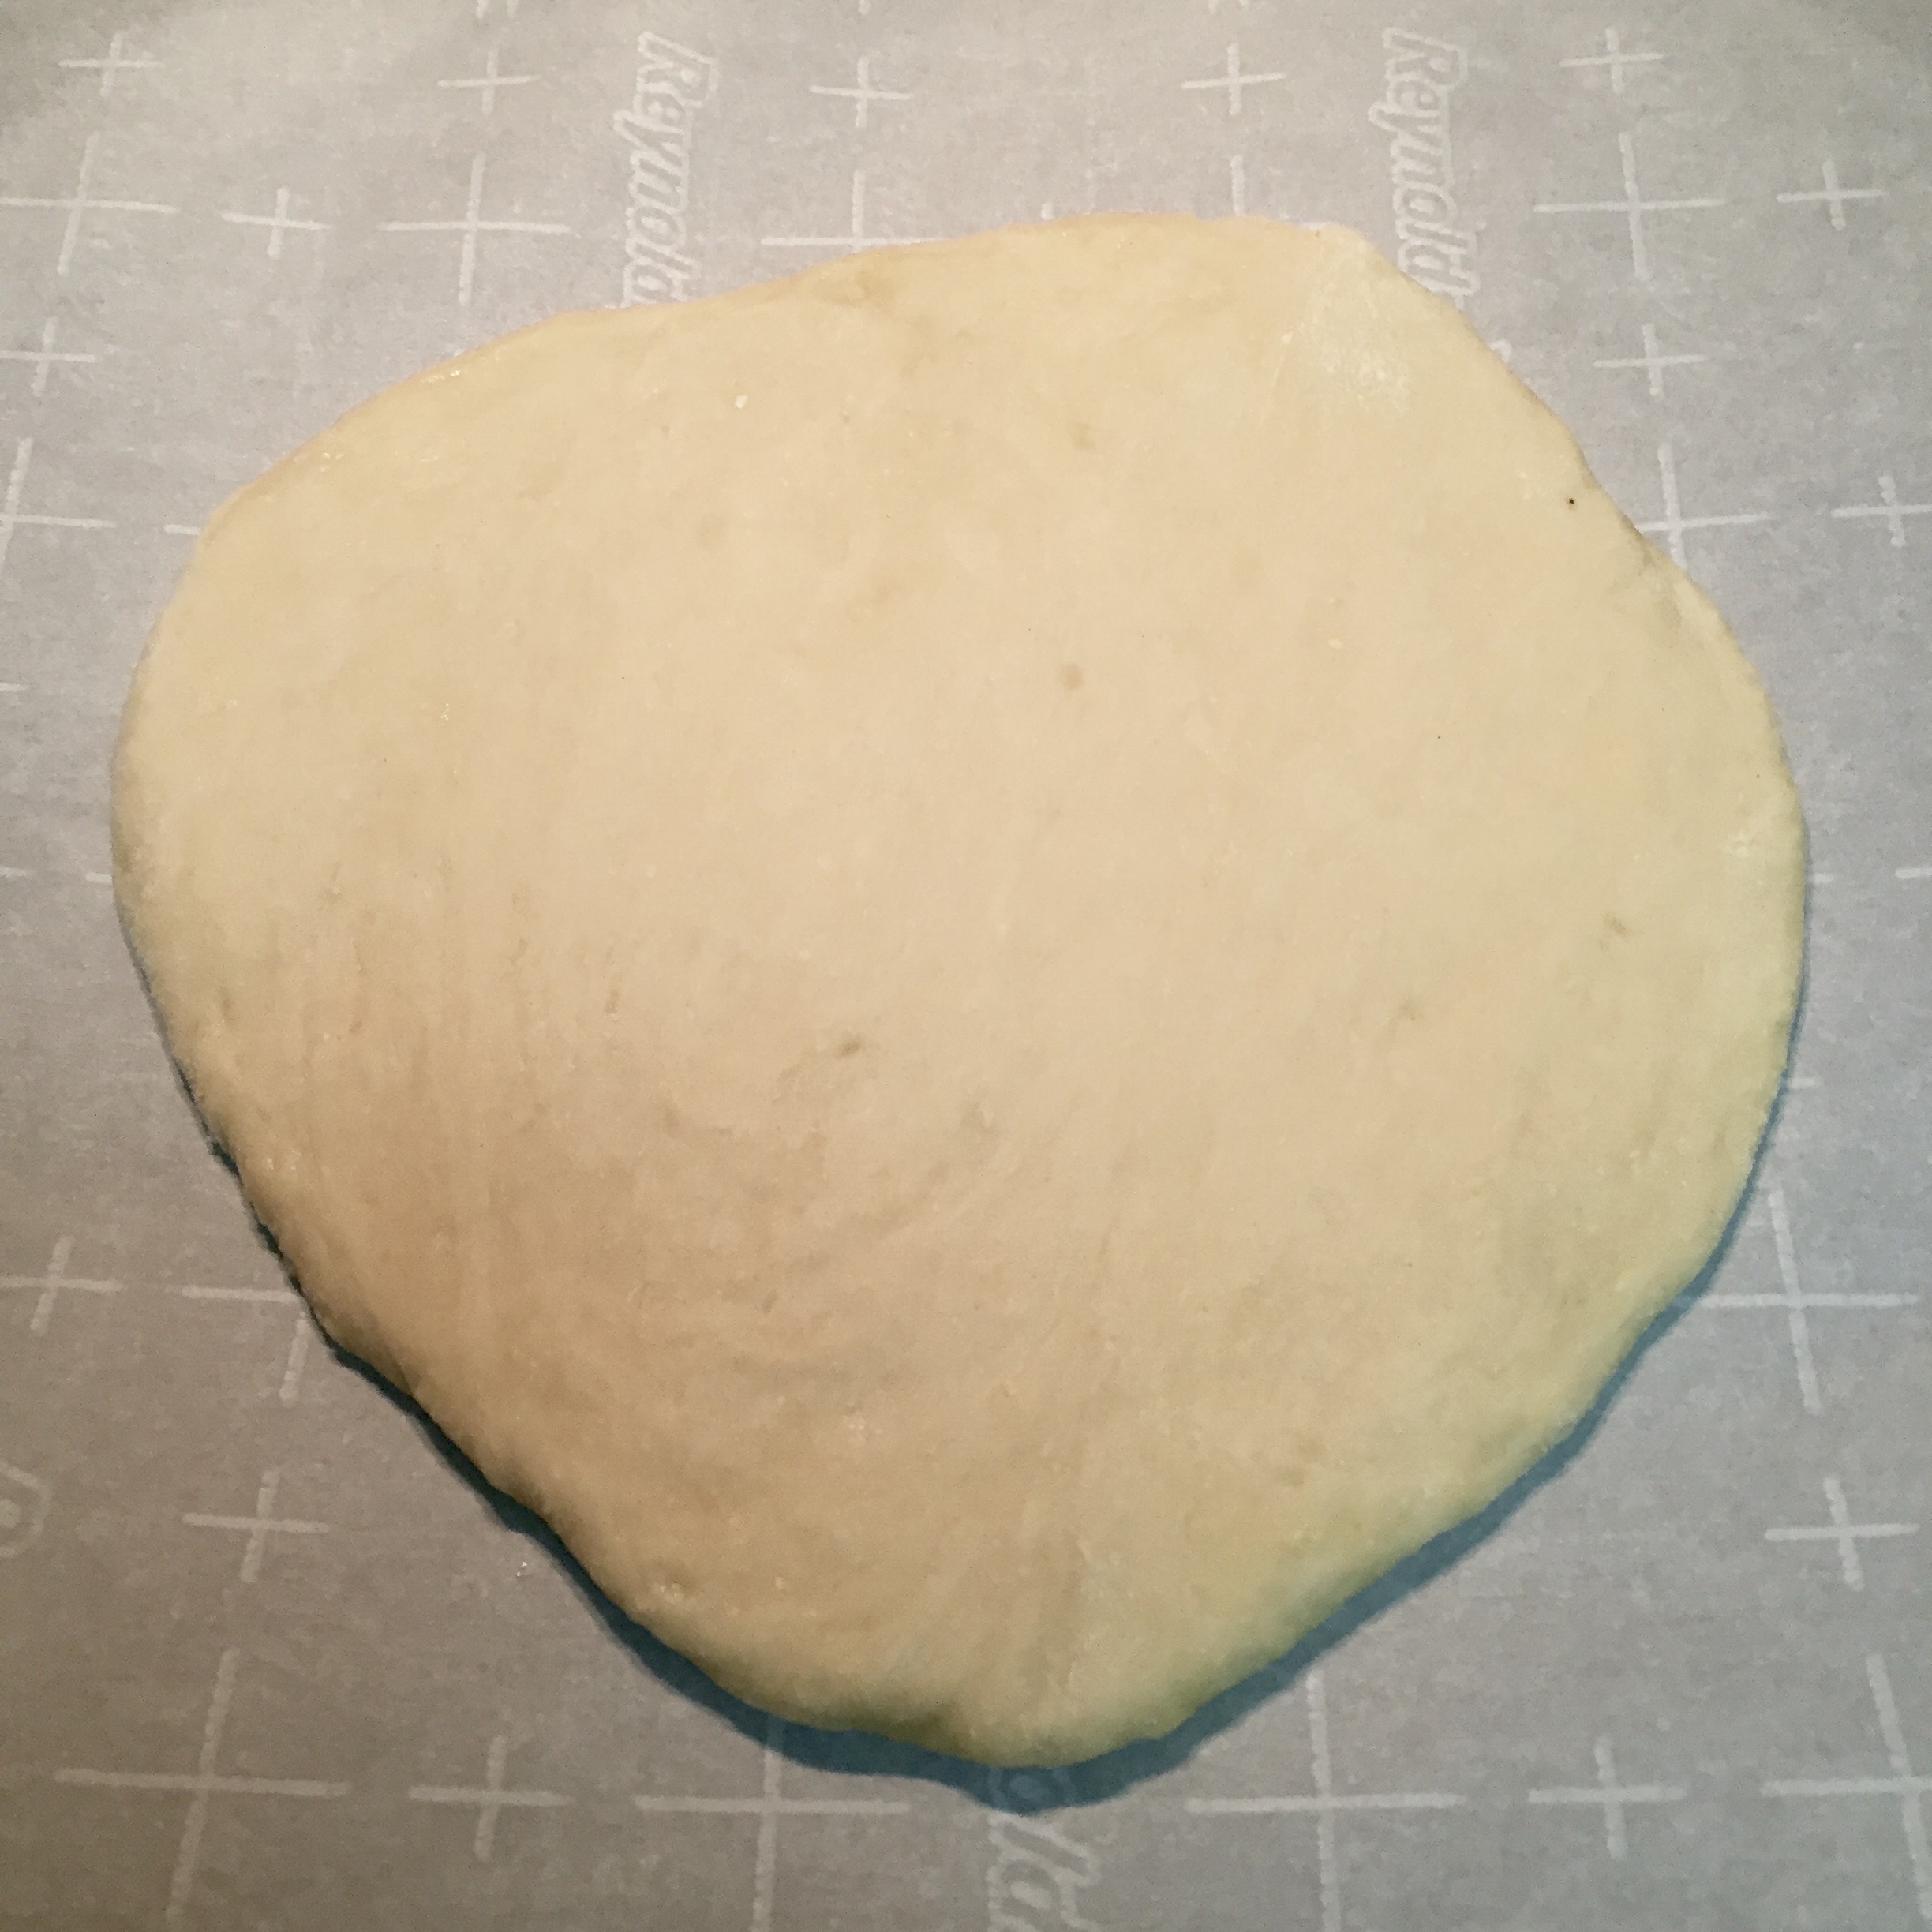
Using a floured rolling pin, roll the smaller portion into a rough circle around 1/4 inch thick. Transfer to the cooking sheet.
spread the filling on this leaving around 1/2 inch in the edges open.
now roll the bigger portion to same thickness, this circle should be bigger than the first one.
Place it on top of the filling, covering it.
Tuck the sides under the first one and make sure the filling is sealed inside.
Cover and let it rest for around 40 mins for a second rise (this step is called proofing).
Pre heat oven to 375F/190C
Once proofed, cut the vents on top (I used a sharp scissors to make the X mark), brush the top with egg white and bake for 20 mins or till the top is golden brown.
Remove from oven and brush the top with butter to keep the crust soft and let cool before cutting in.
A few years back my husband and I took wine classes at the Devine Wine Emporium in Niantic CT. Ken, the wine educator started the 6 weekend long class saying (and I am paraphrasing here) “Good wine is like a trip down memory lane. Each layer of aroma and flavor is transcending, taking you back to a memory”. Good food has the exact same effect on me.
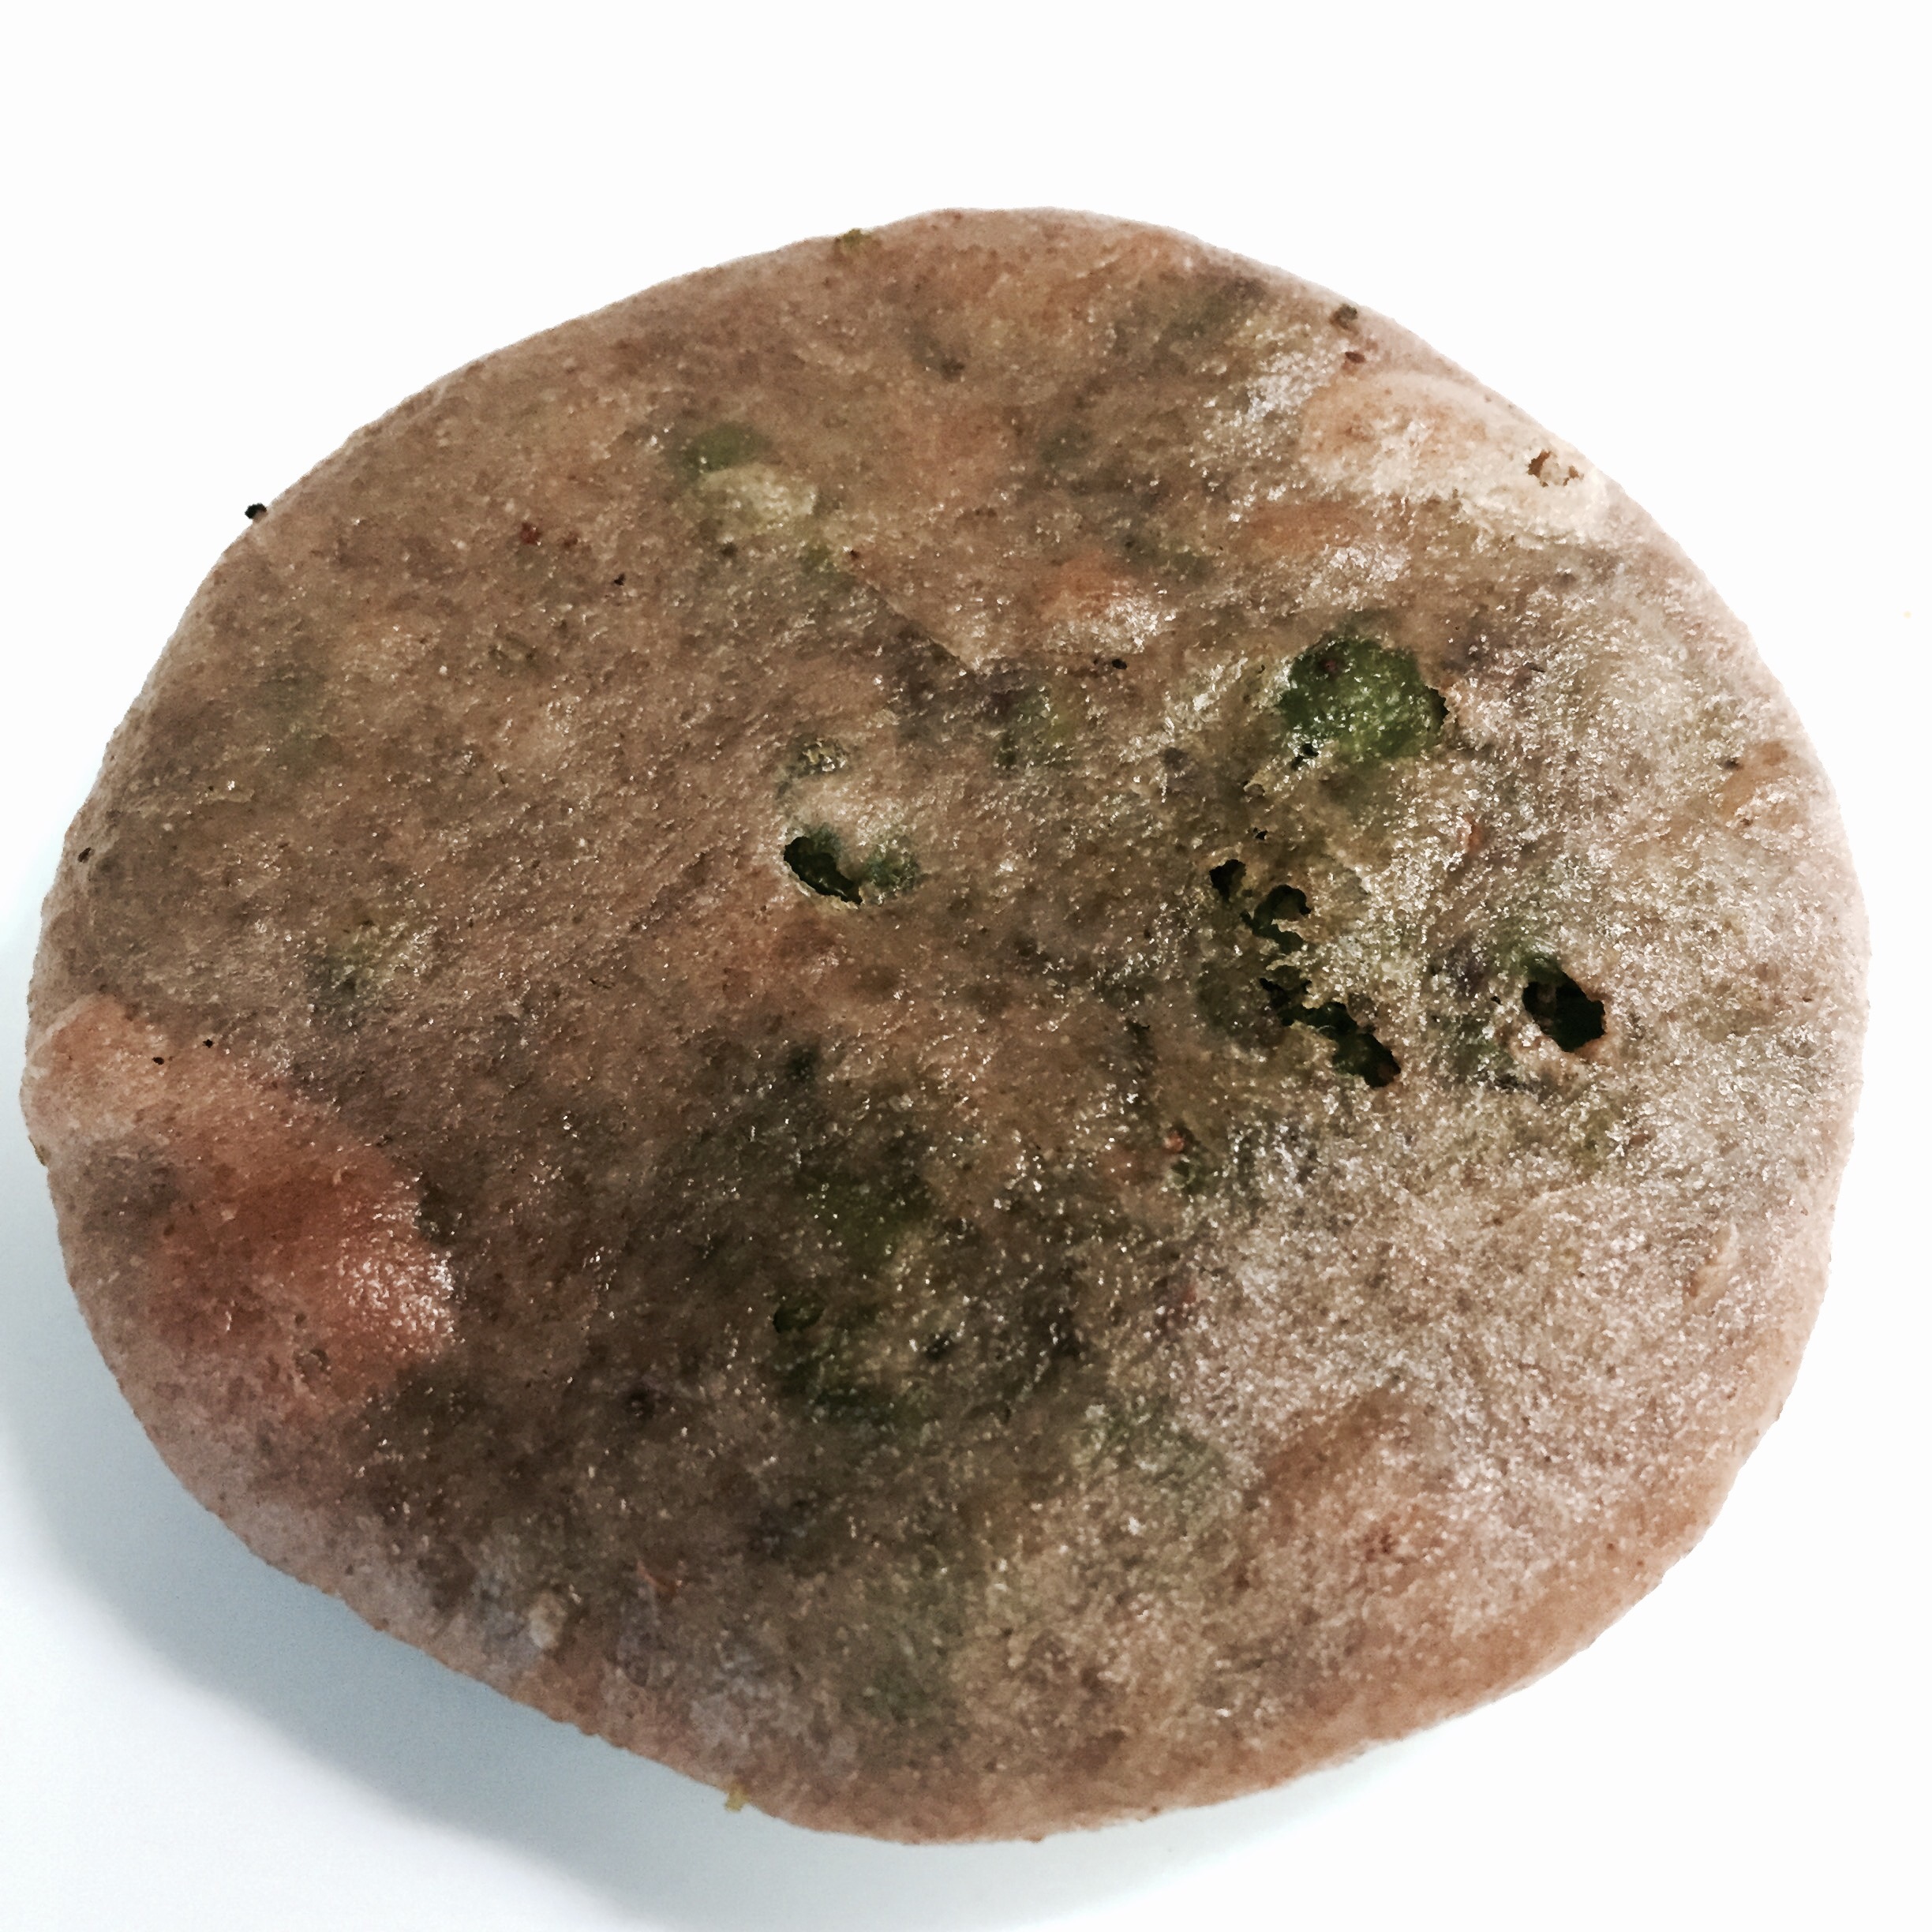
Koraishutir Kochuri (Puri stuffed with green peas)
This dish brings back numerous good memories. My dad coming back from his evening walks with a bag of fresh green peas, all of us helping with peeling pea pods, eating half of it in the process, chit chat, laughter and so much more fun. And the fact that my husband absolutely loves this (Even learnt to say it like a bengali) is an added bonus.
Hope that you make some wonderful memories of your own while trying out this recipe.
Traditionally this is made in winters (because fresh green peas are available in abundance in the season) for breakfast and served with Aloor Dom (potato curry). Husband likes to eat this as is, so I usually don’t make the potato curry, unless entertaining.
Time for Prep: 30 mins Time to Cook: 30 mins Yield: 10 Kochuri Level: Medium
Ingredients:
For the puri:
1.5 cups All purpose flour or whole wheat flour or a combination of both.
1/2 cup warm water (Plus more if needed)
1/2 tsp salt
1 tbsp oil or clarified butter (I prefer using Clarified butter)
For the stuffing:
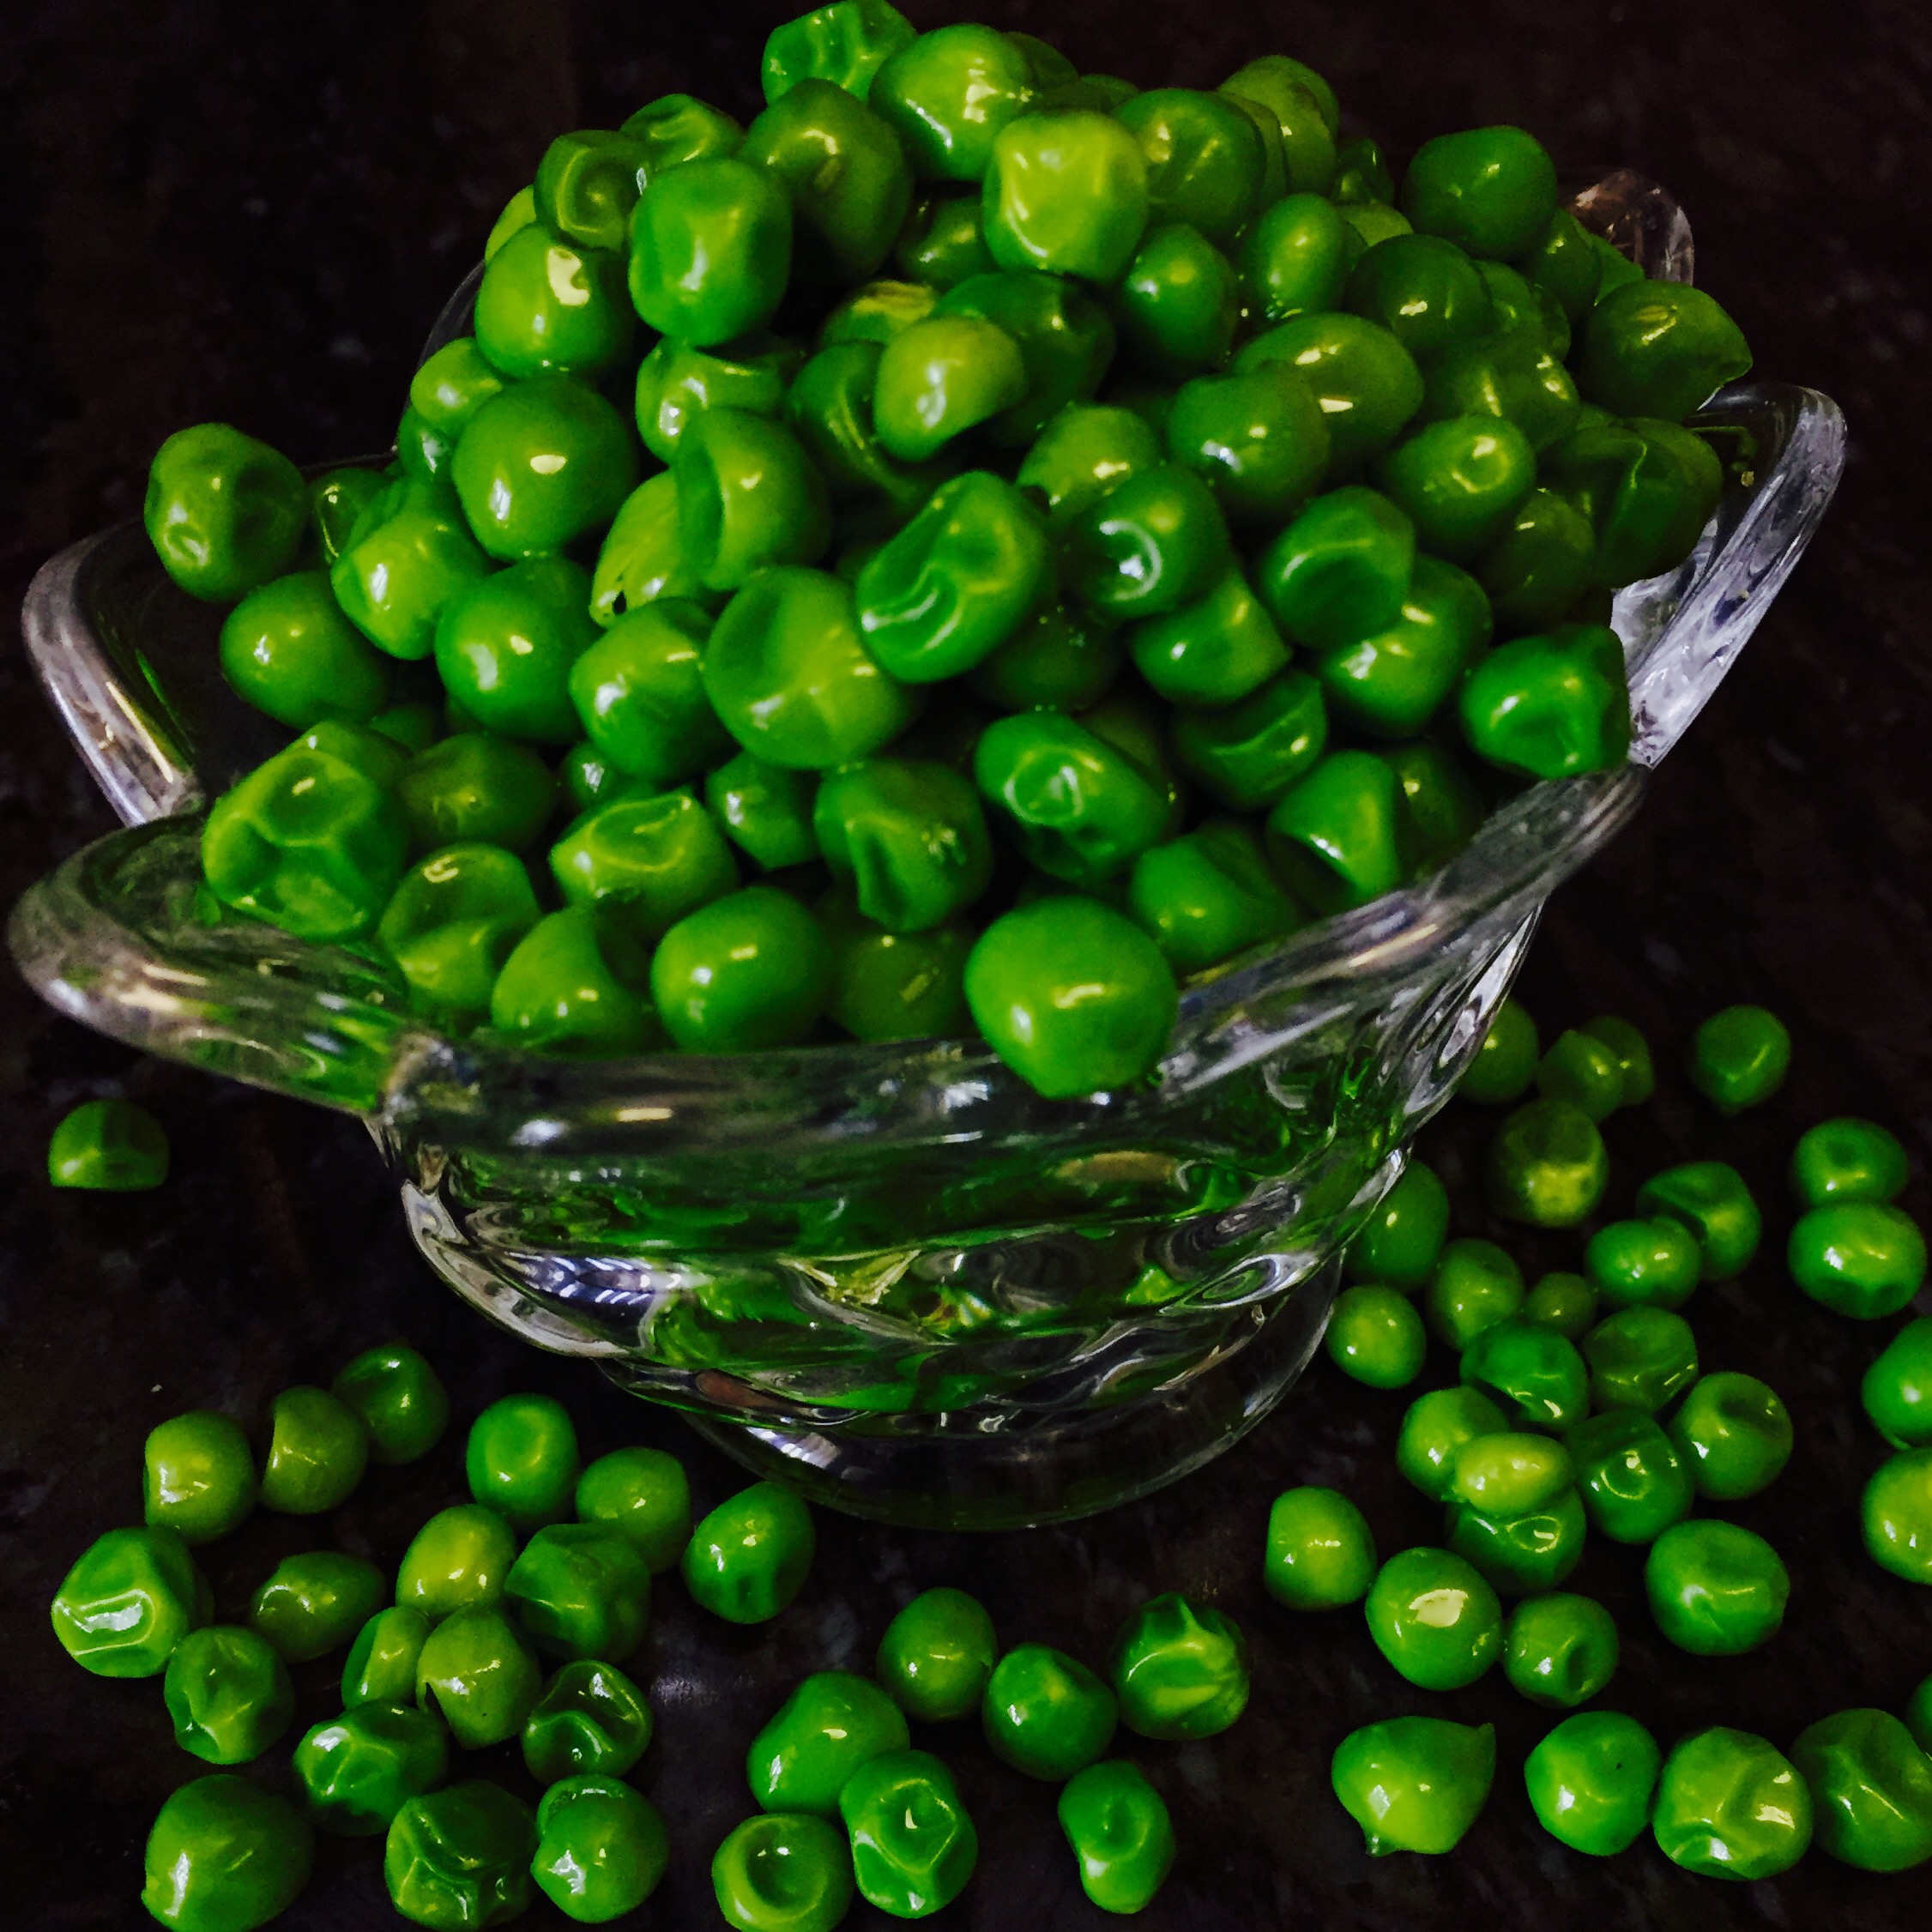
1 cup fresh or frozen green peas
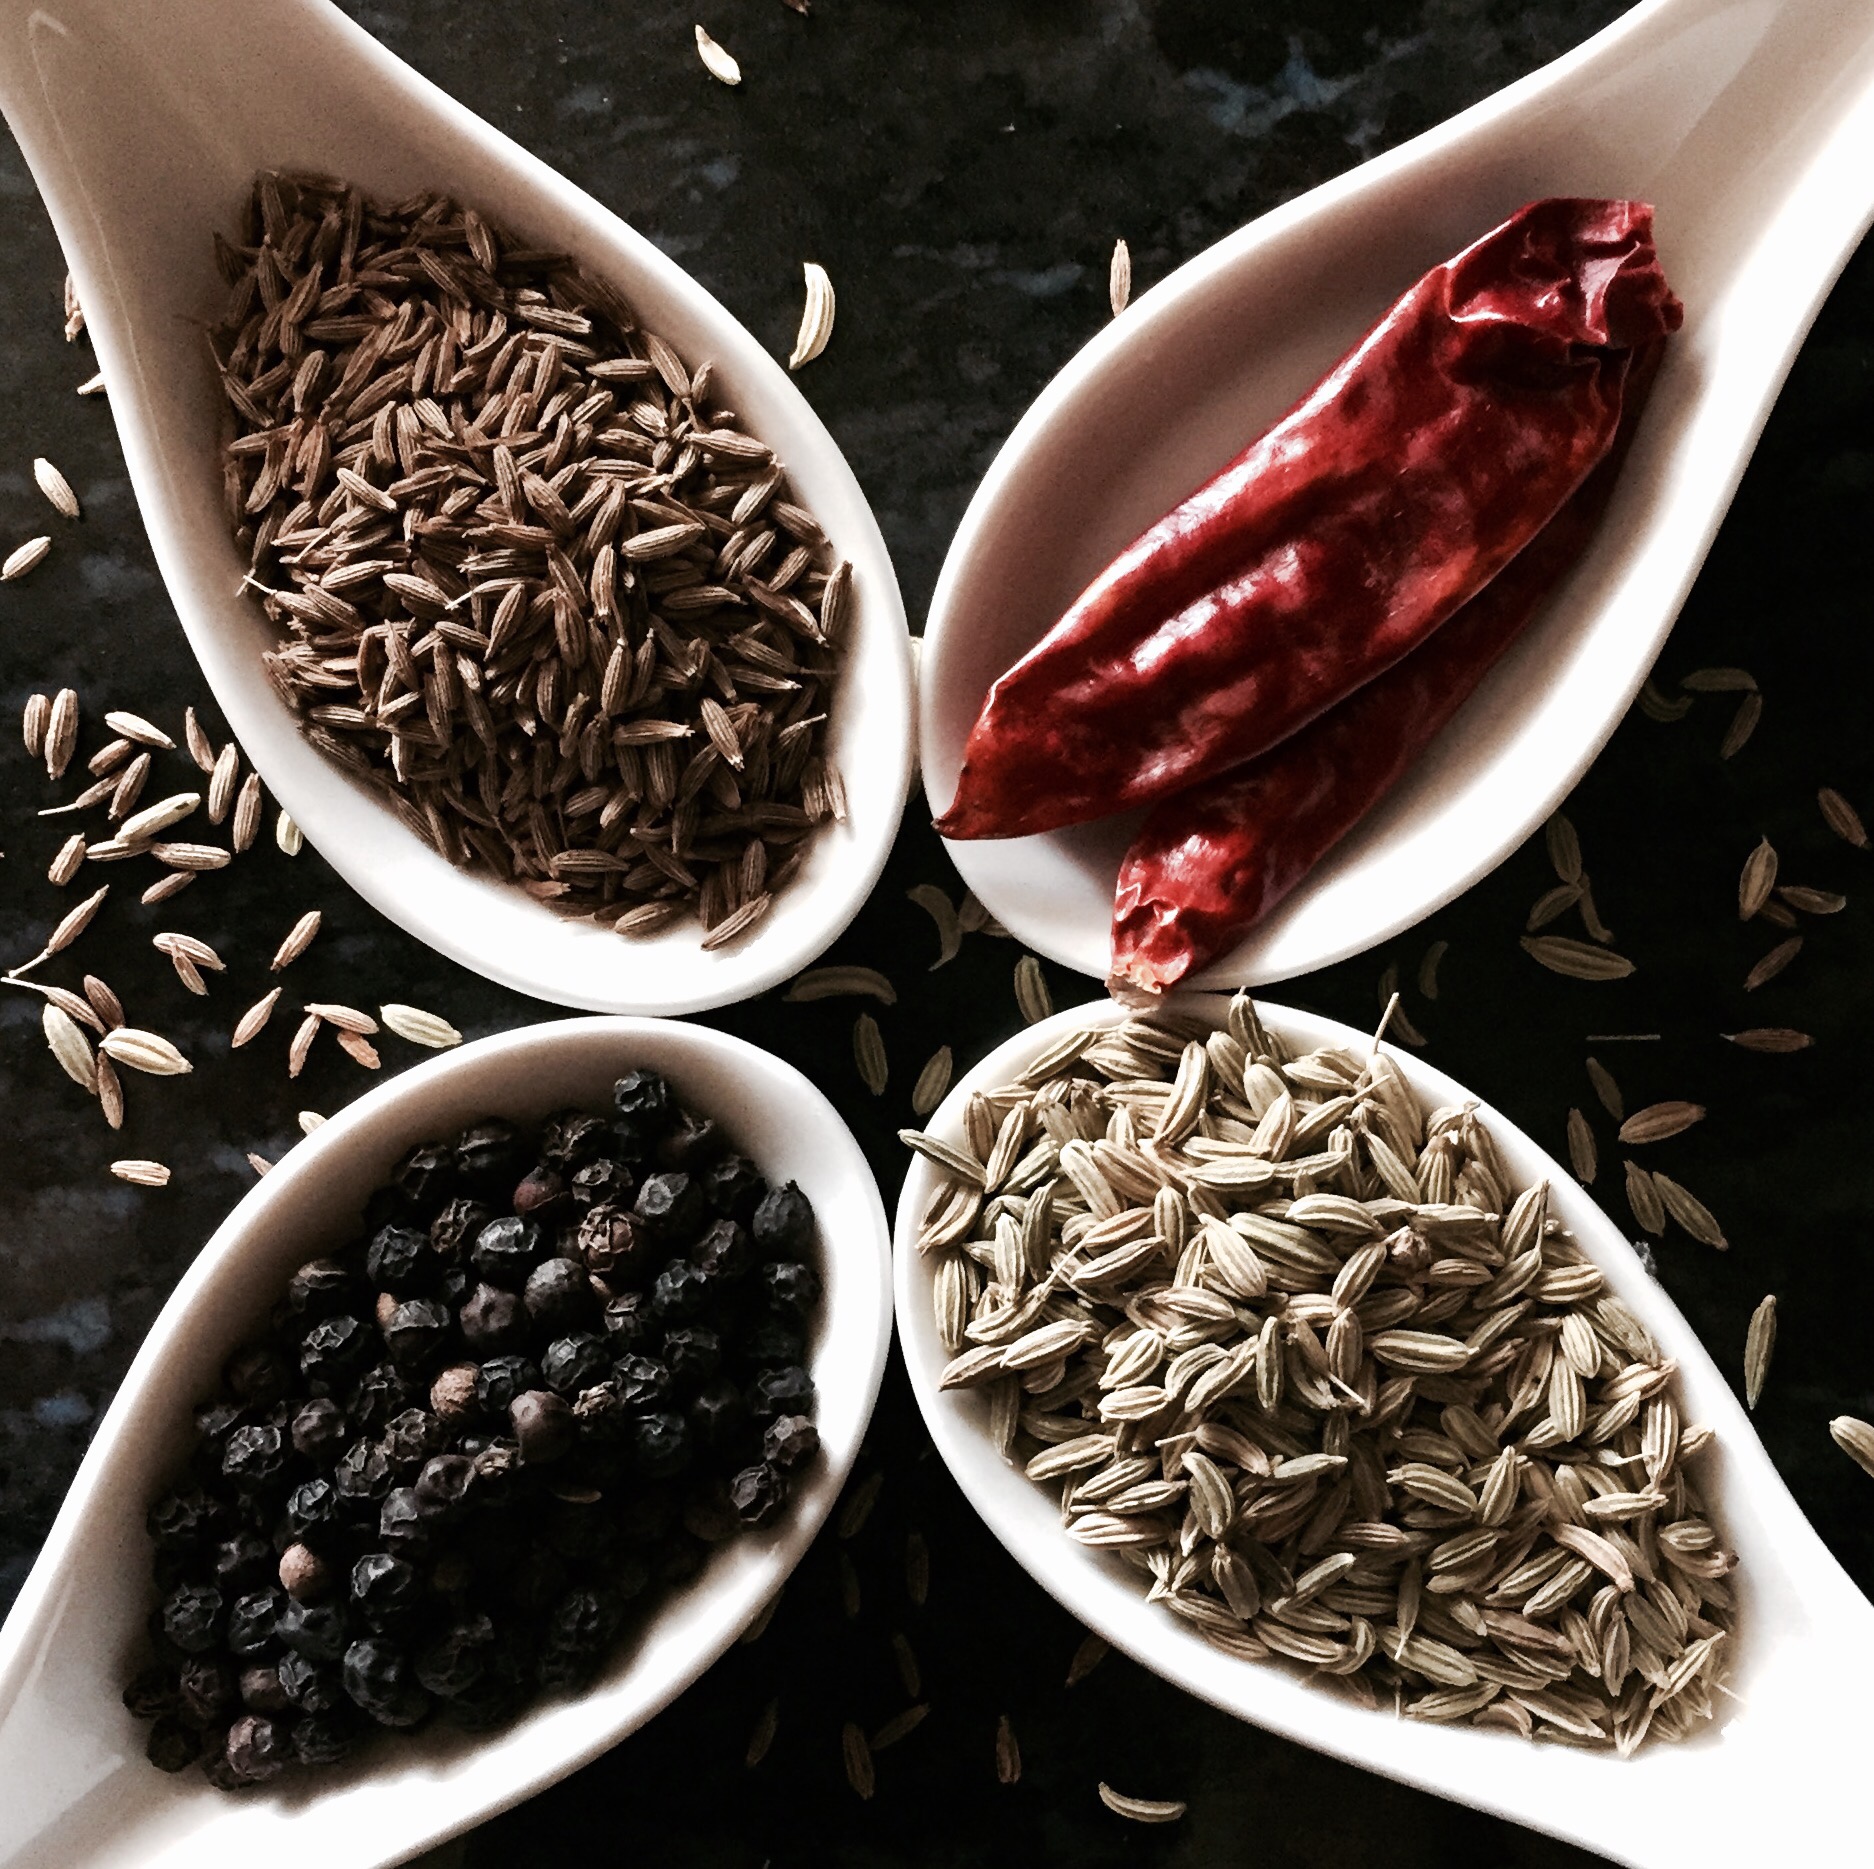
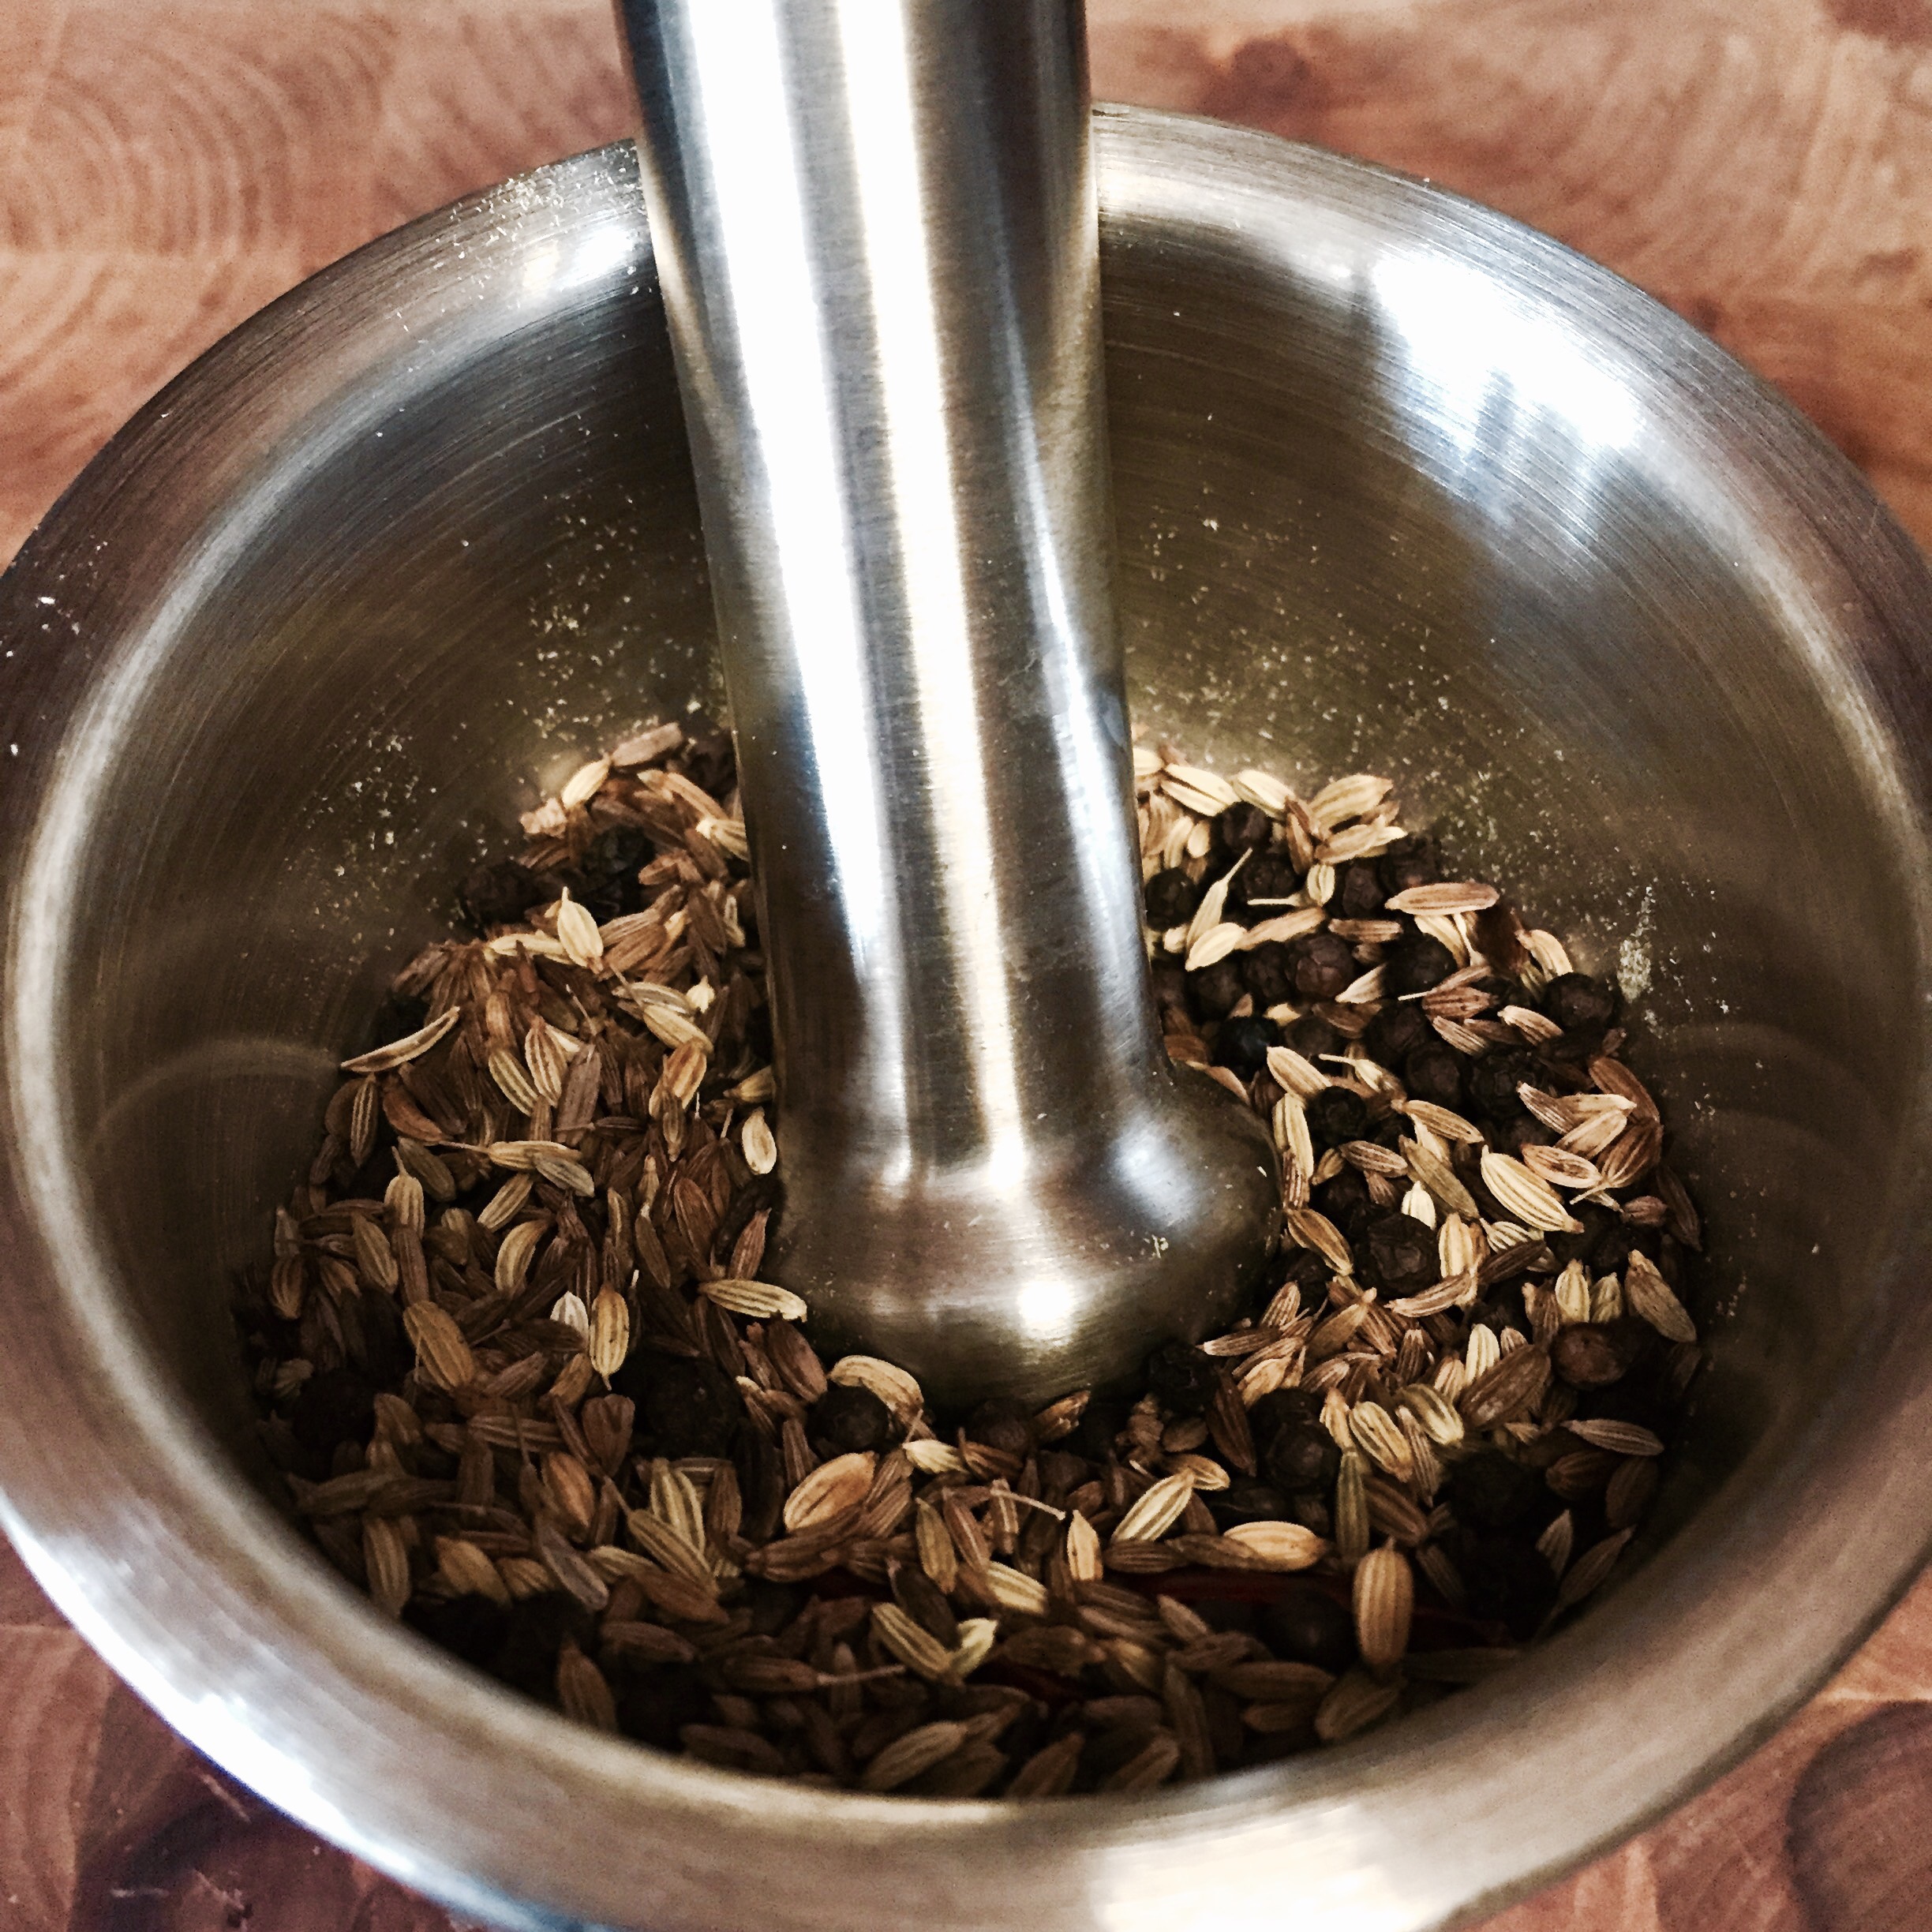
1 tbsp cumin seeds
1 tbsp fennel seeds
1 tbsp pepper corn
4-5 dry red chili
1/4 tsp asafetida
salt to taste
Process:
Poori dough if making by hand: (I make it in the food processor)
Sieve the flour. Make a well in the center and add salt and oil/Ghee. Mix it together till it looks like crumbles
Once again make a well in the center and pour warm water, little at a time to make a soft dough.
Cover with damp cloth and let rest for 30 mins to an hour.
Stuffing:
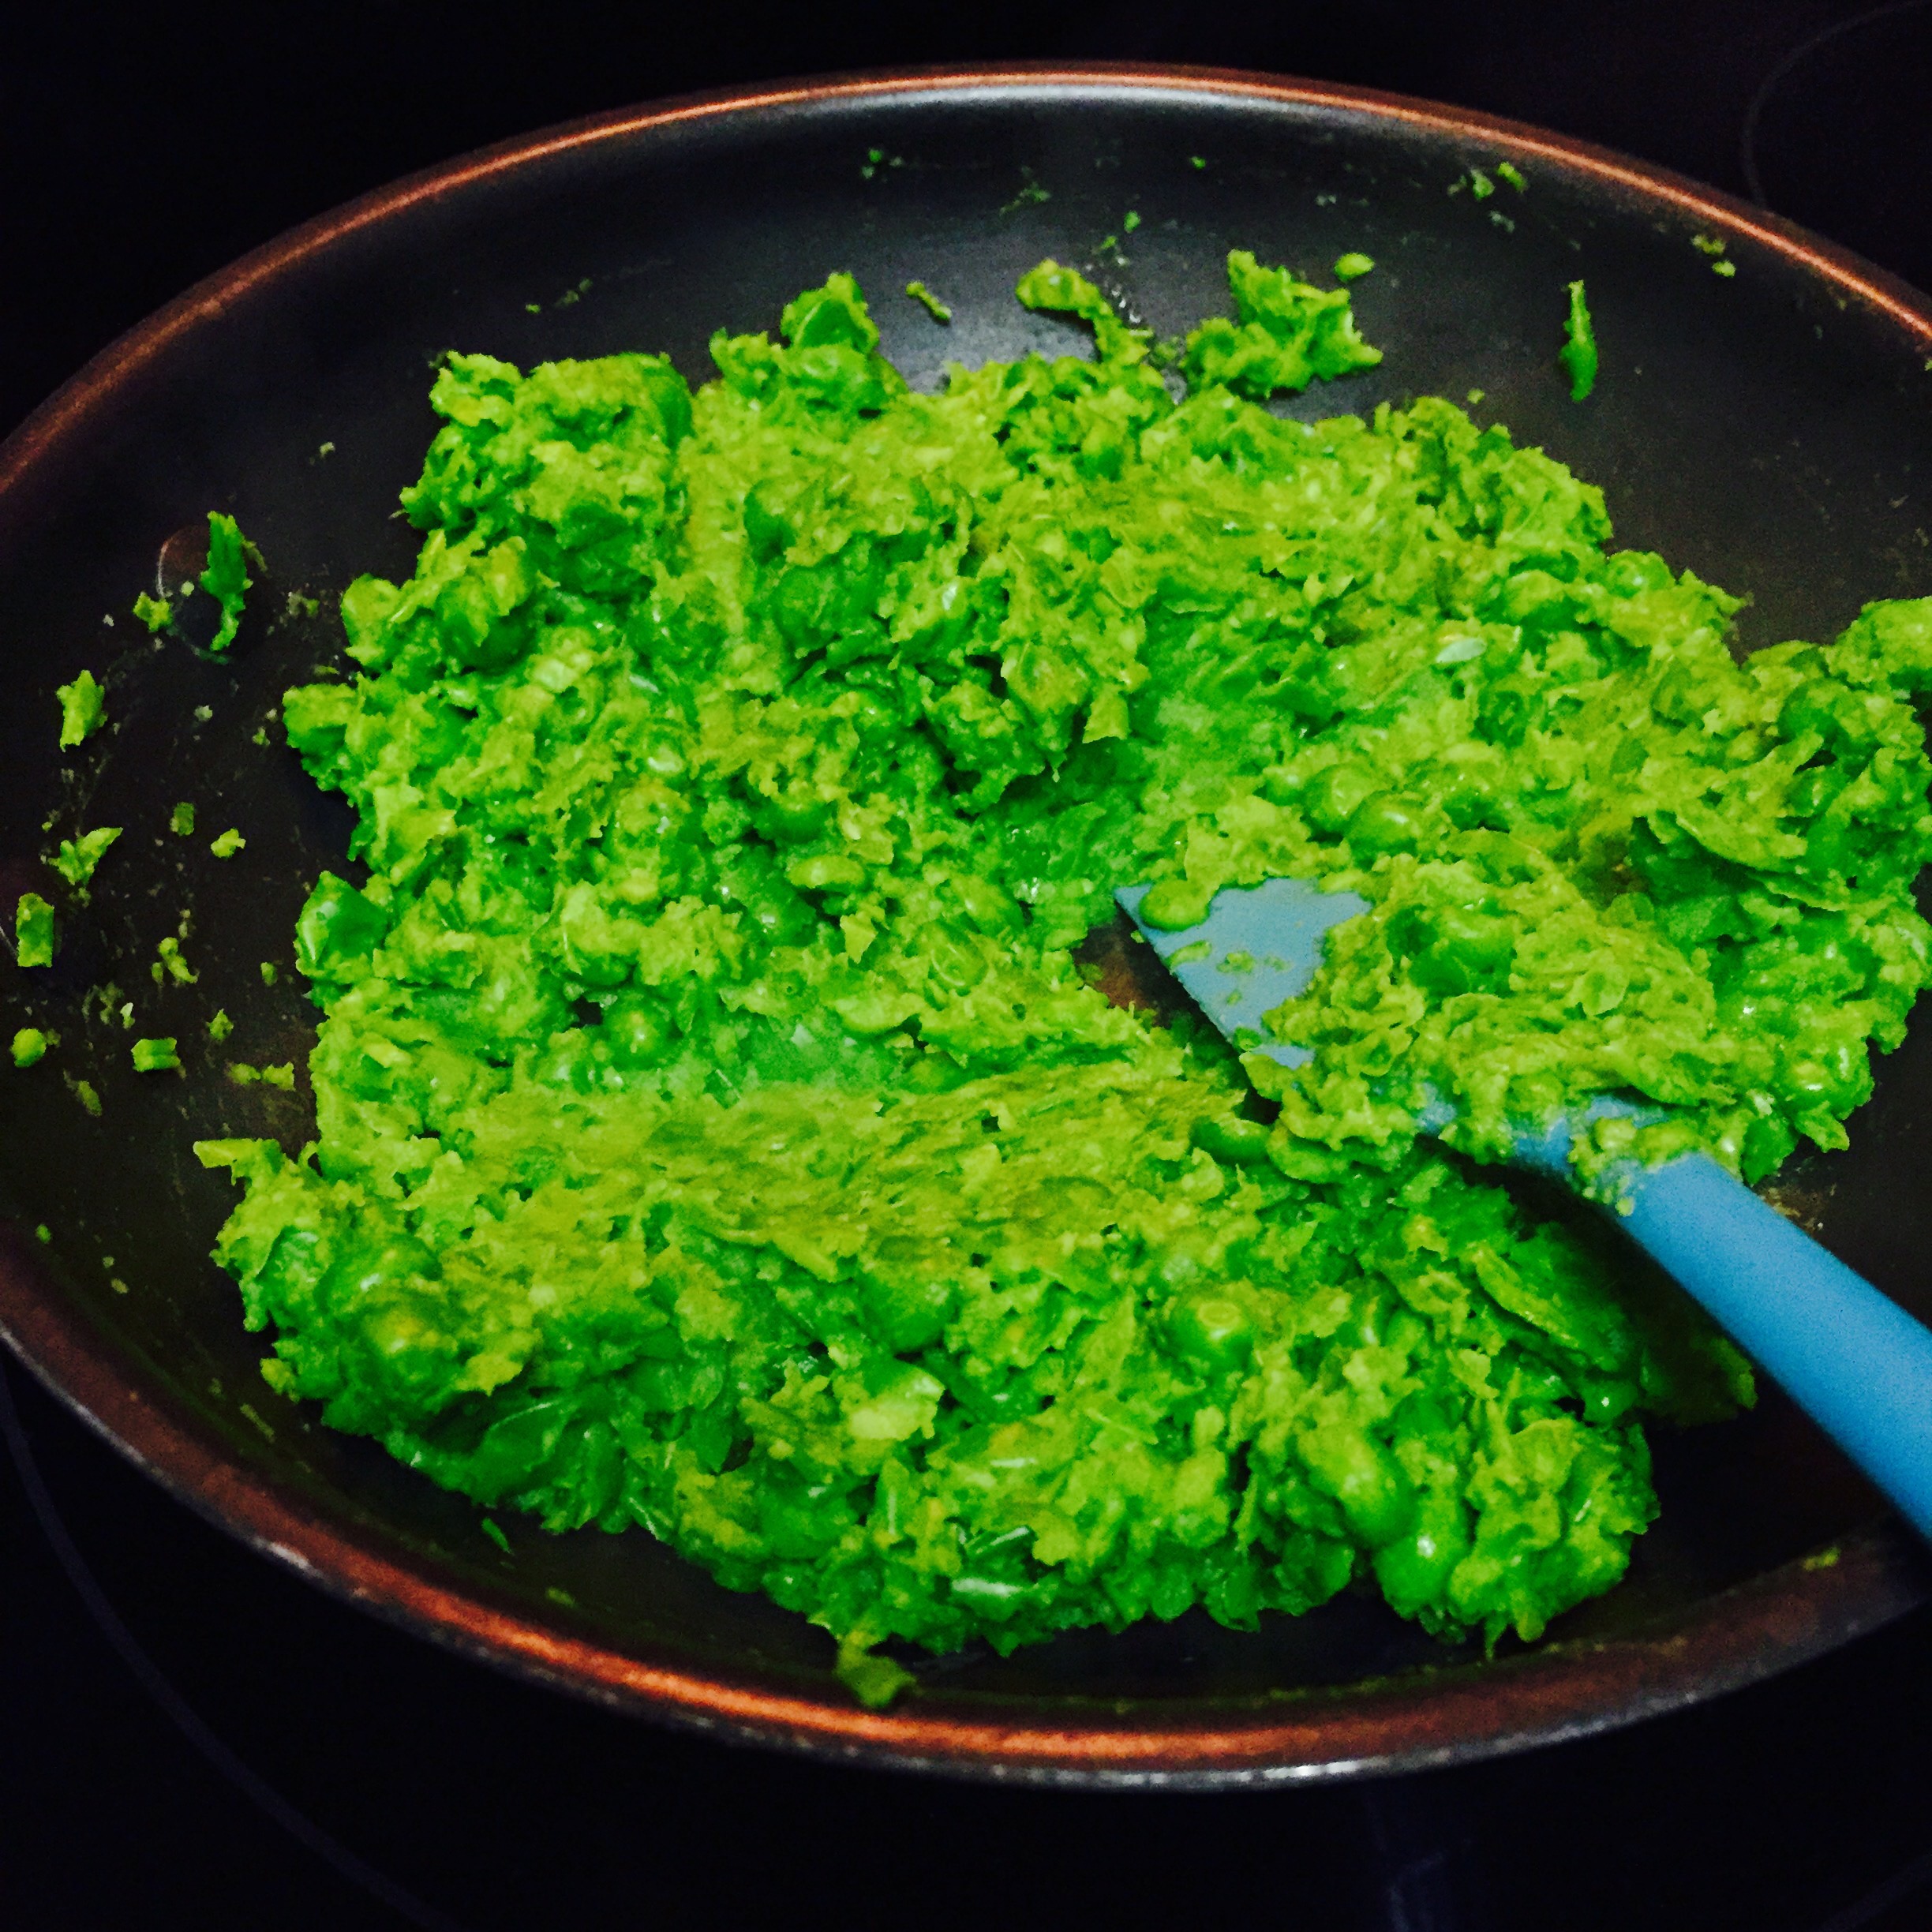
Wash and clean green peas in water, if using frozen peas then thaw them first.
Put the peas in a microwave safe bowl and cook for 5 – 6 mins or until cooked. This can be done on stovetop by adding the peas to a heated heavy bottom pan and steam it. Set it aside to cool.
Heat a non-stick sauce pan and add the cumin, fennel, pepper corn and dry red chillies to it. Dry roast them for 3-4 mins. Set it aside to cool.
Corse grind the spice mix in a coffee grinder.
In a food processor add the green peas and pulse them. Mix in the spice mix, salt and asafetida.
If the stuffing is wet, dry it out by cooking it a little in a non-stick pan
Assembling or putting it all together:
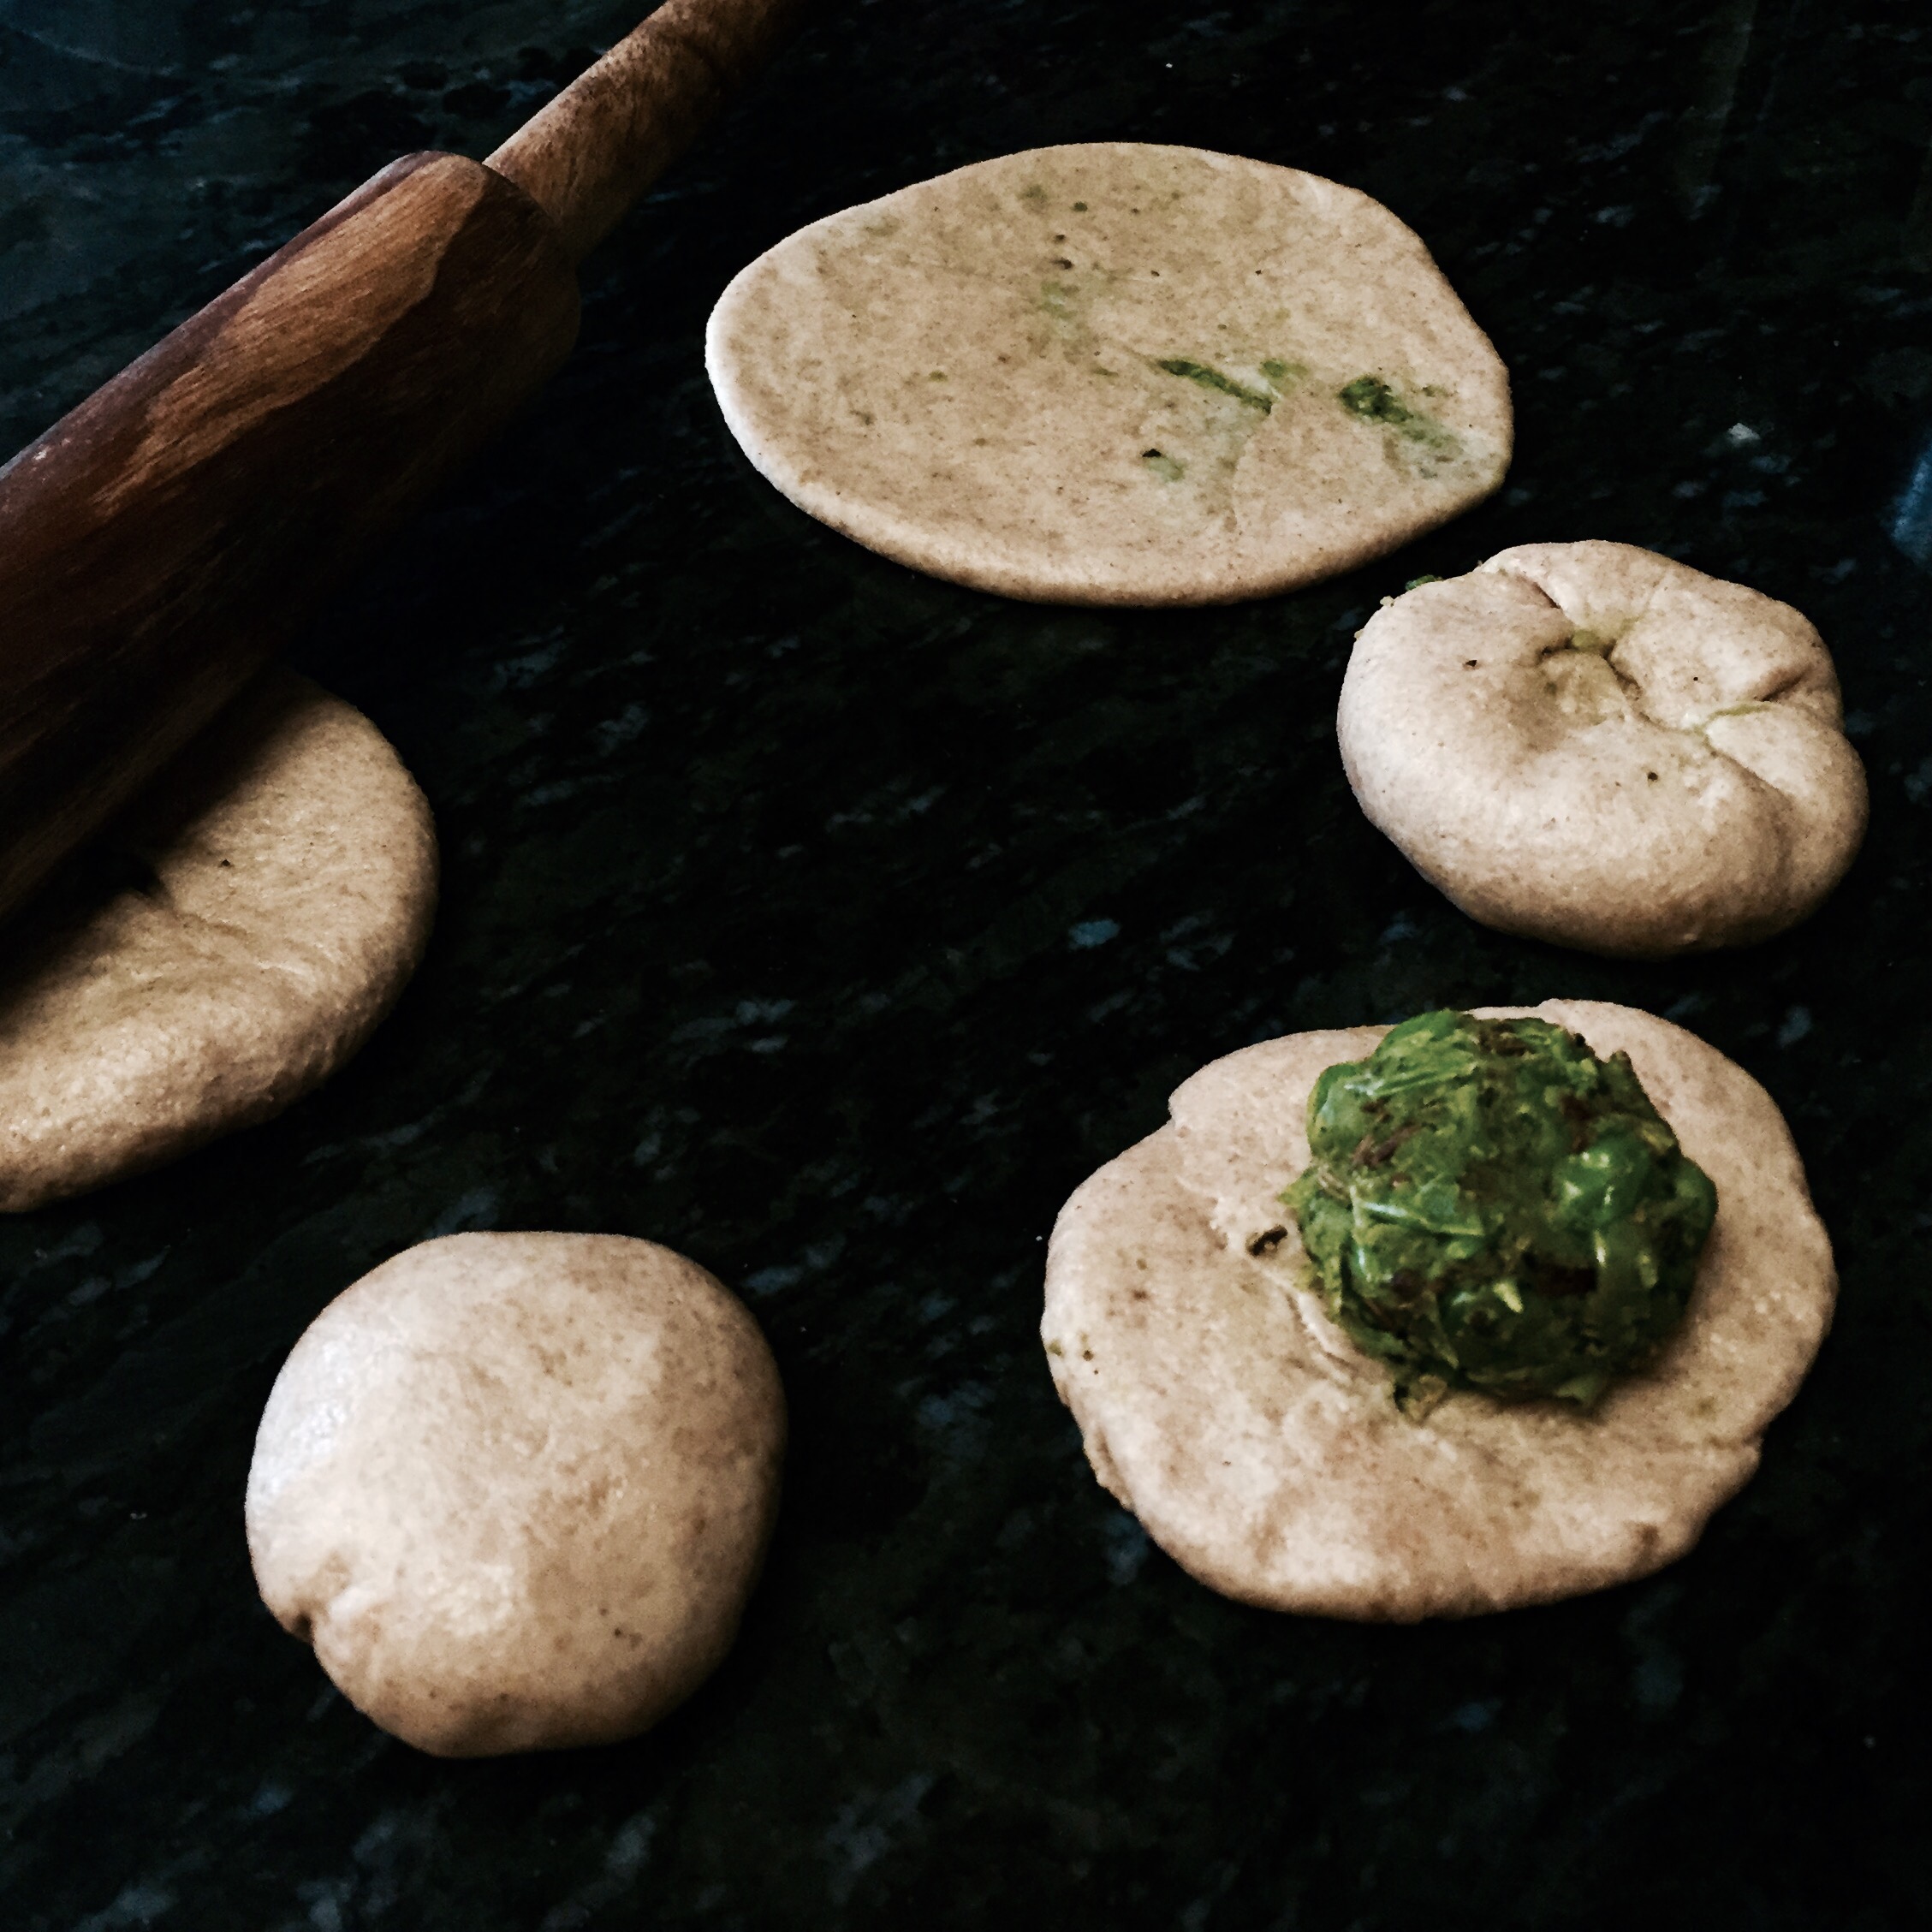
Make small balls from the dough
Take one ball at a time, press gently with your thumb to make it bigger and flatter. Be careful not to make the center to thin. Make it bigger by gently streching at the edges.
Add a ball of filling to each flattened ball, bring together the edges to seal the stuffing inside.
Grease your work surface and roll out the stuffed balls. Be careful not make any cracks by over stretching the dough.
Cooking:
Deep fry each stuffed puri one at a time.
Gently slide the rolled puri in hot oil. It will go to the bottom first and then slowly float up.
Gently press the center with a spatula. Two things will happen at this stage: The puri will puff and will turn golden brown, flip and let the other side get some color too. Remove when it gets a golden brown color and place on paper towels to rid off the excess oil.
Serve them hot!
Note:
The stuffing needs to be dry or it will be really difficult to roll them out.


 I love eggs and pretty much every preparation of it, but omelettes have a special place in my heart. Bitting into a piece takes me back to long train journeys from Hyderabad to Agra filled with my dads jokes, my moms come backs and us giggling our guts out, early morning stops at Jhansi station and our family ritual to always relish freshly made omelette from one of the street vendors before our final stop at Agra.
 My dad was in sales and marketing and travelled often in my growing up years. This was something special my mom made for us girls to make those days feel like fun. We called it the ‘Girls Night Jhol’. I make this with left over Frittatas as well. And if you don’t feel like eating an omelette, bake or fry a couple fish fillets and simmer that in the same gravy and you will get classic bengali maacher jhol (Fish curry).