Chilli Chicken

img_4286

Indo-Chineese cuisine, food that has my heart and is the source of some of the fondest memories of family dinning growing up. Story goes that I was a problem child and the one bribe that worked like a charm was a weekend meal of my favorites – Chicken Corn soup, Prawn Pakora followed by Chilli Chicken with oodles of noodles at my favorite restaurant, Alex’s Kitchen. Always a Foodie. According to my mom I also preferred dining out because I loved the ambience of the restaurant. Yes that word became part of my vocabulary very early in life. Food is a sensory experience and the right ambience enhances that experience immensely, just like the mingled fragrance of chilli, garlic, ginger, scallion and soy at the restaurant.

The restaurant had a pretty big menu and the friendly host, Robert was always full of helpful and delicious recommendations. While we tried something new every now and then, Chilli Chicken was always part of our order. And I continue craving it every now and then. This recipe is probably not the real deal, but it is a recreation of the memory I cherish so much. Hopefully it will lead to some of your own.

Time for Prep: 20 mins     Time to Cook: 30 mins     Yield: 6 servings     Level: Medium

Ingredients:

  • For the Chicken:
    • 2 lbs Boneless Chicken, cut in 1 inch cubes
    • 3 tbsp corn starch
    • 1 tbsp rice flour
    • 1 inch ginger, grated (or 1.5 tbsp ginger powder)
    • 1 tsp rice vinegar
    • 3-4 garlic cloves, minced
    • 3 tsp black pepper powder
    • 1 tsp white pepper powder
    • 1 tsp red chilli powder
    • 1 tsp tomato sauce
    • 1 egg
  • For the Gravy:
    • 4 tbsp soy sauce
    • 2 tbsp tomato sauce or ketchup
    • 2 tbsp butter
    • 1 tsp rice vinegar
    • 1 tsp brown sugar
    • 1.5 cups chicken stock
  • 1 onion, cut in squares
  • 1 green bell pepper, cut in squares
  • 1 red bell pepper, cut in squares
  • 2-3 thai chilli pepper, finely chopped
  • 1 tsp ginger paste
  • Oil
  • 2 tbsp cilantro, finely chopped
  • 1/2 cup scallions, chopped
  • salt to taste

Process:

  1. Make a paste with the ginger, garlic, white pepper powder, tomato sauce, red chilli powder, rice vinegar, corn starch, rice flour and egg. Marinate the chicken pieces in this paste for 3-4 hours.
  2. Heat oil for deep frying in a heavy bottomed vessel.
  3. Carefully fry the marinated chicken. Do not crowd the vessel. Reduce flame and deep fry till cooked and is golden brown. Remove onto absorbent paper and keep aside.
  4. Heat oil in a large wok add half of the soy sauce and sugar.
  5. Add the whites of scallions and sauté for a few seconds. Add the chilli pepper and ginger and stir fry on high for a few seconds.
  6. Add the fried chicken pieces, chopped bell peppers and onion and stir fry on high for 2-3 mins, constantly tossing them.
  7. Reduce to medium heat and add rest of the soy sauce, tomato ketchup and vinegar. Mix well and cook for 2-3 mins.
  8. Toss on high flame for 1-2 mins
  9. Mix a tbsp of cornflour in a little water, make a thin paste and keep aside.
  10. Add the chicken stock  and bring to a boil.
  11. Add the cornflour water slowly and keep stirring till it takes a thick gravy like consistency. Cook for 1-2 mts. Turn off heat.
  12.  Garnish with chopped spring onion greens and/or coriander leaves and serve.
Advertisement

Vegetable Manchurian

IMG_4267Indo- Chinese cuisine took birth in the streets of Kolkata by a small group of Chinese immigrants incorporating traditional Chinese cooking techniques and seasoning to create dishes catering to Indian tastes. A big part of it was providing a wide range of vegetarian options. Through years of evolution, this cuisine now bears very little resemblance to traditional Chinese food, except may be the use of soy sauce.

Good Indo-Chinese food is almost impossible to find in US, I have followed every lead I got (which includes my cousin driving an hour for a carry out!!) but the food never met expectations. So this became one of those pet projects of mine and I have finally managed the India wala taste. And the best part, this is MSG FREE!
IMG_4279
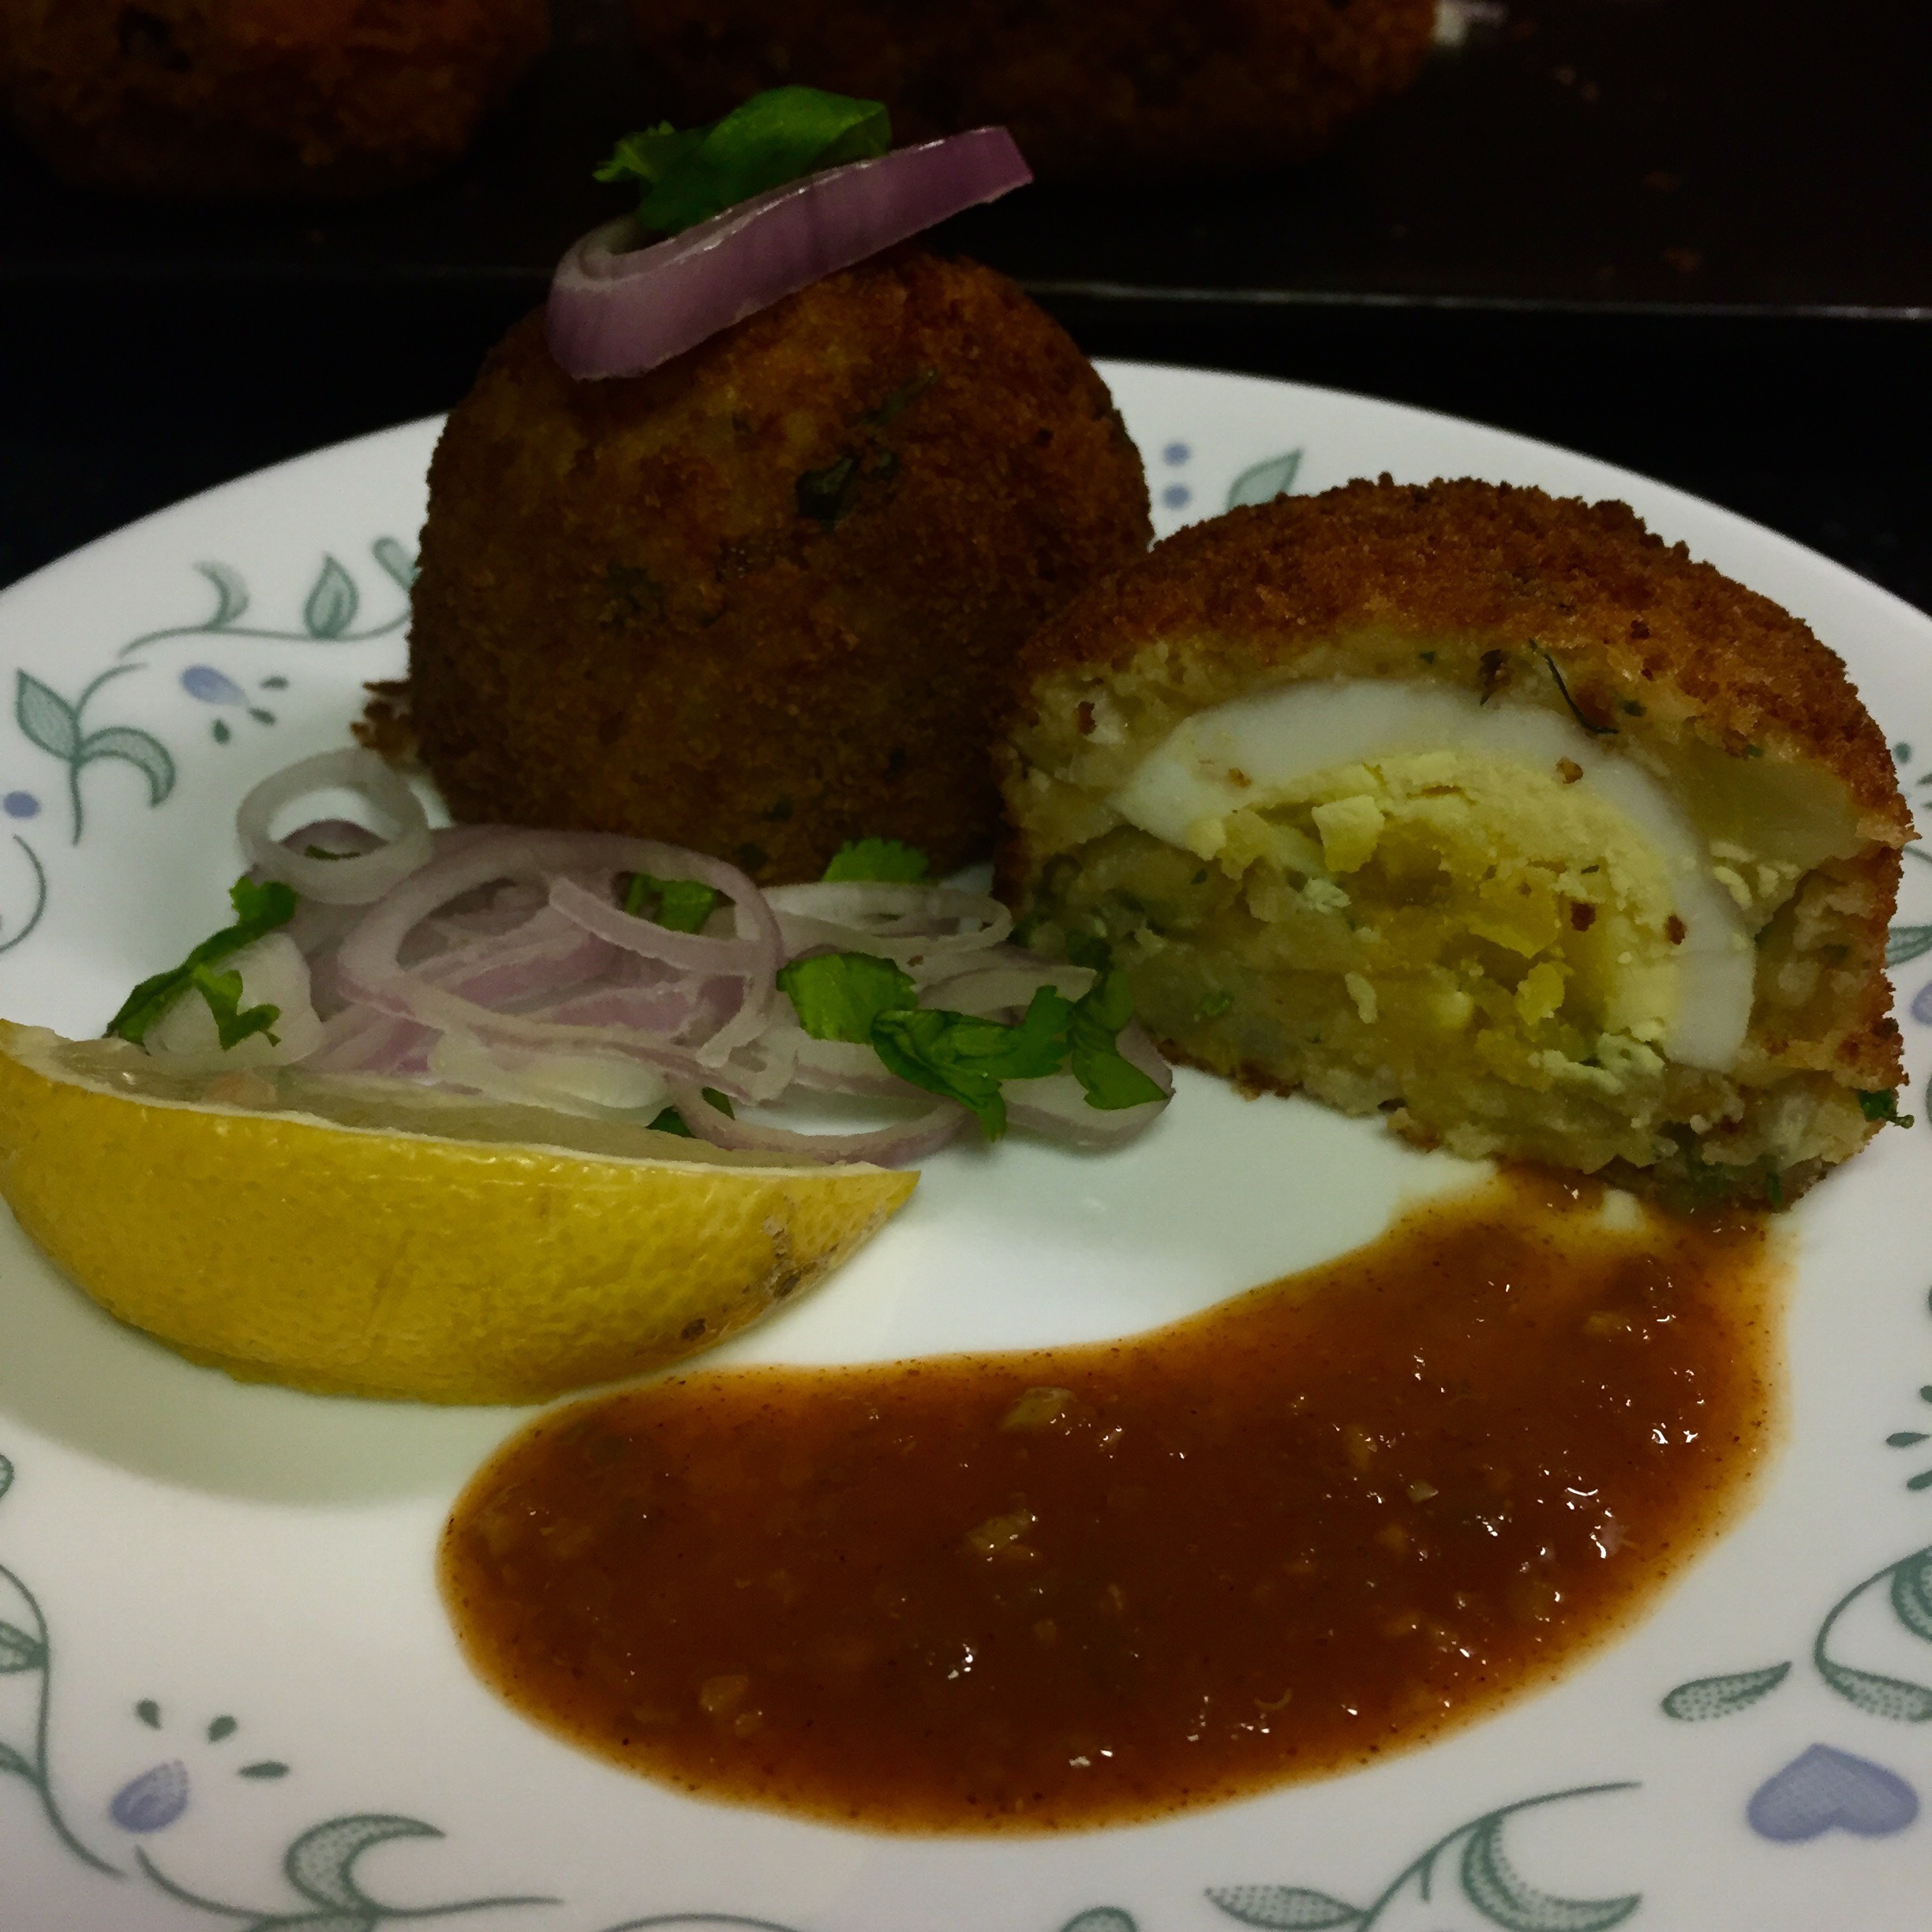
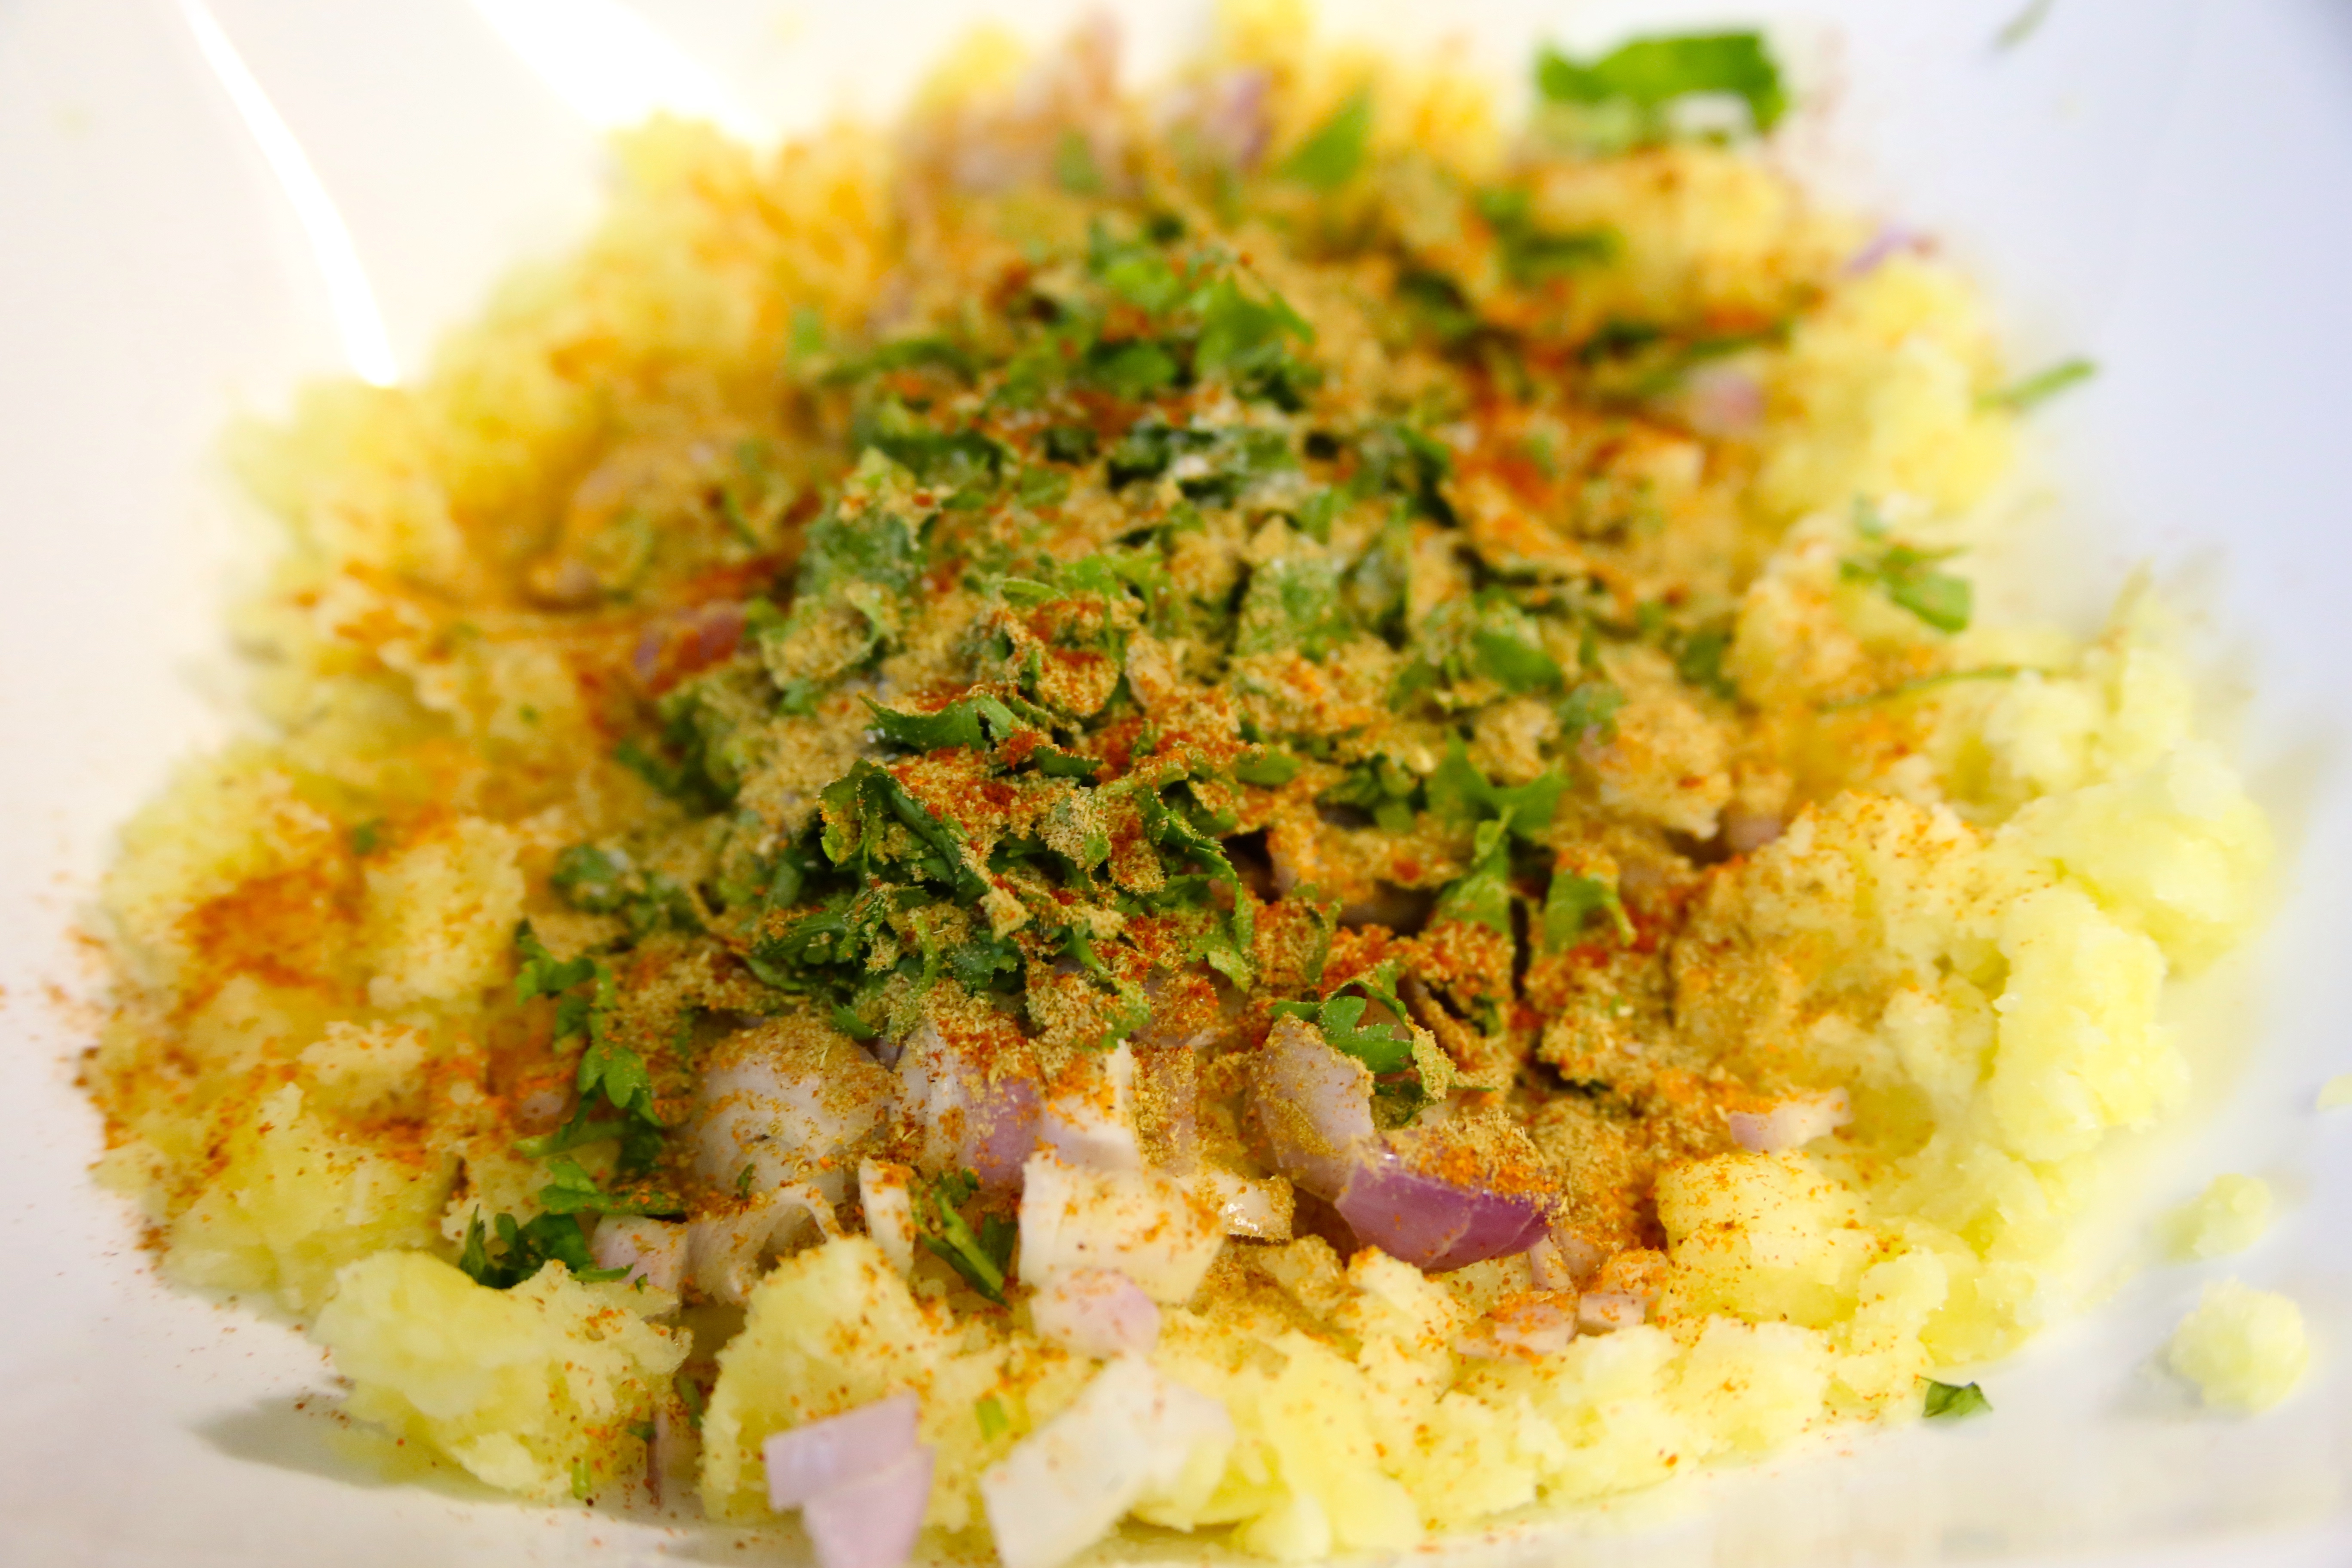
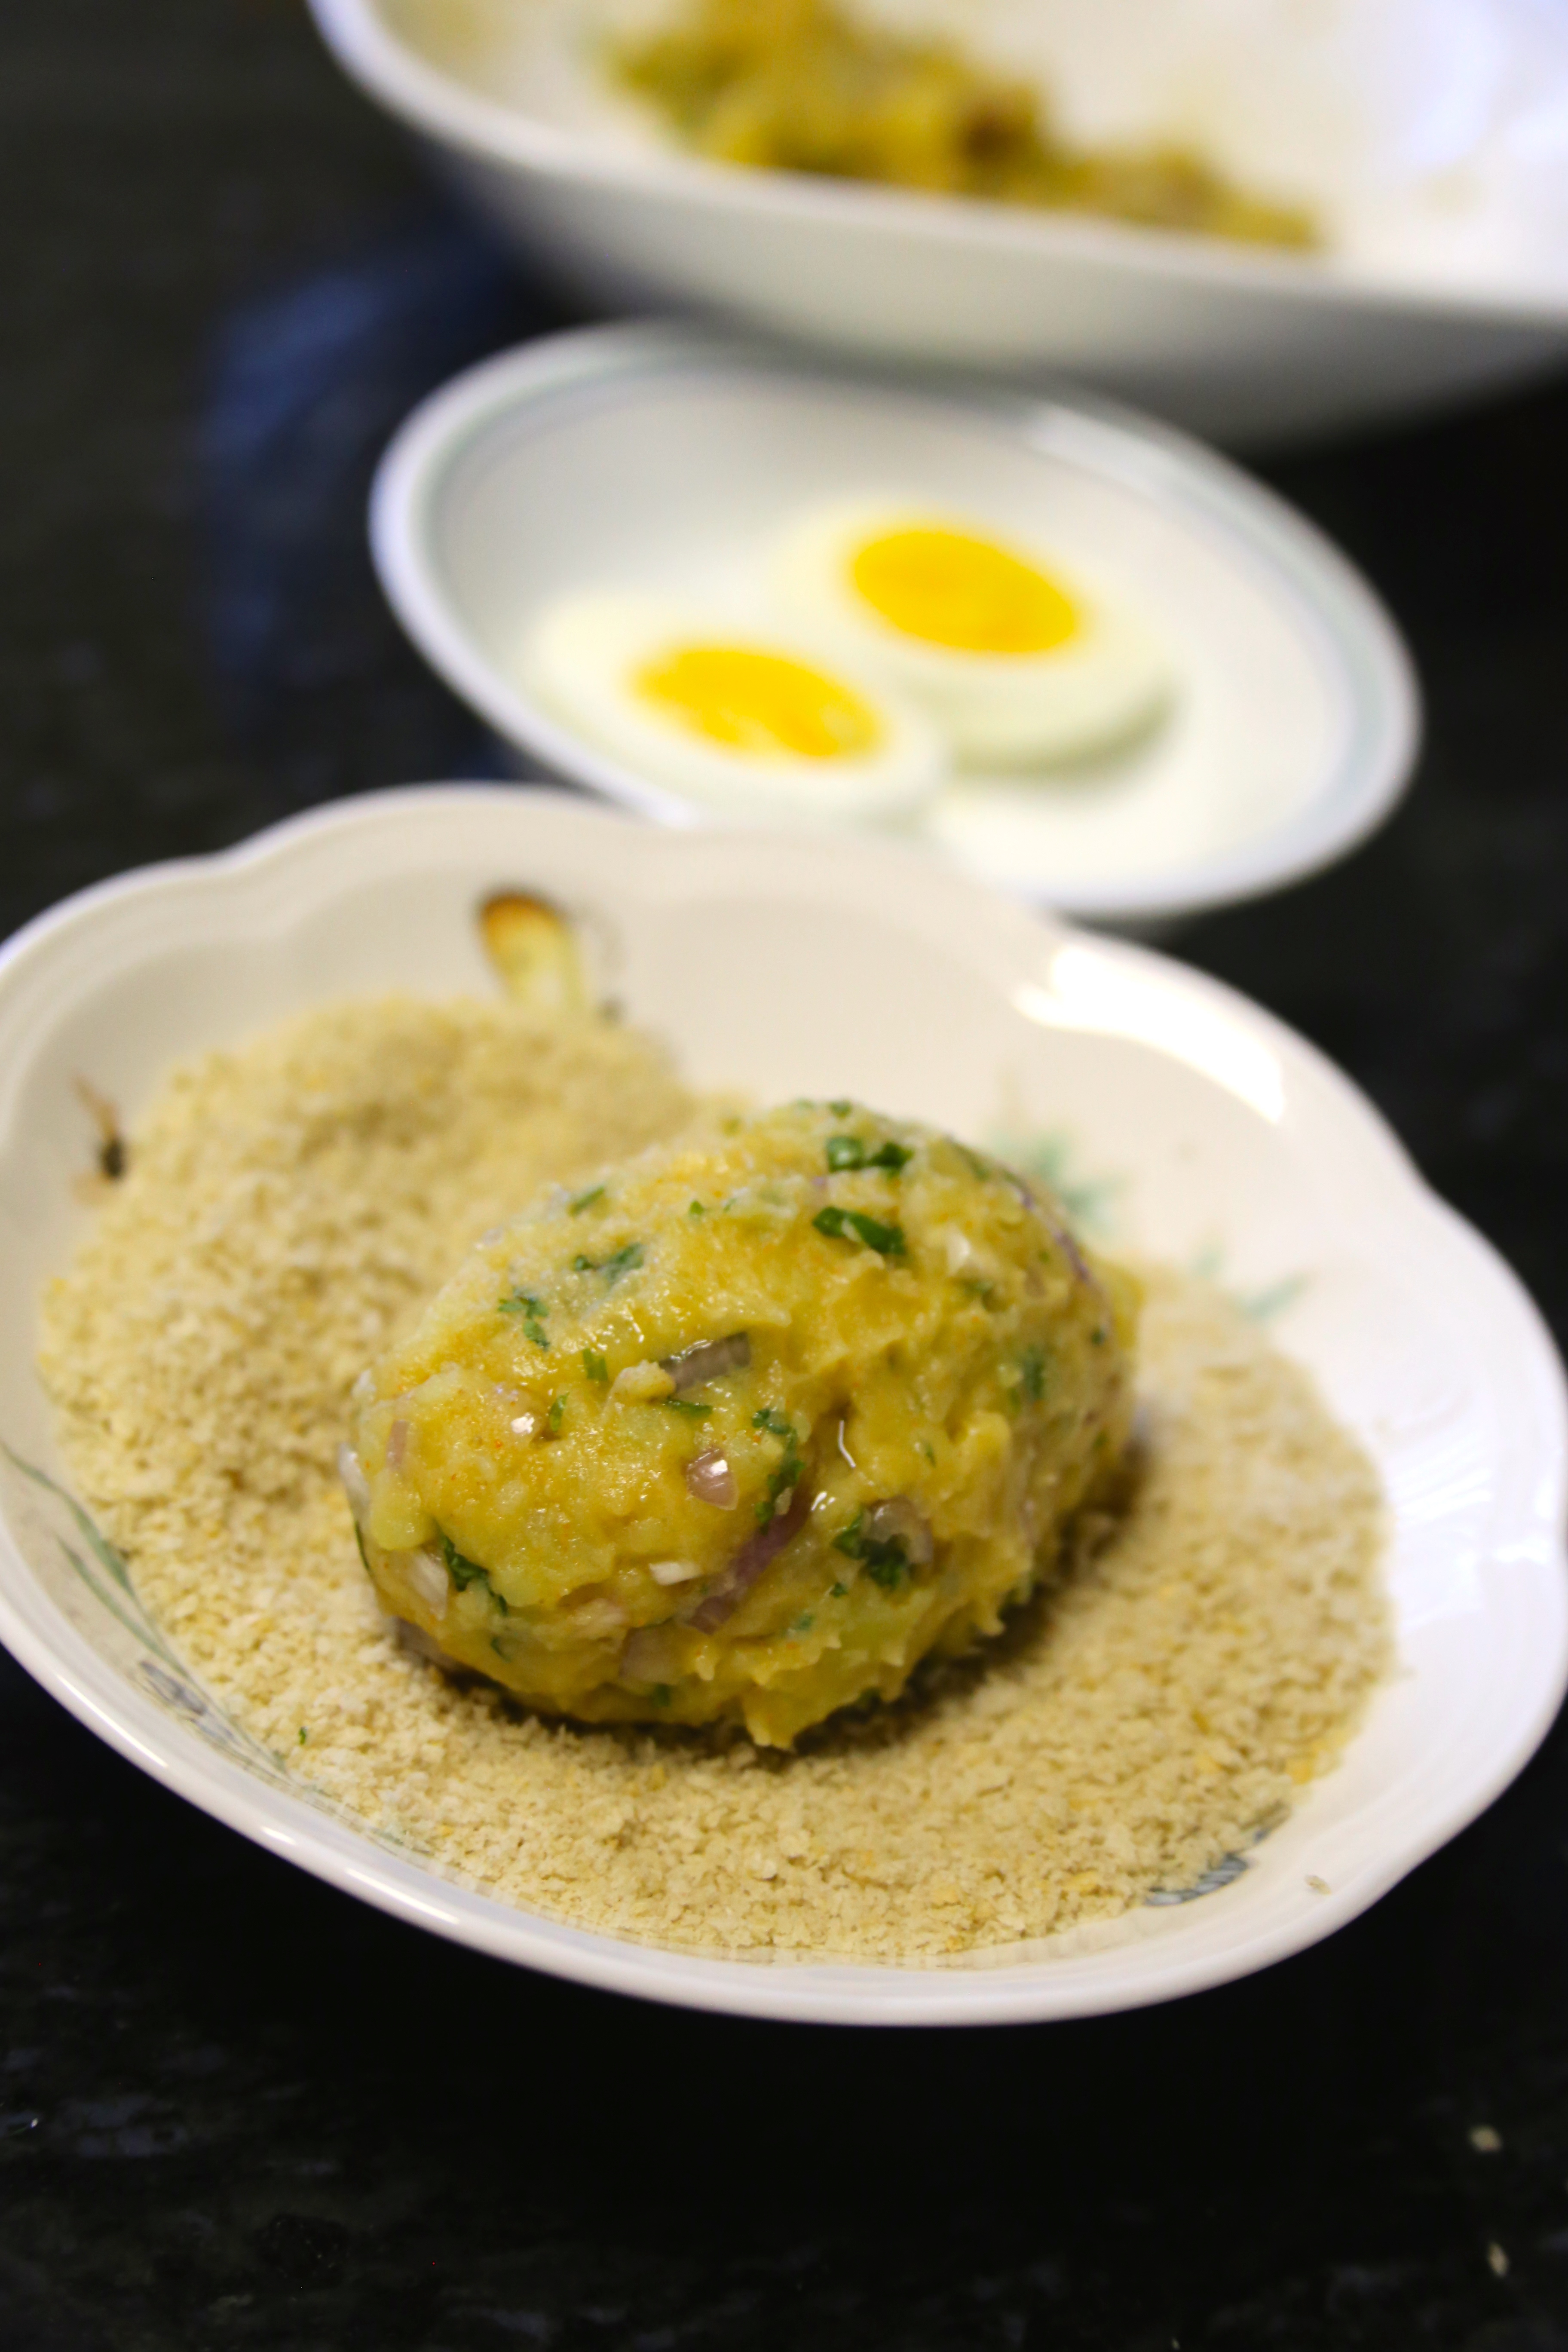
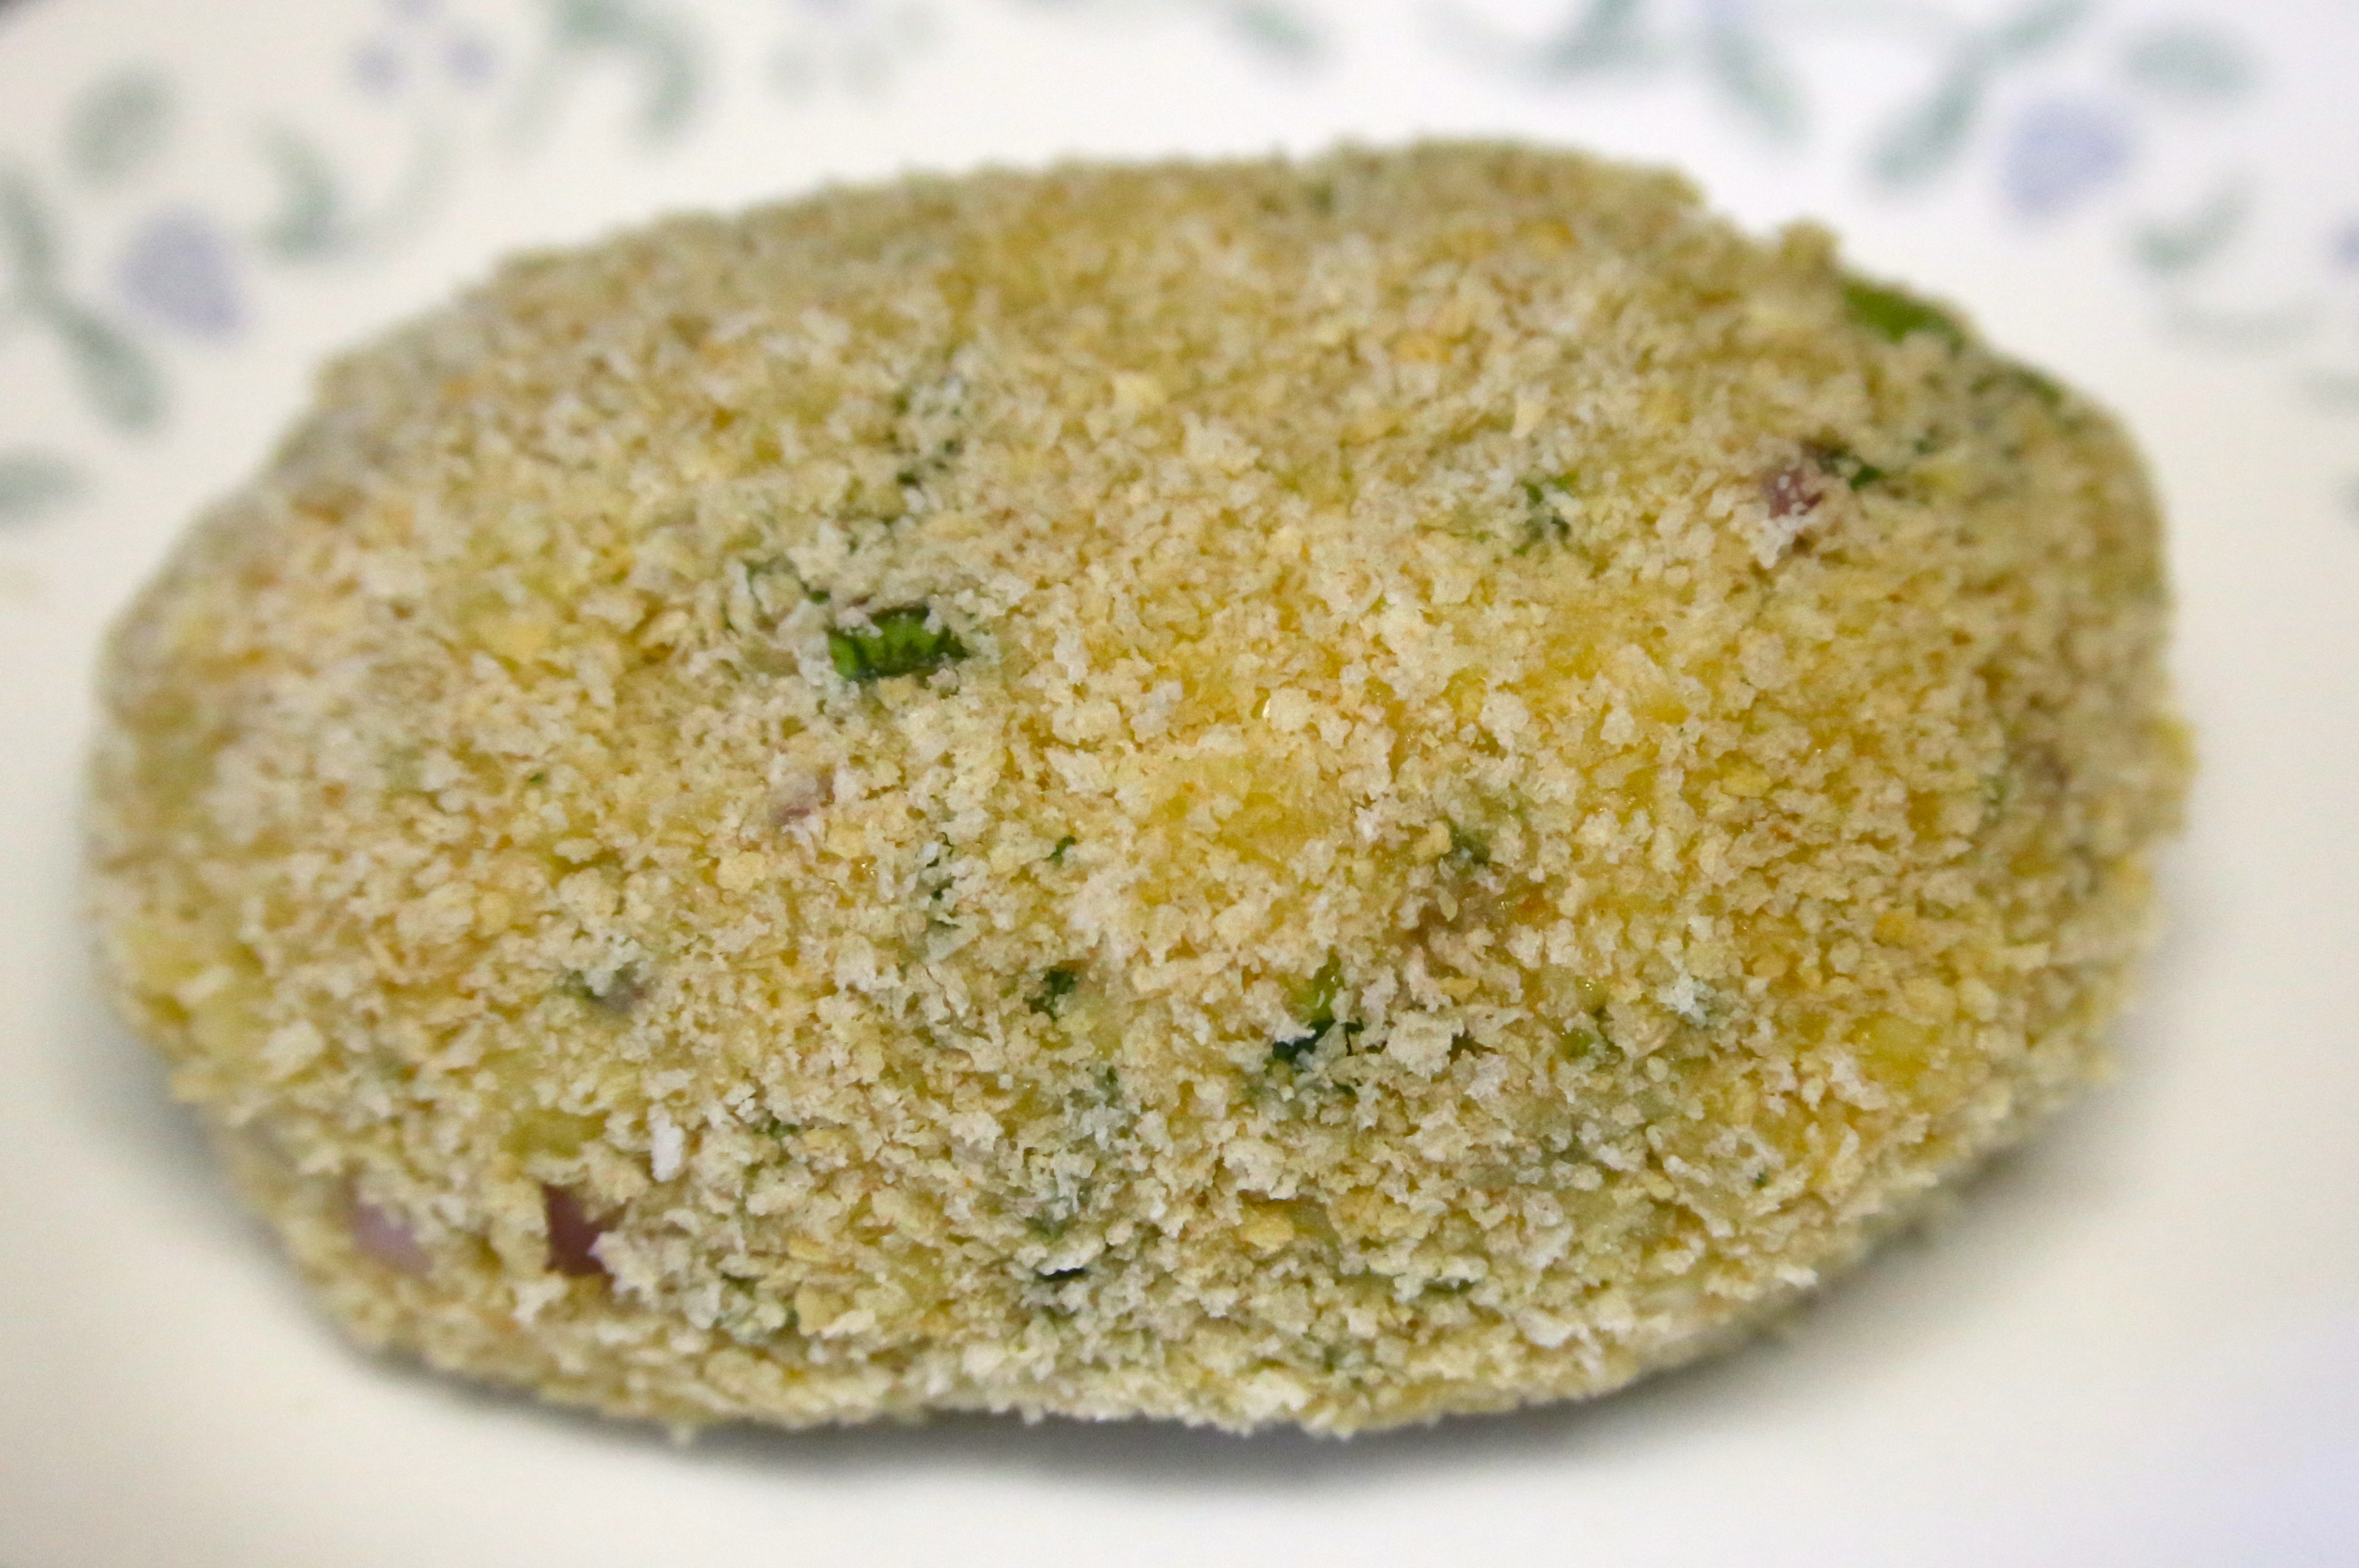
This dish is one of the most popular street food in India, grated mixed vegetable dumplings are first fried and then sautéed in soy sauce (and more) and served hot as is or as a side dish with Hakka Noodles or Fried Rice. Dry version serves as a good appetizer and the gravy version is perfect with some Fried Rice or Steamed Rice. Restaurants add a whole bunch of MSG (may be thats why its so addictive?), I use a tbsp of butter instead to get similar flavor.

Here I am deep frying the fritters, but in the past I have tried to bake it too. Make the vegetables balls following steps listed below, on a cookie sheet layered with parchment paper place them around 1/2 inch apart from each other,  spray a little oil and baked for 20 mins in oven pre-heated to 400F/205C, then broiled for 5 mins, flipping them halfway. While it definitely is a lot healthier, it doesn’t taste the same.

Time for Prep: 20 mins     Time to Cook: 20 mins     Yield: 16     Level: Easy

Ingredients:

  • Finely chopped vegetables
    • 1/4 cup carrots
    • 1/4 cup green bell pepper
    • 1/4 cup red bell pepper
    • 1/2 cup cauliflower
    • 1/2 cup cabbage
    • 1/2 cup scallions
  • 2 tbsp all purpose flour
  • 3 tbsp corn starch
  • 1 tbsp rice flour
  • 2-3 thai chilli pepper, finely chopped
  • 1 inch ginger, grated (or 1.5 tbsp ginger powder)
  • 5-6 garlic cloves, minced
  • 3 tbsp soy sauce
  • 2 tbsp tomato sauce or ketchup
  • 1 tbsp chilli sauce or siracha
  • 2 tsp rice vinegar
  • 3 tsp black pepper power
  • 1 tsp brown sugar
  • 2 tbsp cilantro, finely chopped
  • salt to taste

Process:

  1. Heat oil for deep frying in a heavy bottomed vessel.
  2. In a bowl, combine all the finely chopped vegetables. Add salt, mix it in and let it sit aside for 10-15 mins. vegetables (especially cauliflower) will release quite a bit of water.
  3. Add all-purpose flour, corn starch, rice flour, half of ginger, garlic and thai chilli pepper, black pepper, 2 tsp soy sauce. Mix them all in. Add water, if needed, little by little and use only as much water as required to form small balls. You should be able to make small balls as shown in the picture above. Be mindful while adding water and add only 1 tbsp at a time.
  4. Carefully place each ball into the hot oil. Do not crowd the vessel. Reduce flame and deep fry the vegetable balls till cooked and is golden brown. Remove onto absorbent paper and keep aside.
  5. Heat oil in a large wok, add the whites of scallions and garlic, sauté for a few seconds. Add the rest of chilli pepper and ginger and stir fry on high for a few seconds.
  6. Add the vegetable balls and stir fry on high for 2 mts, constantly tossing them.
  7. Reduce to medium heat and add the brown sugar, soya sauce, tomato ketchup, chilli sauce and vinegar. Mix well and cook for 2 mts.
  8. Toss on high flame for 1-2 mts. Turn off heat. Garnish with the chopped spring onion greens and/or coriander leaves.

Notes:

IMG_4276

To make Vegetable Manchurian with Gravy:

  • Mix a tbsp of cornflour in a little water. Keep aside.
  • After following step 5 above, add 1 1/2 cups water and bring to a boil. Reduce to medium heat and add the brown sugar, soya sauce, tomato ketchup, chilli sauce and vinegar.
  • Add the cornflour water slowly and keep stirring till it takes a thick gravy like consistency. Cook for 1-2 mts. Turn off heat.
  • Add the fried vegetable balls to the gravy at the time of serving. Garnish with chopped spring onion greens and/or coriander leaves.

Rangaloor Puli (Sweet Potato Dumplings stuffed with Coconut Filling)

IMG_4010Rangaloor Puli is traditional Bengali dessert made mid January, around Sankranti or Poush Parbon (Harvest festival). Freshly harvested paddy, produce and date syrup in the form of Khejurer Gur (Jaggery) is used to make a variety of delicious goodness like Rangaloor PuliPayeshGokul Pithe, Pati-shopta, nonta pithe and Koraishutir KochuriIn our household this day was even more significant because it also is the day my mom was born. Growing up I remember all those lovely Sankranti plus Birthday parties my parents hosted every year.IMG_4015These words from my beloved Jethima (aunt) to my mom says it all – “We got to eat all the traditional Sankranti goodies of Bengal. You were the most hard worked birthday girl I’ve ever seen. We were there in large numbers but you kept filling then rolling out and frying mounds upon mounds of Motorshutir Kochuris. These Kochris were always accompanied by RangaAlur Pethe. Subir my dear devar was ever ready to peel those kilos upon kilos of peas and to grind them in the mixie. What a wonderful couple the two of you made. I shall always cherish those memorable days we spent in and out of one another’s home. With all my love Jharnadi”
IMG_4009My Husband absolutely loves this! And if the way to a mans heart is through his stomach, this definitely is a quick escalator ride. As soon as we are done wishing each other Happy New Year, he wants to know when I will be making these and I oblige every year!

Time for Prep: 45 mins     Time to Cook: 25 mins     Yield: 18-20 pieces     Level: Medium

Ingredients:

  • For the filling:
    • 2 cups grated Coconut
    • 1 cup Khoya (milk thickened by heating in an open pan)*
    • 1 cup Jaggery or sugar
  • For the outer layer:
    • 2-3 medium sized sweet potatoes
    • 2-3 tbsp all purpose flour*
    • 1 tbsp rice flour
  • For the syrup:
    • 1.5 cups sugar (3/4 cup sugar +3/4 cup jaggery)*
    • 1.5 cups water
    • 1/2 tsp cardamon powder
    • pinch of saffron
    • 1 tbsp rose water (optional)

Process:

  1. Making the stuffing:
    • In a heavy bottom pan over medium heat, combine the coconut and jaggery, let the jaggery dissolve completely. Add the Khoya.
    • Cook open over medium heat. Stir occasionally to ensure that the mixture doesn’t stick to the pan until you get a thick mixture. Let it cool.
    • Once cool, divide into 18-20 equal portion and set aside.
  2. Making the outer layer of Rangaloo:
    • Pre-heat oven to 400F/ 200C, peel the potatoes and roughly chop them in chunks. Bake for 35-40 mins.*
    • Let it cool, then mash them a little.
    • Add the flour and knead to a dough, soft and not sticky. Be careful not to over mash, because the potatoes will get very starchy and will be impossible to work with.
    • Divide into 18-20 equal portion, in the shape of ball.
    • (OR)
    • Boil the potatoes until soft, peel, mash, divide.
  3. Making the syrup:
    • In a saucepan, combine sugar/ jaggery and water, add cardamon powder. Stir till the sugar/ jaggery is dissolved and boil till one string consistency, around 10 mins.
    • Add rose water and stir it in. This just adds to the fragrance and sweetness of the syrup.
  4. Assembling the Puli:
    • Flatten one of the balls of potato dough, using your fingers.
    • Place the coconut stuffing in the center and carefully fold to a semi-circle.
    • Seal the edges. Repeat with the remaining balls.
  5. Cooking:*
    • Pre-heat oven to broil. Baste the semi-circle assembled puli with oil and place them in a single layer on a cookie sheet. Broil for 5-8 mins, turn the puli and repeat.
    • Take them out and dunk them in the sugar syrup
    • (OR)
    • Heat oil in a frying pan for deep frying and deep fry the puli until golden brown, dunk into the syrup.

Let them soak in syrup for 8-10 mins. Serve Warm or Cold.

Notes:

  • For a lactose free (Vegan) and gluten free delight, skip the khoya and instead of all purpose flour use a blend of coconut, almond and rice flour (1:1:1 ratio)
  • Traditionally this dish is made with 100% Khejurer gur, a special type of jaggery made with the sap of date palm trees. But its almost impossible to get some in US, so I make this with blend of date sugar and coconut sugar instead. It has the same flavor but easier to find (and a lot healthier).
  • I prefer baking the potatoes instead of boiling because it ensures that there is no extra moisture that I need to worry about.
  • For the final cooking, this year I broiled a few in the oven and deep fried a few. Got it taste tested by friends and no one could tell the difference!

Roshogolla


1524178_10154220906405573_5115683737530121643_oRoshogolla or Bengali Rasagulla is essentially spongy balls of indian cottage cheese (chhana) cooked in sugar syrup. There are various versions to the origin of this dessert, but this is the one I like, because this is the version my mom told me.

The year was 1868 in Bhagbajaar (Kolkata), a confectioner named Nobin Chandra Das was having a discussion with a bunch of freedom fighters who were concerned about the popularity of English desserts in India.

“Nobinda, these puddings and pies are becoming very popular. These days the youth prefer those to puli and pithe” said one of them.

“Can you think of a way we can change that? Your a master confectioner can you come up with something which is swadeshi and delicious?” said another.

Nonbinda thinks a little and says “I think I have an idea, let me try it out tonight and we can all taste it here tomm”

That evening the confectioner mulls around his kitchen, takes a bit of chhana and gives it a boil in sugar syrup flavored with fresh ground cardamom, a bit of rosewater and voila! One of the most popular dessert of India was created.

IMG_3637
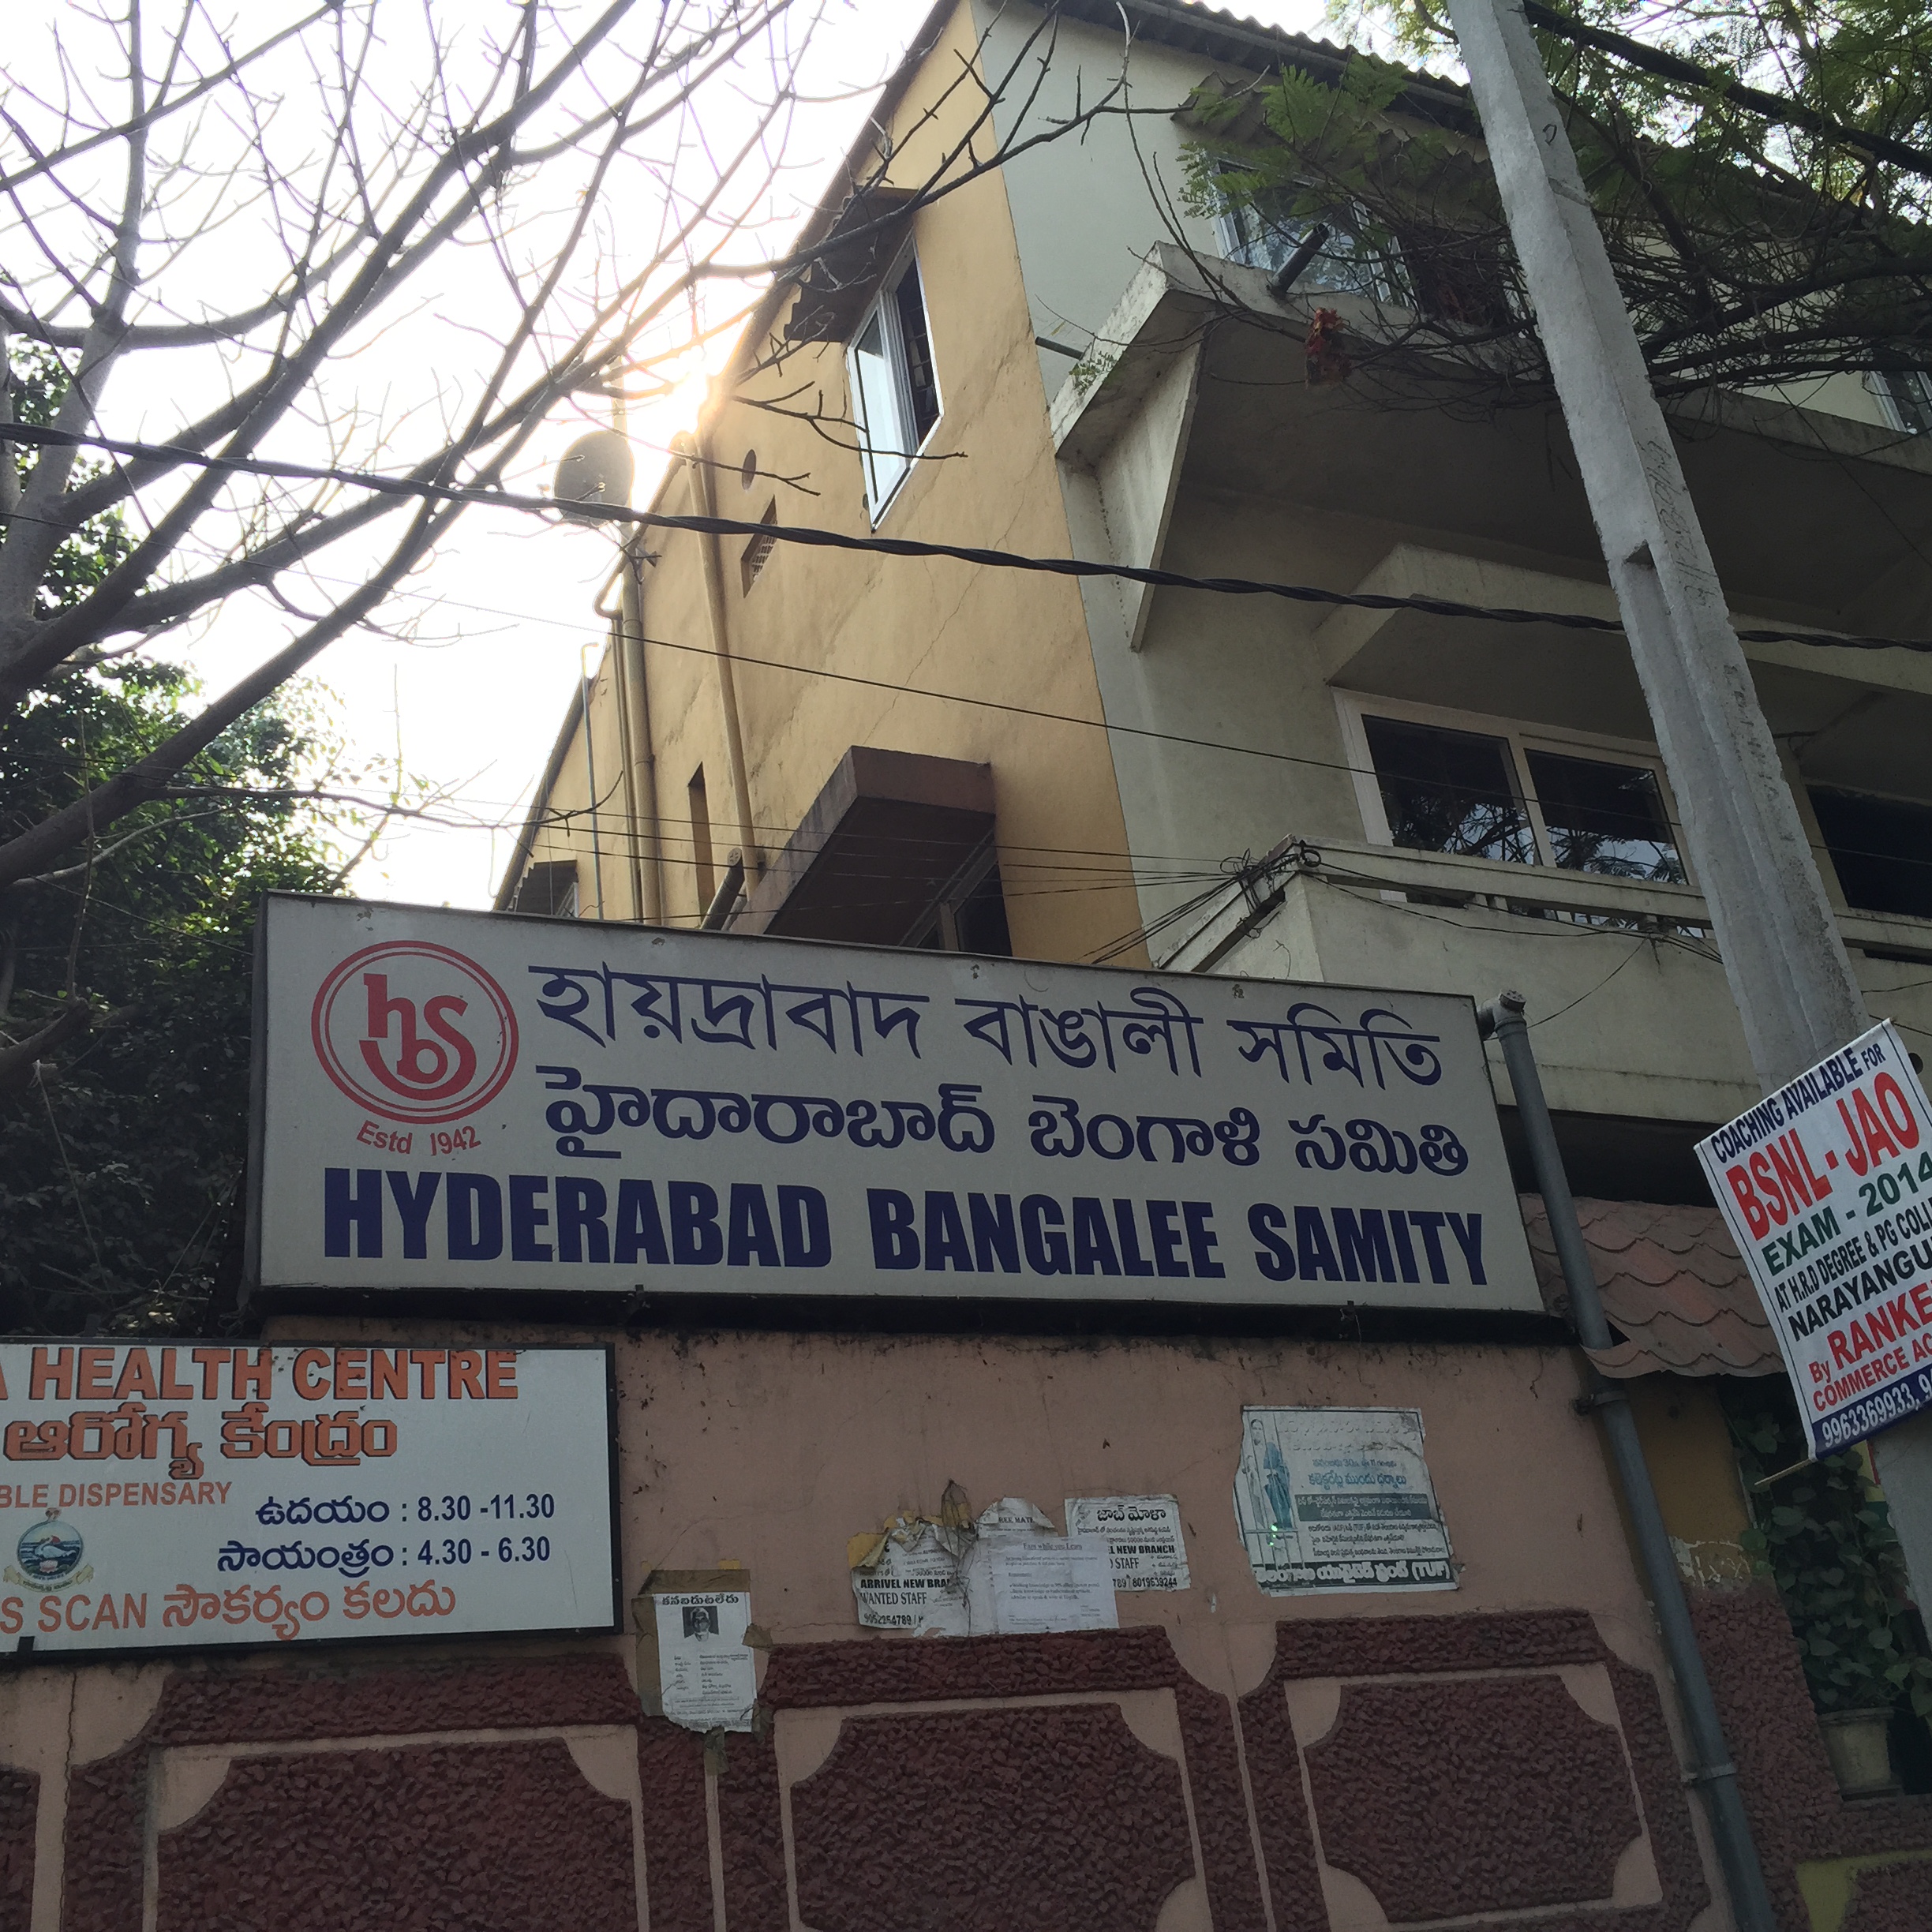
I do not have a sweet tooth, but this dessert has my heart. Its not fried and made from pure chhana (cottage cheese) and considered to be a safe comfort food when recovering from a fever or stomach upset (Not to mention the low calorie count per serving!). Since I grew up in Hyderabad and getting this from the Pada’r mishtir dokan (local sweet shop) was not really an option, my mom whipped some up in her kitchen. Recovering from a flu almost always involved mom feeding me some roshogollas and story telling.

IMG_3639This is a recipe that a lot of people requested I post, so here goes. Let me start by saying that this dessert is a tricky one to master and you might not get perfect result in your very first try, don’t let that discourage you. Here are a couple things that I learnt:

  1. Raw (non-homegenized/non-pasturized) Cow milk gives better result.
  2. After curdling the milk, gently squeeze out the extra whey and hang it for 45min-1 hour. This helps with having the right amount of moisture you need for the softness of the final product.
  3. While kneading  keep in mind that less is more. As soon as you feel grease in your palm, stop!
  4. Boil it in a big stock pot that has enough depth for the chhana balls to expand, thats how they become spongy
  5. Keep aside half of the sugar syrup and add some in between cooking time to ensure the syrup doesn’t get too dense or too hot.

Time for Prep: 45 mins     Time to Cook: 15 mins     Yield: 20-25 Servings     Level: Medium

Ingredients:

  • For the channa
    • 4 cups (32oz) whole milk
    • 2-3 tbsp lemon juice
  • For the sugar syrup:
    • 2 tbsp rose water
    • 3-4 cardamon, crushed
    • Saffron (optional)
    • 1.5 cup sugar
    • 4 cups water

Process:

  1. Making the channa:
    • Bring milk to a boil, add the lemon juice and lower heat. In a few seconds you will notice the milk solids forming. Turn off the heat. When the water is completely separated (turns a greenish shade) drain into a colander lined with cheese cloth.
    • Run a little bit of water on it to get rid of the lemony taste, drain.
    • Gather the ends of the cheese cloth and bring them together, like a purse, slowly squeeze out the water. Be careful not to burn your hands as it is really hot.
      • This is now my mom does it: Hold the ends with your left hand and using a pair of tongs hold the purse just on top of the solids with your right. Then slowly twist the cloth with your left hand. The water squeezes out without resulting in burning fingers.
    • Hang it for 45 mins-1 hour.
  2. Preparing the Golla (Balls from the channa):
    • Remove the channa from the cheese cloth, it should not be soggy wet nor should it be dry (The picture should give you an idea).
    • With the heel of your palm mash the channa and knead. Collect from the sides, mash, knead. Continue for around 10 mins (or less depending on the pressure of kneading). As soon as you feel a little grease in your palm, stop. over kneading will result in hard Roshogollas.
    • Now pinch out small portions and roll between palms to form smooth round balls no bigger than a quarter. (See picture)
    • once done, cover with moist muslin and set aside while you prepare the syrup.
  3. Preparing the Rosh (sugar syrup):
    • Place a large stock pot (or a pressure cooker) over medium heat.
    • Add the sugar, water, cardamon and saffron (optional).
    • Bring to a boil. Set aside around 1/2 cup of this syrup.
  4. Cooking the Roshagollas: 
    • To the rest of the sugar syrup add the chhana balls one by one.
    • Shake the pan gently, to move the balls a little and cover immediately. Do not stir, that will break the chhana balls.
    • After around 3-4 mins, open the lid and add half of the reserved sugar syrup and shake the pan. This step ensures that the consistency and temperature of the sugar syrup stays constant.
    • After another 3-4 mins repeat the step above and add the remaining reserved syrup, shake the pan.
    • Cook for 2 more mins. Check for the doneness of the roshogollas and switch off the heat. And add the rose water.
    • To check for doneness:
      • Take it out with slotted spoon, press a portion. If it springs back to original shape its done.
      • Or take one of them out and drop it in a glass of water, if it sinks its done. (I prefer this method).

If you ask a non-bangali, they would say that let it cool and then serve. But a Bangali will always say that the best way to enjoy these are when they are fresh and warm! The second best way is to let it chill for a couple hours first.

Note:

  • While preparing the Gollas from channa you can add 1-2 tsp of Sooji (Cream of wheat) or all purpose flour or arrowroot powder. This ensures that the chnana balls will not crumble when boiling in syrup.

Bengali Deemer Chop (Egg and Potato Cutlet)

Durga Puja is round the corner and this time of the year always makes me nostalgic about good ole days. Growing up in a Bengali family, this was by far the most important event of the year. I have been often asked by my non-Indian friends what is Durga Puja and why its so important to me. Here’s why – memories of  good food and good times shared with friends!

I am hazy about the details around the religious aspect of things. To me its always been the entire community coming together for a 5 day cultural celebration of the victory of good over evil. A celebration filled with food, color, music and festivities. People gathered in large festive tents called ‘Pandal’, laughing together, sharing the delicious spread of Bhog (food offering to goddess), the smell of Kichudi, flowers and incense, the sound of Dhak (Drum), the Adda (chit chat), song, dance and theatre….  the layers and layers of festivities.

IMG_0063

Some of my favorite memories growing up are of the days leading up to it, the shopping of new clothes, planning what I would wear on each day and the rehearsals at Hyderabad Bengali Samity of plays and dances to be performed. Kids rehearsals followed by parents, the fights over badminton rackets or a game of carroms, Patiently waiting for the resident director Goshwami Kaku (Who ran an IT company for his day job) to say ‘Cut’  so that the egg roll and egg chop from Utpal Kaku’s canteen would appear along with some ‘Cha’ (Tea). Its been years since my last visit to Bengali Samity, but every time I bite into an egg roll or an egg chop, I am transported right back.

IMG_2152

Time for Prep: 45 mins     Time to Cook: 10 mins     Yield: 4 Servings     Level: Medium

Ingredients:

  • 2 eggs, hard boiled and cut in half
  • 4-5 small potatoes, boiled and skin removed
  • Salt to taste (I prefer Rock Salt)
  • 1/2 tsp red chilli powder
  • 1/2 tsp black pepper, ground
  • 1/2 tsp chaat masala (optional)
  • 1 tbsp cilantro, chopped
  • 2-3 green chili pepper, chopped
  • 2 tbsp onion, chopped
  • 2 tbsp corn flour
  • 2-3 tbsp water
  • 1/2 cup bread crumbs, on a plate.
  • Oil for frying

Process:

  1. Making Potato Mixture:
    1. Mash the potatoes, be careful not to overdo it, or they will get starchy.
    2. Add the spices, chopped onions, cilantro and green chili pepper. Mix well
    3. Divide into 4 portions.
  2. Assembly:
    1. Take a portion of the potato mixture, flatten it and place one of the half egg in the center.
    2. Cover the entire egg with the potato mixture, make sure there are no gaps.
    3. Repeat with other 3 halves.
    4. Refrigerate for 20 mins
  3. Mix the corn flour with a pinch of salt, pinch of ground pepper and water. Blend into a smooth paste.
  4. Dip the chilled cutlets in the cornflour paste, then roll it the bread crumbs.
  5. Place on a plate and chill for another 10 mins.
  6. Heat oil in a wok or deep fryer and fry in medium heat till golden brown.
  7. Remove and place on paper towel to soak out excess oil.
  8. Serve warm.

Notes:

  • Instead of corn flour paste, the cutlet can also be dipped in beaten egg before rolling in bread crumbs.
  • If you want to avoid frying, Spray with cooking oil and  bake at 400F/200C for 30 mins. Make sure to flip once in between.
  • For a vegetarian/Vegan version, replace the egg with piece of tofu or paneer.

IMG_3609

IMG_3610

IMG_3613

IMG_3614