Its fall finally! The beautiful shade of blue of the sky, the pretty colors, the chill in the air and in my case the allergies which come with the season. After a long day at work nothing is more comforting than a warm cup of soup while watching new episodes of my favorite TV show. Add a few spices and I not only convert the regular store bought broth into something delicious and deeply satisfying, but also cook myself a natural remedy to relive those allergy symptoms. This recipe is super easy and one of my go-to when I have had a long day at work or I am feeling a little under the weather.
Every culture around the world, home cook and professional chef, have their version of a noodle soup. This is my version. Its a hybrid of pho chay, ramen noodle soup and my mom’s recipe for a home remedy she gave me for my seasonal sniffles and sneezes.
I am detailing the vegetarian recipe, but scroll down to see the notes section for suggestion for a Non-Vegetarian version.
Time for Prep: 10 mins Time to cook: 30 mins Yield: 2 Servings Level: Easy
Ingredients:
- For the Broth:
- 4 cups vegetable stock/broth
- 3-4 shallots, chopped
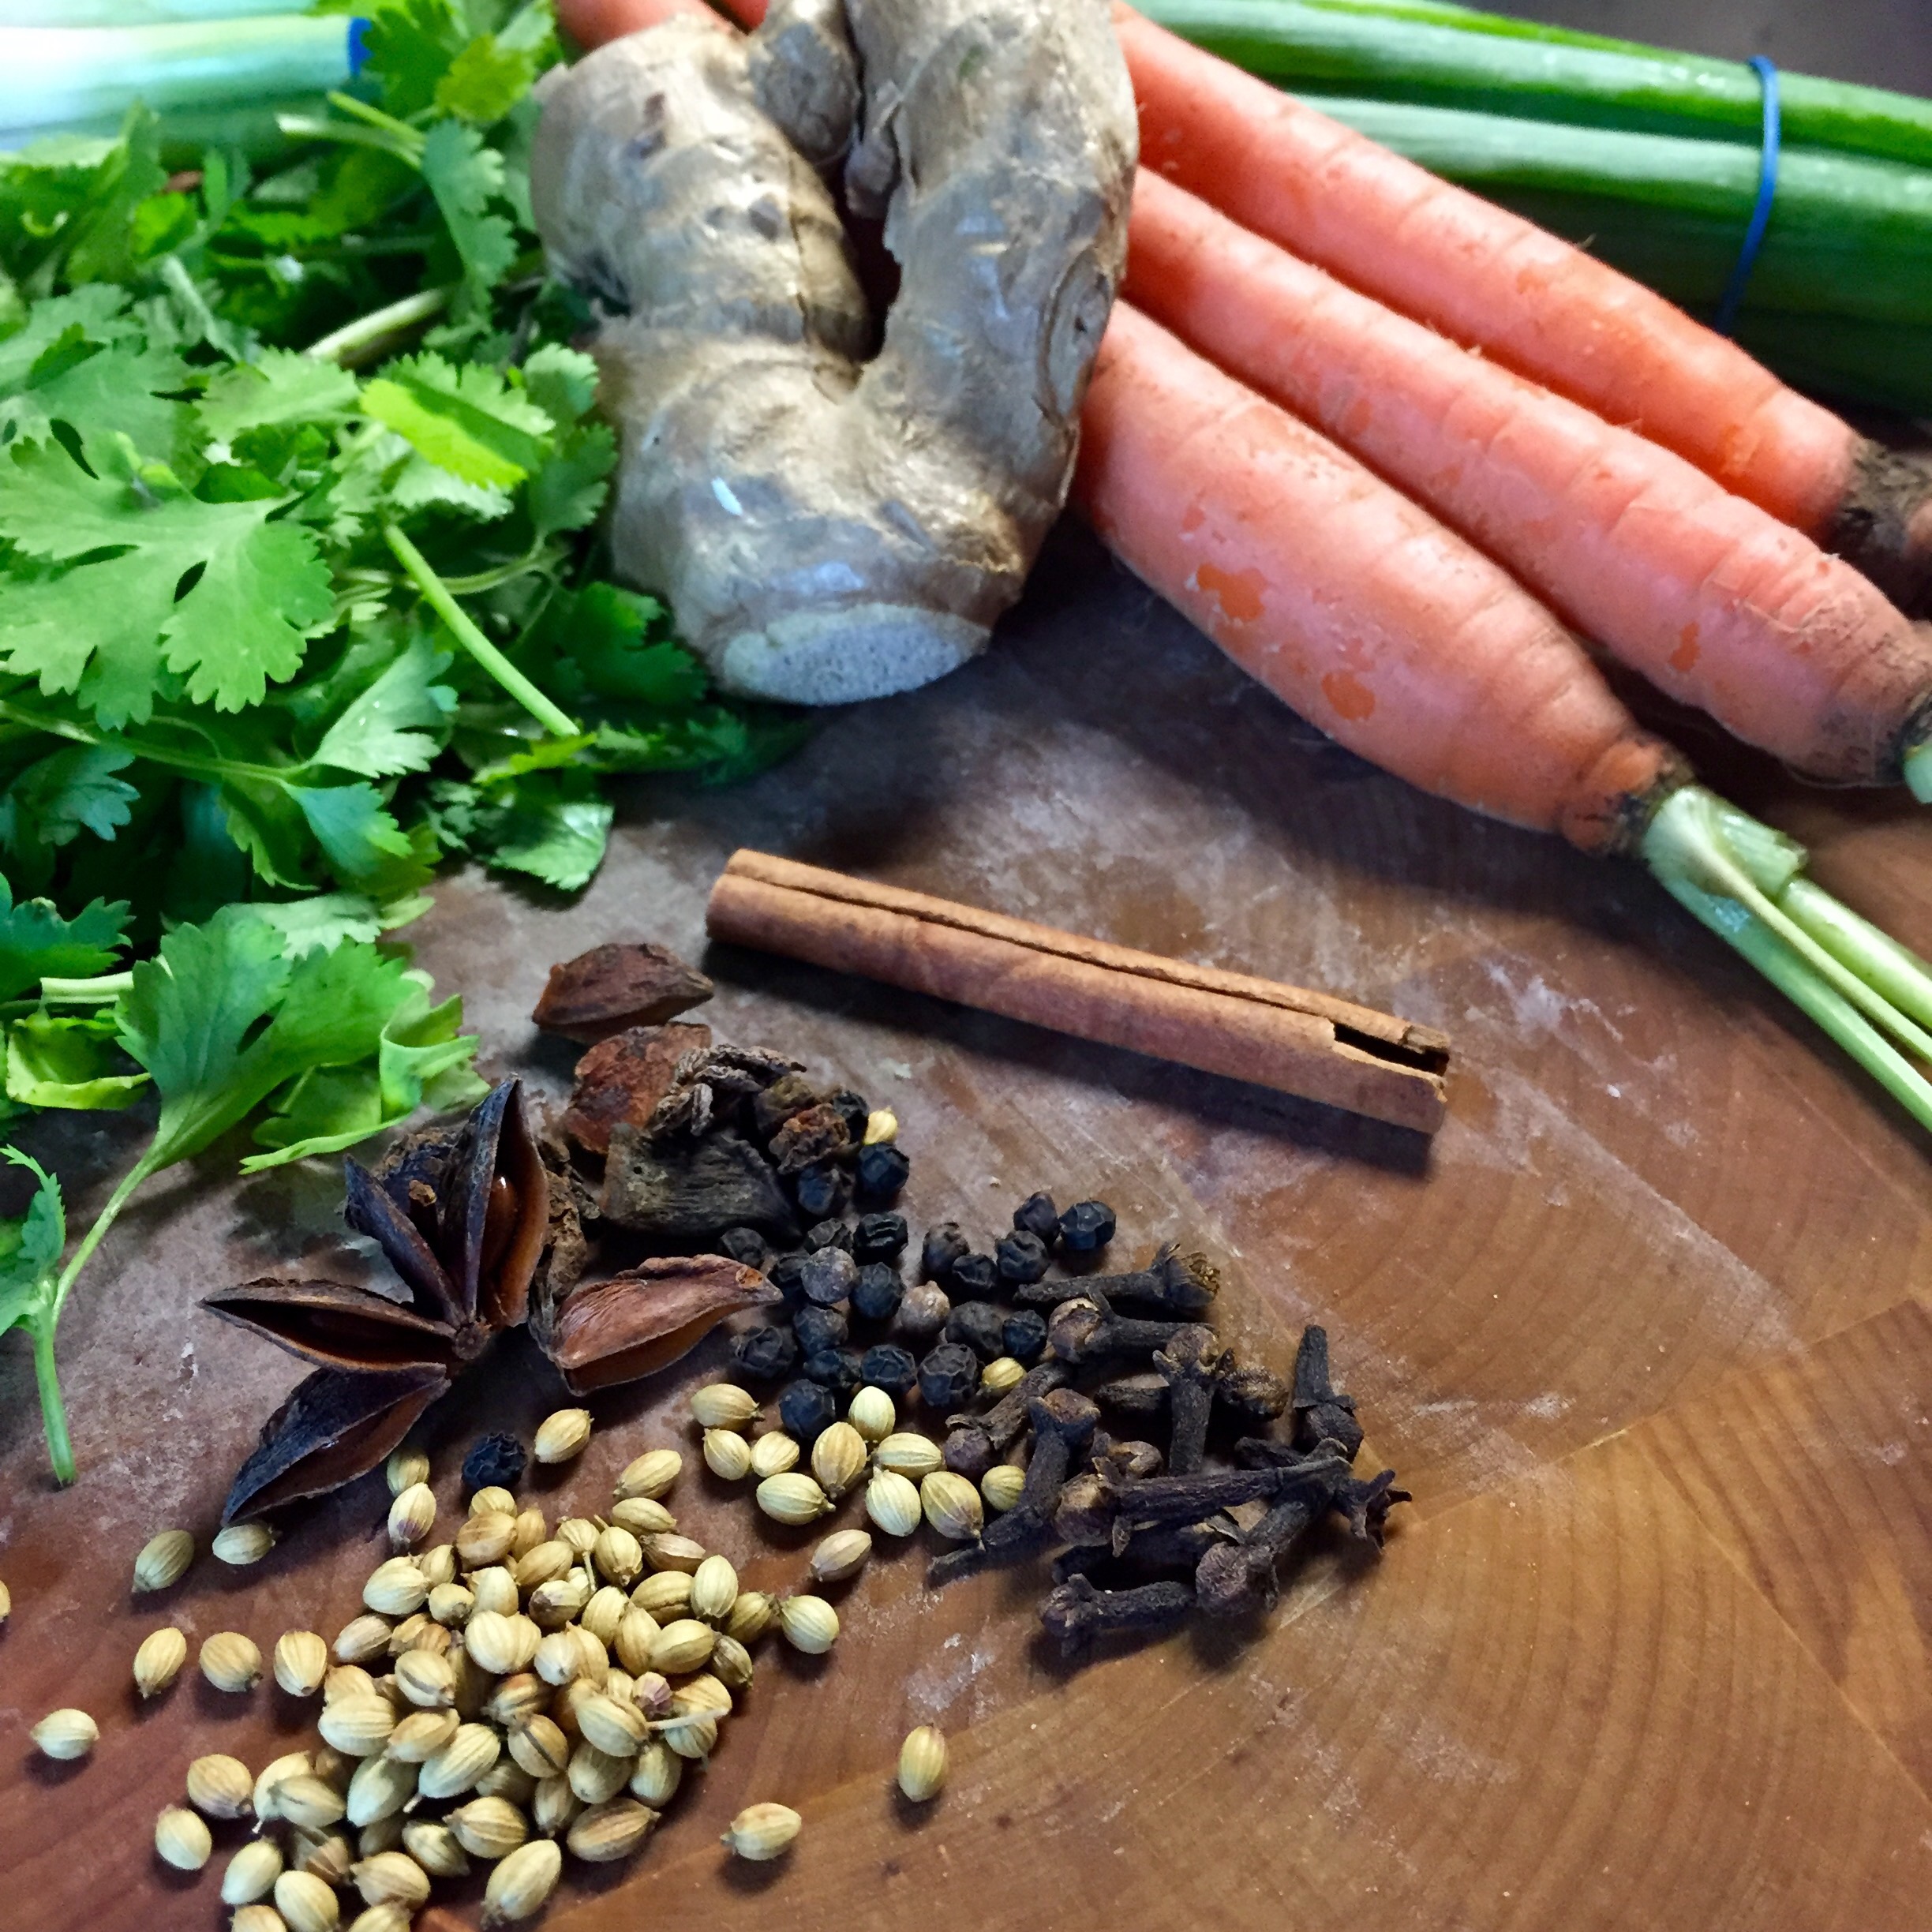
- 2 inches of ginger, grated
- 1 cinnamon stick
- 2-3 star anise
- 2 tsp coriander seeds
- 4-5 cloves
- 1-2 tsp black pepper
- 1 tsp cayenne
- 1 tsp fennel seeds
- 2 tsp soy sauce ( I prefer using a soy sauce reduction).
- 1 tsp honey
- 1/4 cup dry sherry (optional)
- 1 tbsp oil
- For the Noodle:
- 1/2 lb or 7 oz thin rice noodles
- 6 cups of water
- 1 tsp oil
- salt to taste
- For the toppings (Choose all or just a few):
- 1 thinly sliced carrot (I usually just peel layers, then roughly chop them)
- Thinly sliced green bell pepper
- Mushrooms, thinly sliced
- 3-4 baby boo choy
- Handful of kale, shredded
- For Garnishes (Choose all or just a few):
- 1/2 cup scallion, chopped
- 2-3 chilli pepper, finely chopped
- 1 lemon, cut in wedges
- 1/2 cup mung bean sprouts (or any sprouts)
- Handfull cilantro
- Handfull basil
- 1 tsp dried red chilli flakes
- Hot sauce
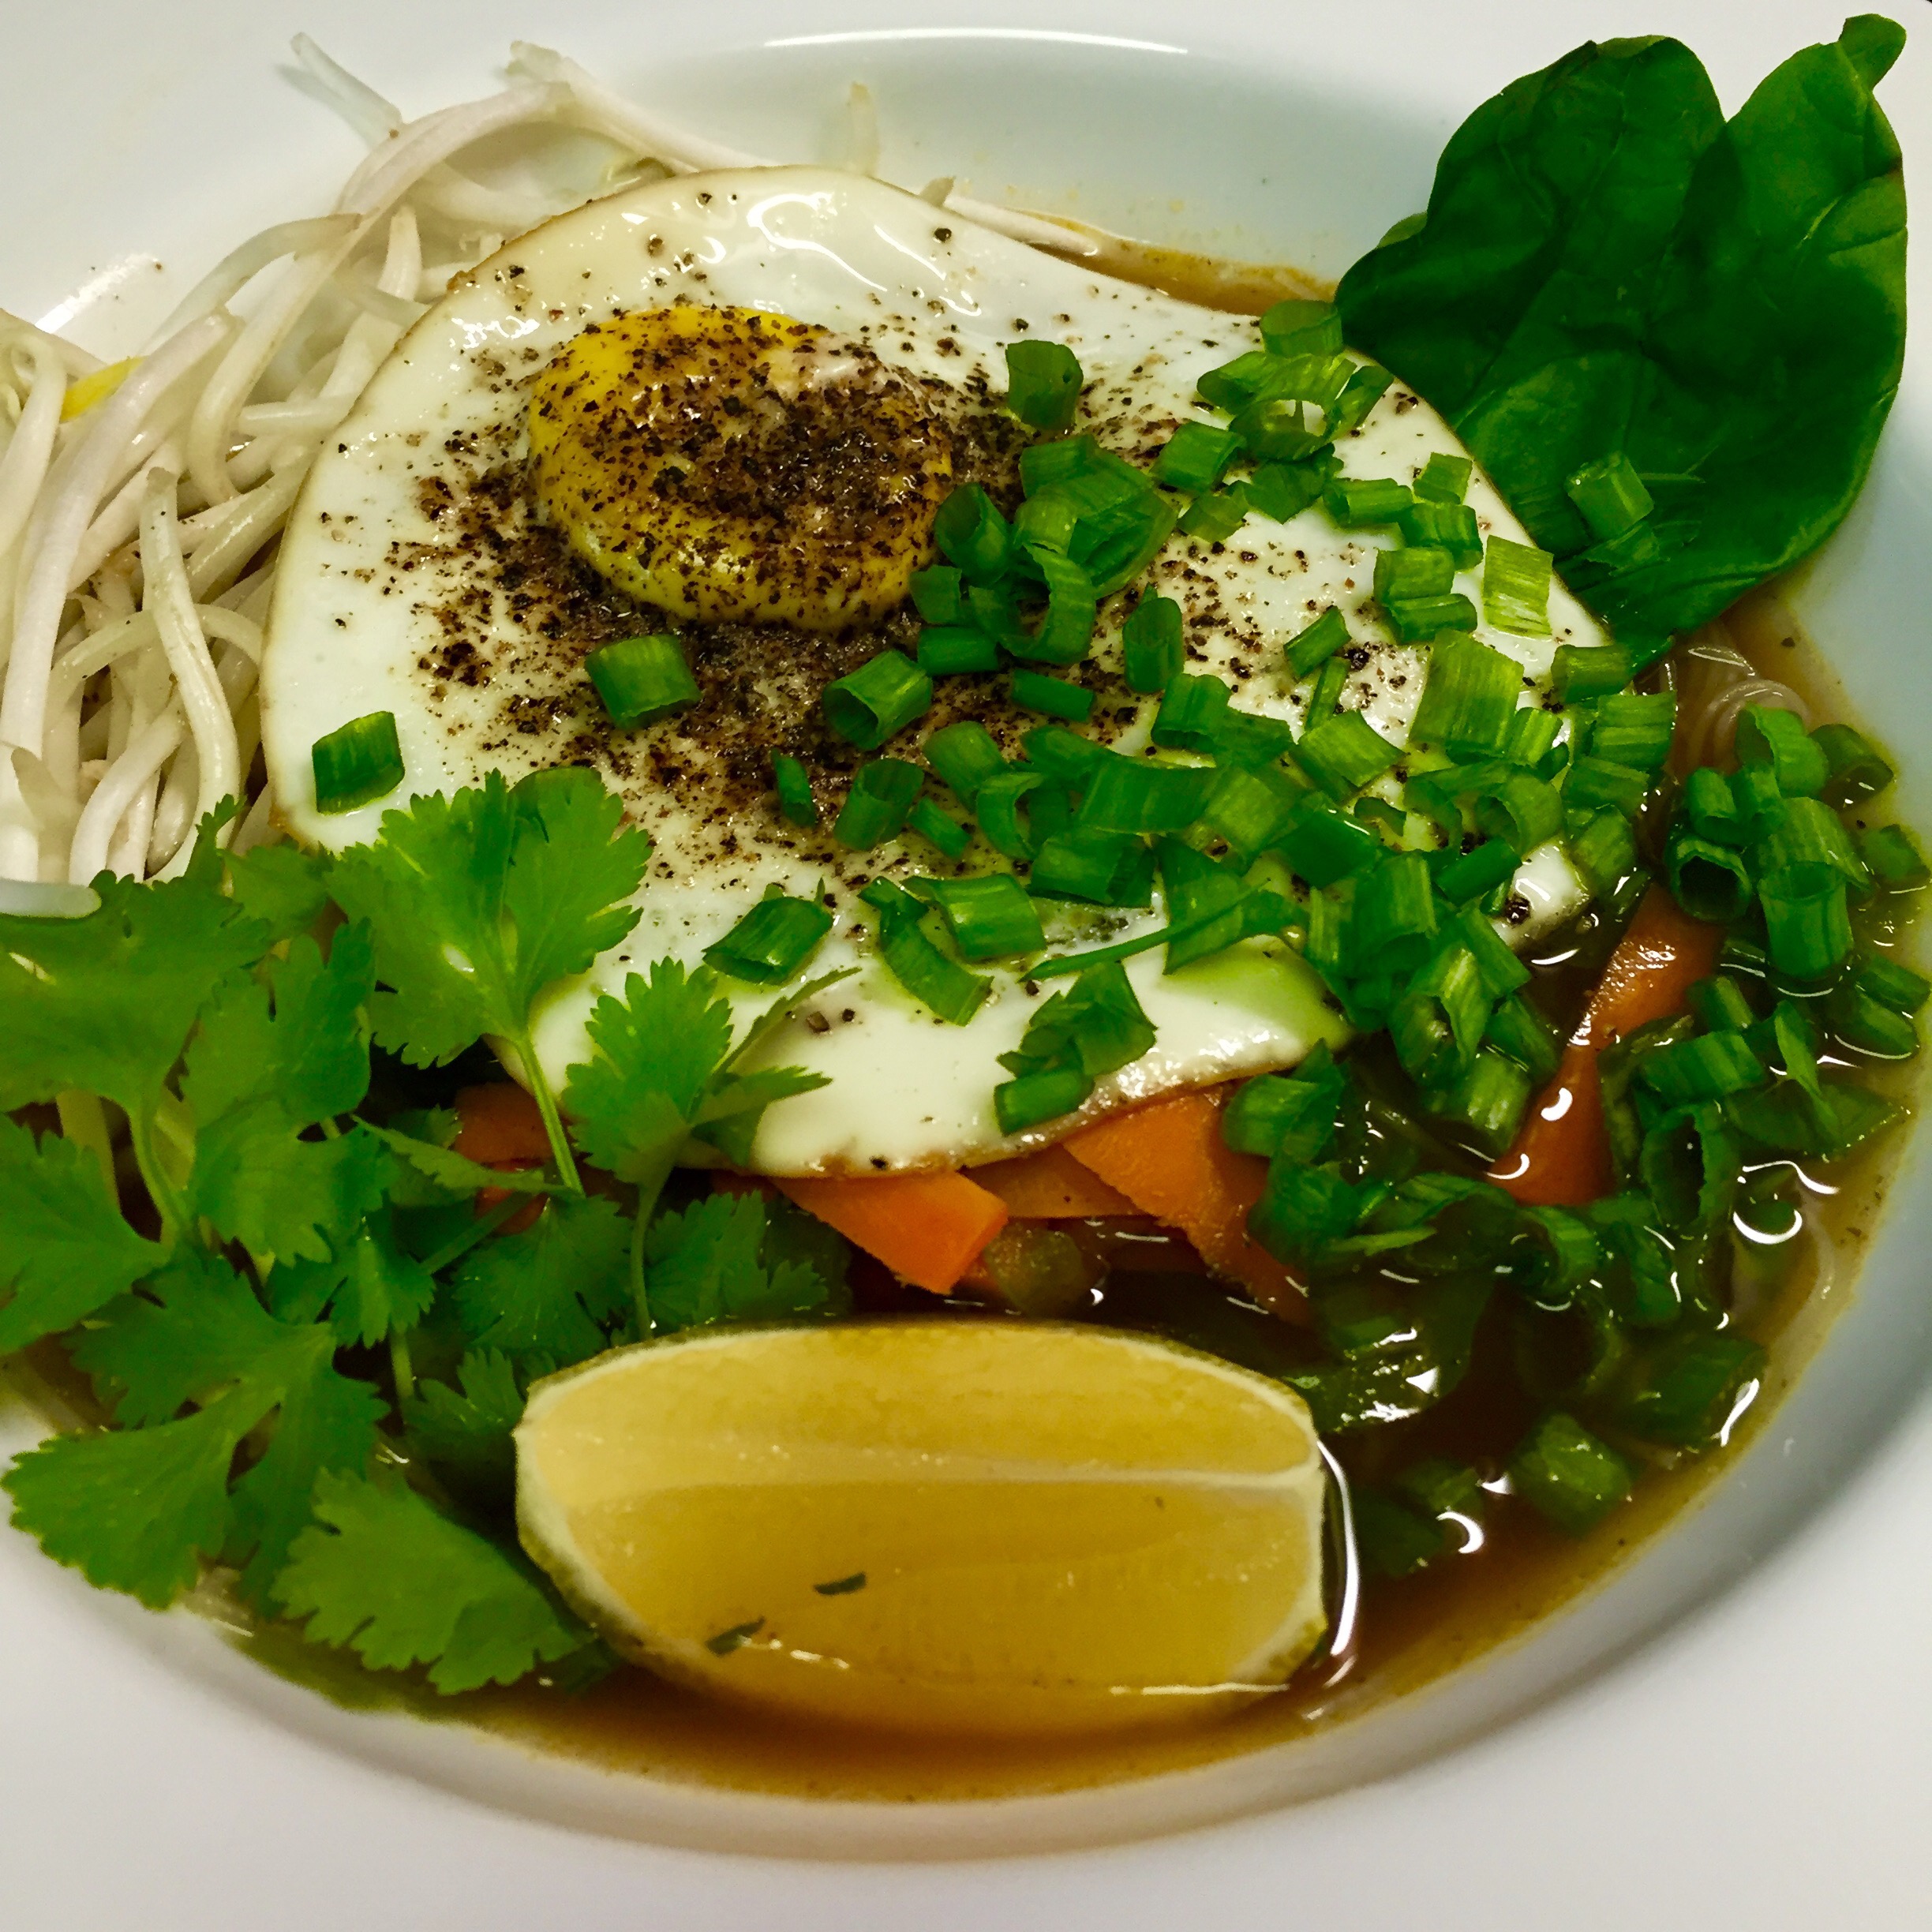
- Fried Egg
Process:
- To make the Broth:
- In a large pot heat oil, add the spices (cinnamon, anise, clove, fennel, coriander, black pepper) and dry roast in low heat
- When you smell the aroma of the spices, add the ginger, shallots and sherry (if using) sauté for 4-5 mins or till onions loose their raw smell
- Add the vegetable broth, soy sauce, honey and cayene
- Bring to a boil, cover and simmer for 30 mins
- Strain and keep hot till ready to serve
- To prepare the toppings:
- Slightly steam or blanch the vegetables chosen
- To prepare the Noodles (While the broth is simmering):
- Bring 6 cups of water to a rolling boil, add salt and oil
- Turn of the heat and add the noodles
- Cover and let stand for 20 – 30 mins or till the noodles are tender
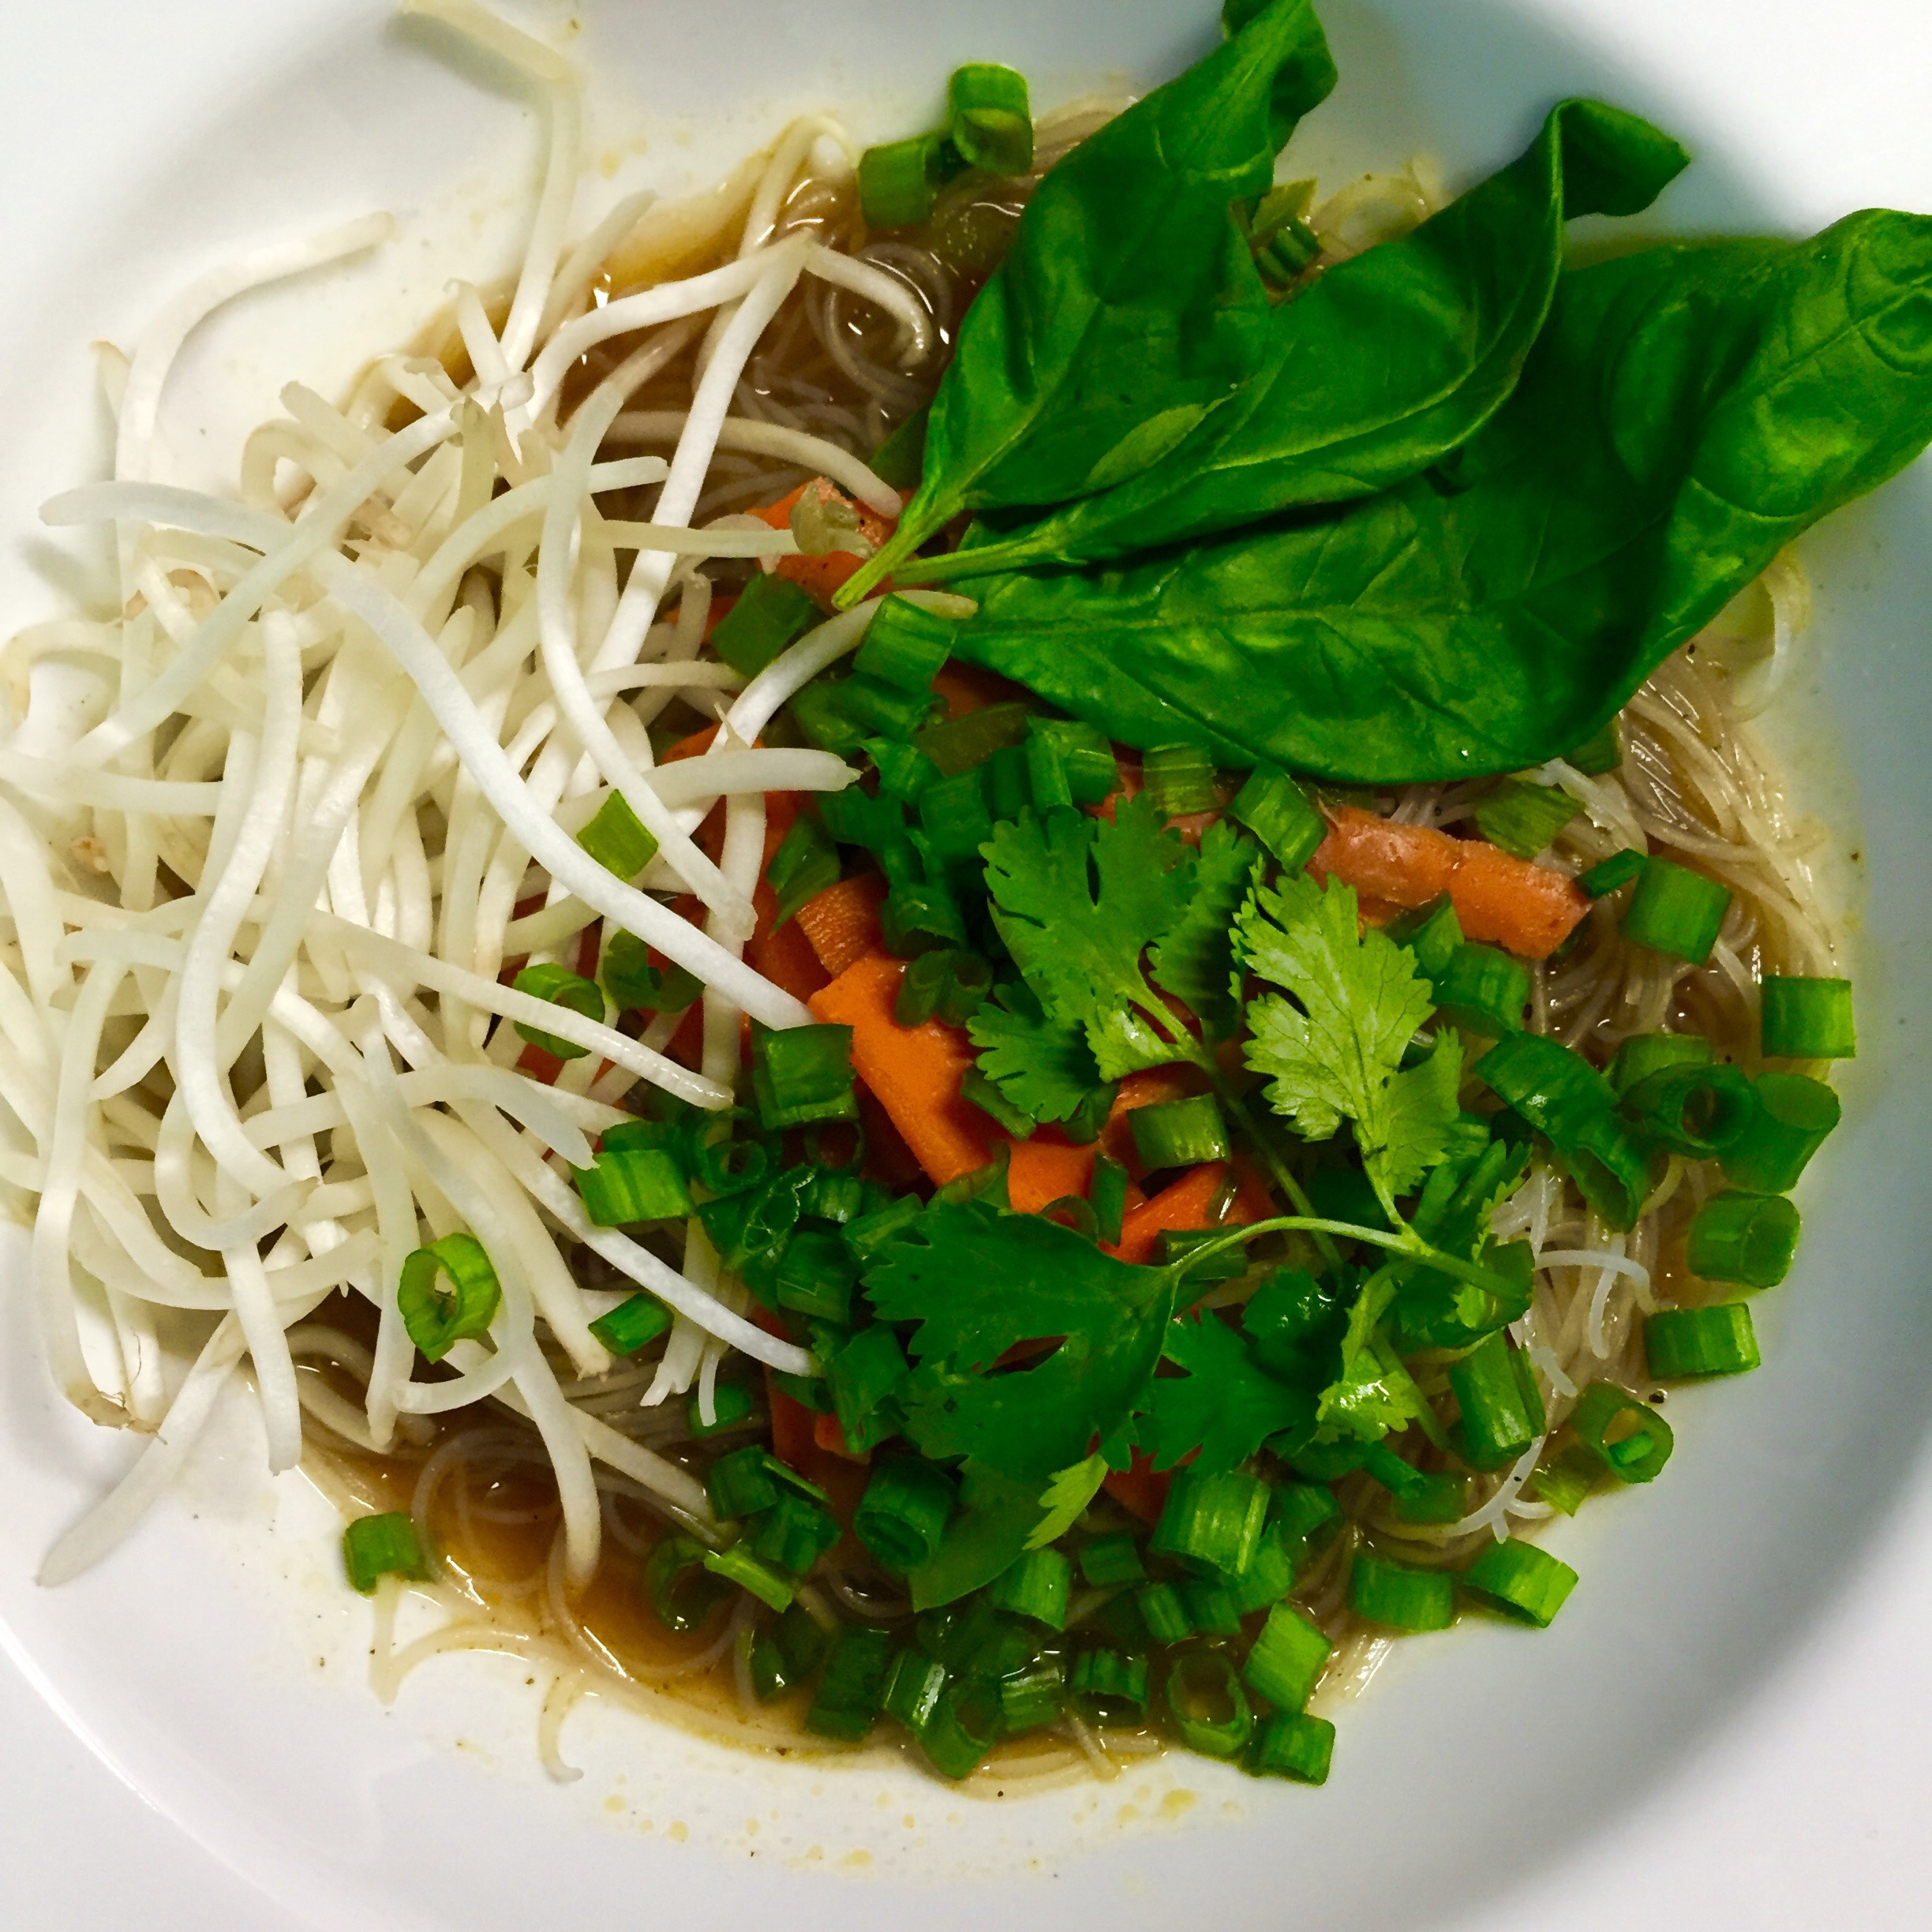
- To serve:
- Divide the noodles in two bowls
- Arrange the toppings over the noodles
- Ladle in the broth
- Top with garnishes and serve warm.
Notes:
- For Non-Vegetarian version:
- Use chicken stock for the broth
- Chicken topping: use shredded rotisserie chicken or stir fry chicken breast pieces with some soy sauce, ginger, garlic, salt and pepper
- Sauteed shrimp topping: Stir-fry peeled deveined shrimp in hot oil with minced ginger, minced garlic, ground pepper and salt.
- For Vegan Version:
- Use stir fry tofu for the topping
- For a pure vegetarian version:
- Don’t use the fried egg as a garnish
- The rice noodles can be replaced with Ramen noodles or Maggi that is popular in India, ditch the seasoning that comes with the package and just use the noodles
- Instead of just soy sauce I like using a soy sauce reduction because the flavor is more intense
- Use a tea steeper to add spices to the broth, to skip the straining step