
Last few days in California felt like the monsoon season in India. Peaks of sunshine in between rainy days, glorious rainbows and slight chill in the air. The only thing missing was the ‘geeli mitti ki saundhi saundhi khushboo’, the sweet aroma of the soil when it first gets wet after the hot dry summer days. The special smell of the soil back home!
I love rain. There is something so calming about walking in the rain, soaking it all in and jumping in the little puddles of water (yes, sometimes I am like a 5 year old and I love it). It transports me to childhood days when as soon as it rained, we would go out for a drive to Tank Bund (in Hyderabad) in search of a Bhutta Wala (street vendor selling corn on webs), watching greedily as he grilled a delicious corn on the cob on a bed of coal, once done he would dip a half a lime in salt and then rub it on the corn before handing it over to us.

On other days my foodie dad would convince mom to make bhaja boda and cha (onion fritters and tea). Hard to find a Bhutta Wala in California, so I just made some fritters instead. When we lived in Connecticut, this was a favorite for snowy days.
Here I am deep frying the fritters, but in the past I have tried to bake it too. I dropped spoonful of batter on a cookie sheet layered with parchment paper around 1/2 inch apart from each other, sprayed a little oil and baked for 20 mins in oven pre-heated to 400F/205C, then broiled for 5 mins, flipping them halfway. While it definitely is a lot healthier, it doesn’t taste the same.
Time for Prep: 10 mins Time to Cook: 15-20 mins Yield: 4-6 servings Level: Easy
Ingredients:
- 1 large red onion, sliced thinly
- 1 cup chickpea flour/gram flour/besan
- 2 tbsp rice powder
- 1 tsp salt
- 1.5 tsp ajwain / carom seeds
- 1 tsp cumin seeds
- 1 tsp cayenne
- 2-3 green chilli pepper, finely chopped
- 3 tbsp cilantro, finely chopped
- 1/4 inch ginger, grated
- 1-2 cloves of garlic, grated
- water if required
- oil for deep frying
Process:
- In a mixing bowl mix the sliced onions, ginger, garlic, ajwain, cumin, cayenne and salt. Let it sit aside for 20-25 mins. Onions will release quite a bit of water.
- Add in the chopped cilantro and green chilli pepper and fold it in.
- Heat oil for deep frying on medium heat.
- While oil is heating, add rice flour and chickpea flour, mix it in to form a thick batter. Add in water if needed.*
- Mix it in really well (I use hands at this point), all ingredients need to be evenly distributed or you will get pockets of intense flavor and pockets of bland batter.
- When the oil is hot enough* (around 375F) add spoonful of batter into it one by one. Depending on the size of the vessel your frying in, don’t over crowd. I was frying 5-6 spoonful at a time.
- When the fritters are slightly cooked, turn with a slotted spoon and continue frying.*
- When the fritters get an even golden brown coat and look crispy remove them with a slotted spoon. Place on kitchen paper towels to soak out the extra oil.
Serve hot.
Notes:
- Be mindful while adding water and add only 1 tbsp at a time. The batter needs to be thick and just enough to coat all the onions to get a crispy fritters. If you add too much water you will get soggy /meaty fritters instead.
- Also add a couple (2 or 3) teaspoon of hot oil in the batter and mix it in. This makes the fritters crispier and they tend to absorb less oil while frying.
- To test if the oil is hot enough, take a tiny bit of the batter and drop it in the oil, if it floats up and begins to get brown, the oil is ready.
- The oil should not be too hot, otherwise the fritters will get brown quickly but will remain uncooked inside.
- You will probably need to turn the fritters a couple times to get it evenly fried.
- If you are not comfortable frying and want to bake instead then. Drop spoonful of batter on a cookie sheet layered with parchment paper around 1/2 inch apart from each other. Spray a little oil and bake for 20 mins in oven pre-heated to 400F/205C, then broil for 5 mins, flipping them halfway.
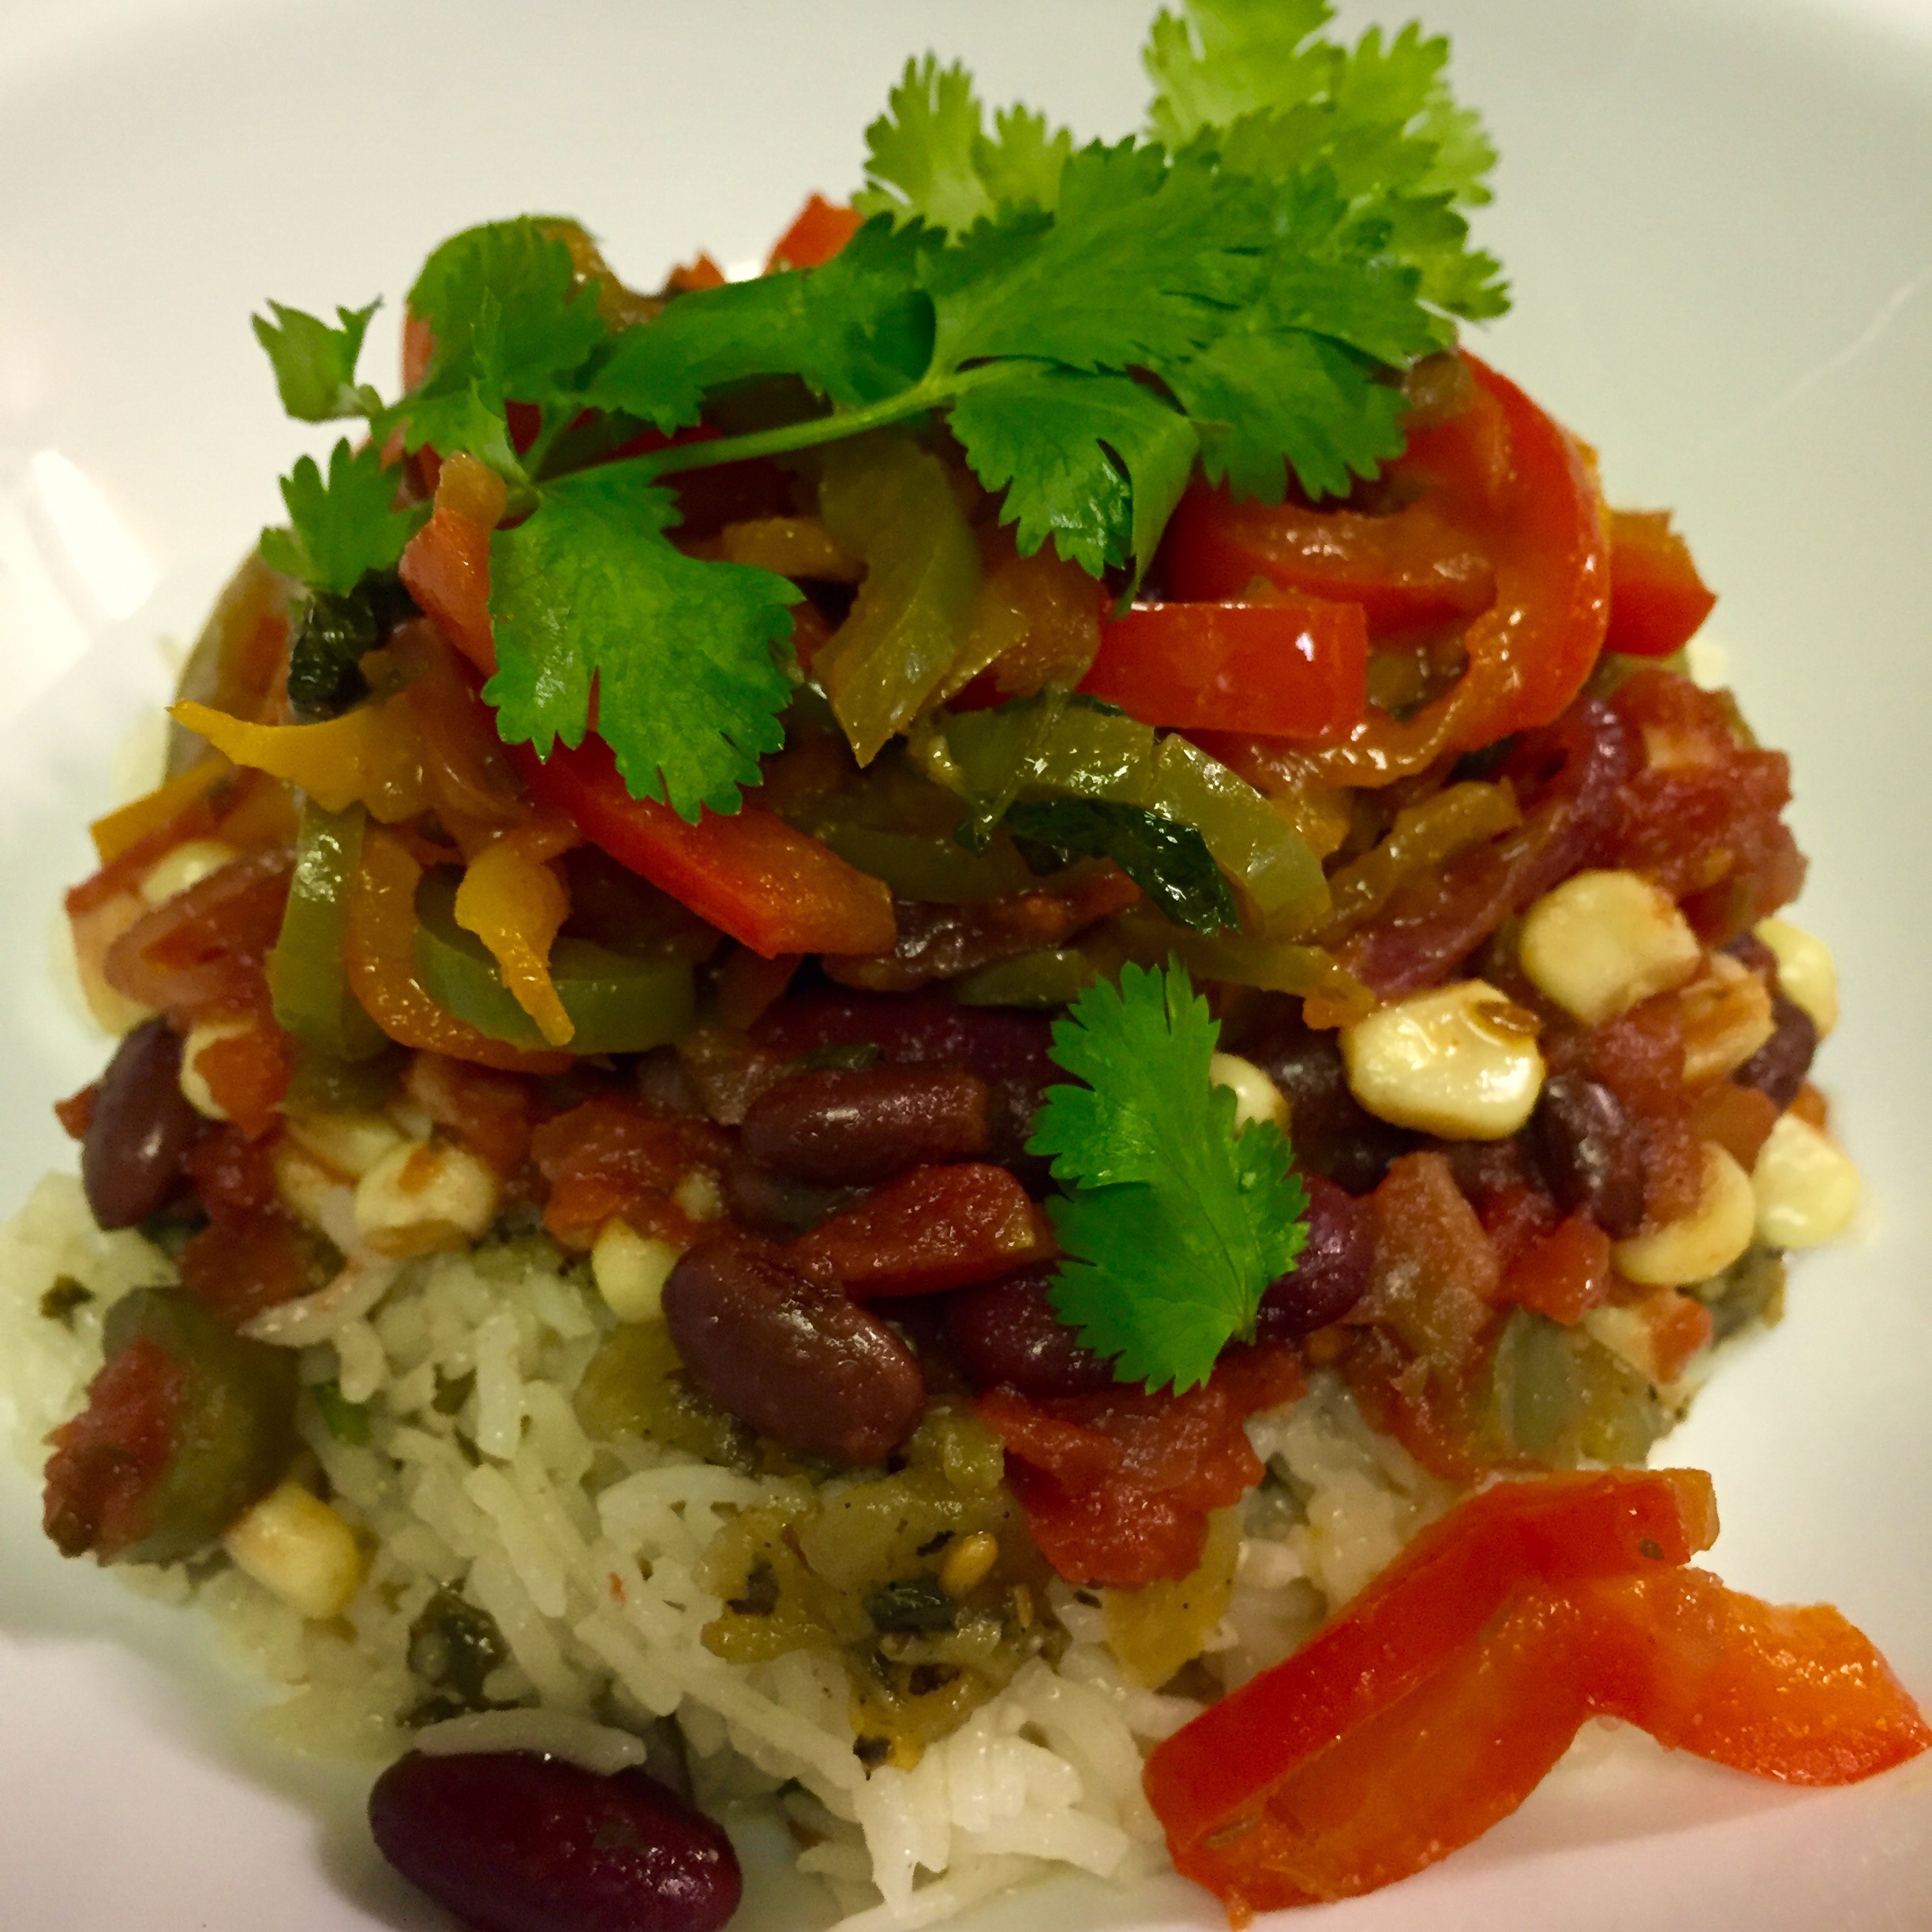

 The freshness of the flavors of cilantro and lime makes this a perfect alternative to plain rice. Since burrito chains, like Chipotle made this dish popular we always think of it as a side to a Mexican dish. But this goes really well with traditional Indian side dishes as well. Serve this with basic yellow dal and you can make every day food feel special. I like it best with Mutton Rogonjosh or Bengali Kosha Mangsho.
 Superbowl is round the corner and it calls for some easy crowd pleasing finger food that are guaranteed to score! This is one of my favorite game day recipe, a base that gives me flexibility to serve with some chips or a plate of Veggie Nachos or Veggie Quesadillas or as one of the toppings for a burrito bowl. Over the years this has become our favorite game day food for any big sports event… Cricket, Boxing, Tennis.. and MMA, provided the fight goes on for more than a few seconds. Essentially I always have a jar of Salsa in my refrigerator and it has always been a big score for me.
 I first had Salsa at a mexican restaurant in Mystic CT, the food in Margaritas is average but the salsa is a town favorite. Thats the taste that inspired this recipe and to me it feels like perfection, every bite brings back memories of Sangrias with girlfriends. Play around with the ingredients and find that perfect taste for you. This is also one of those recipes that I am asked about a lot! So here goes.
  Couple things to keep in mind: First, I use plum tomatoes for this because they have low moisture content, robust flavor and mild acidity making it a perfect choice, but any other type of tomatoes works just as good. Secondly I don’t use a food processor to chop the vegetables because they loose their crunchiness, which I really like. But if thats something your not particular about then just throw all ingredients (except corn and beans) in a food processor and pulse away. Third, allow it to rest for a day before digging in. This helps with all the flavors to really blend in.
 The picture above shows how I chop the vegetables, they are almost finely chopped.


