Bhaja Moonger Dal (Moong Dal)


IMG_4053

Bhaja in bangla means fried. Moong dal is first roasted with the tempering giving it a nutty aroma and its characteristic flavor and then cooked till mushy. Every Bengali household has their own version of this dish, this was how my Dida (maternal grandma) cooked it. Growing up we called it Didar dal to differentiate it from my Thama’s (paternal grandma) version. This was usually cooked on days in the year where the menu had to be Niramish (Vegetarian) and served with rice and Badhakopir Ghonto (Cabbage Ghonto).

IMG_4056

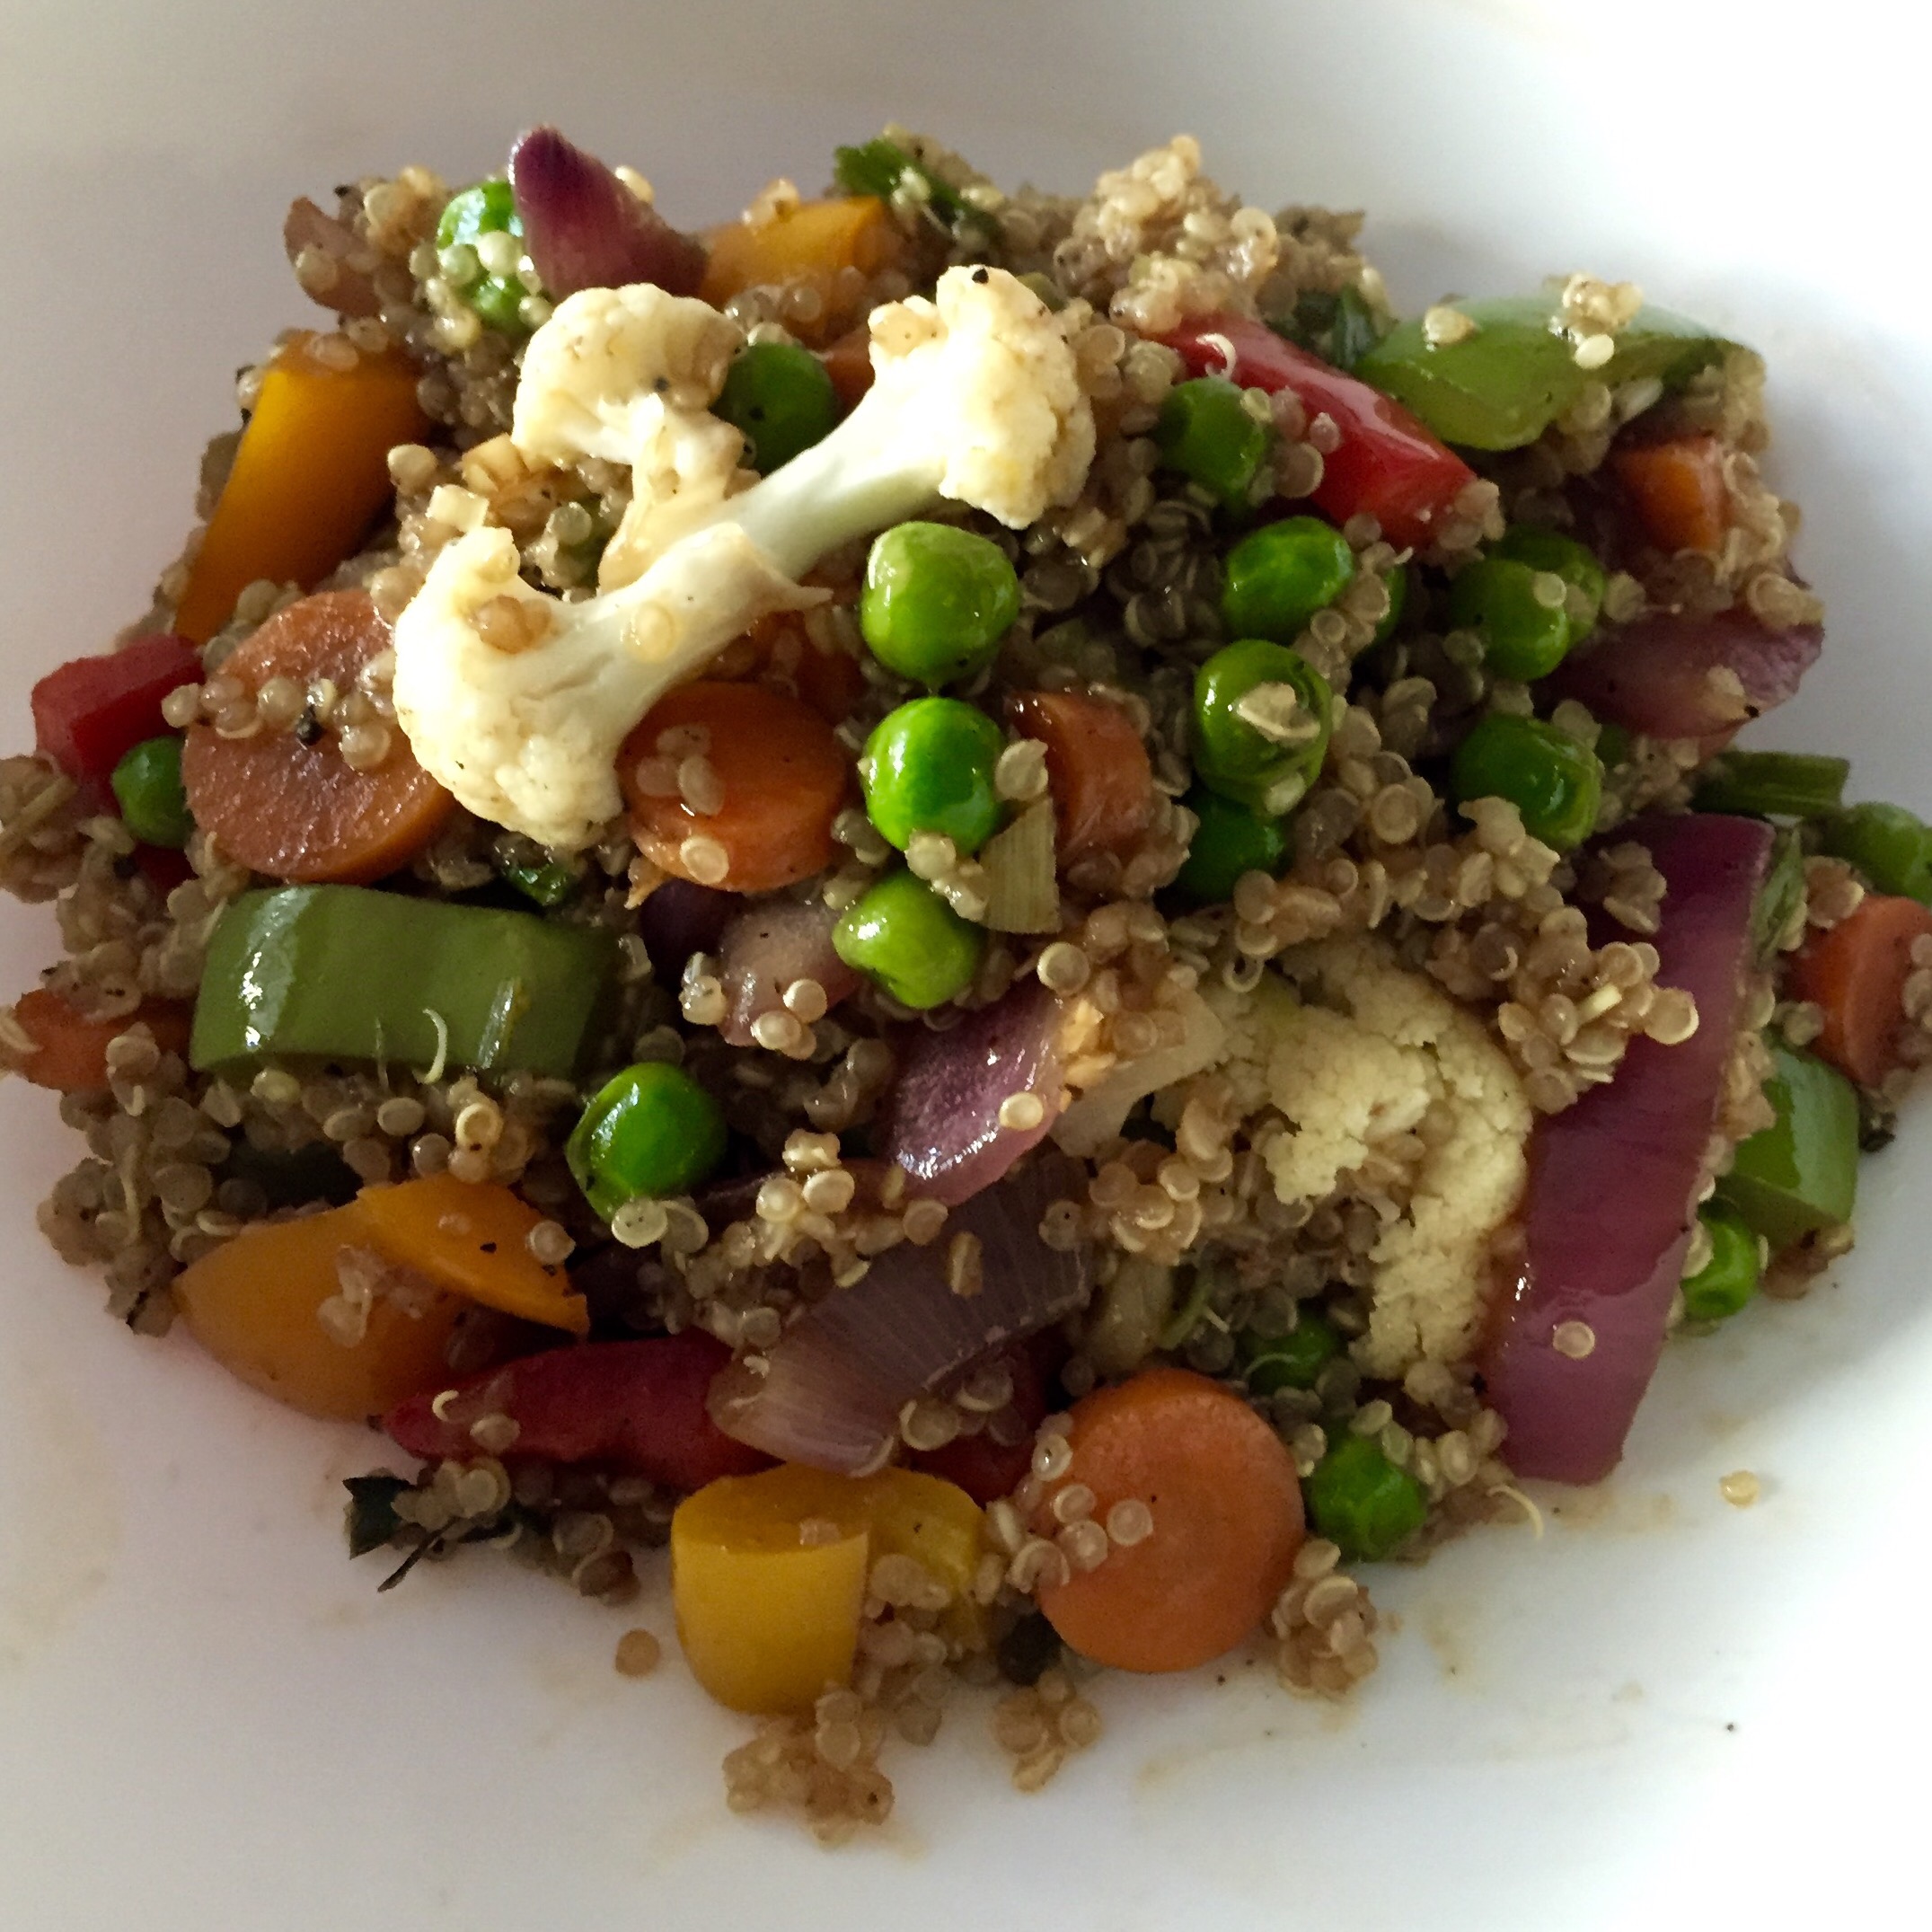
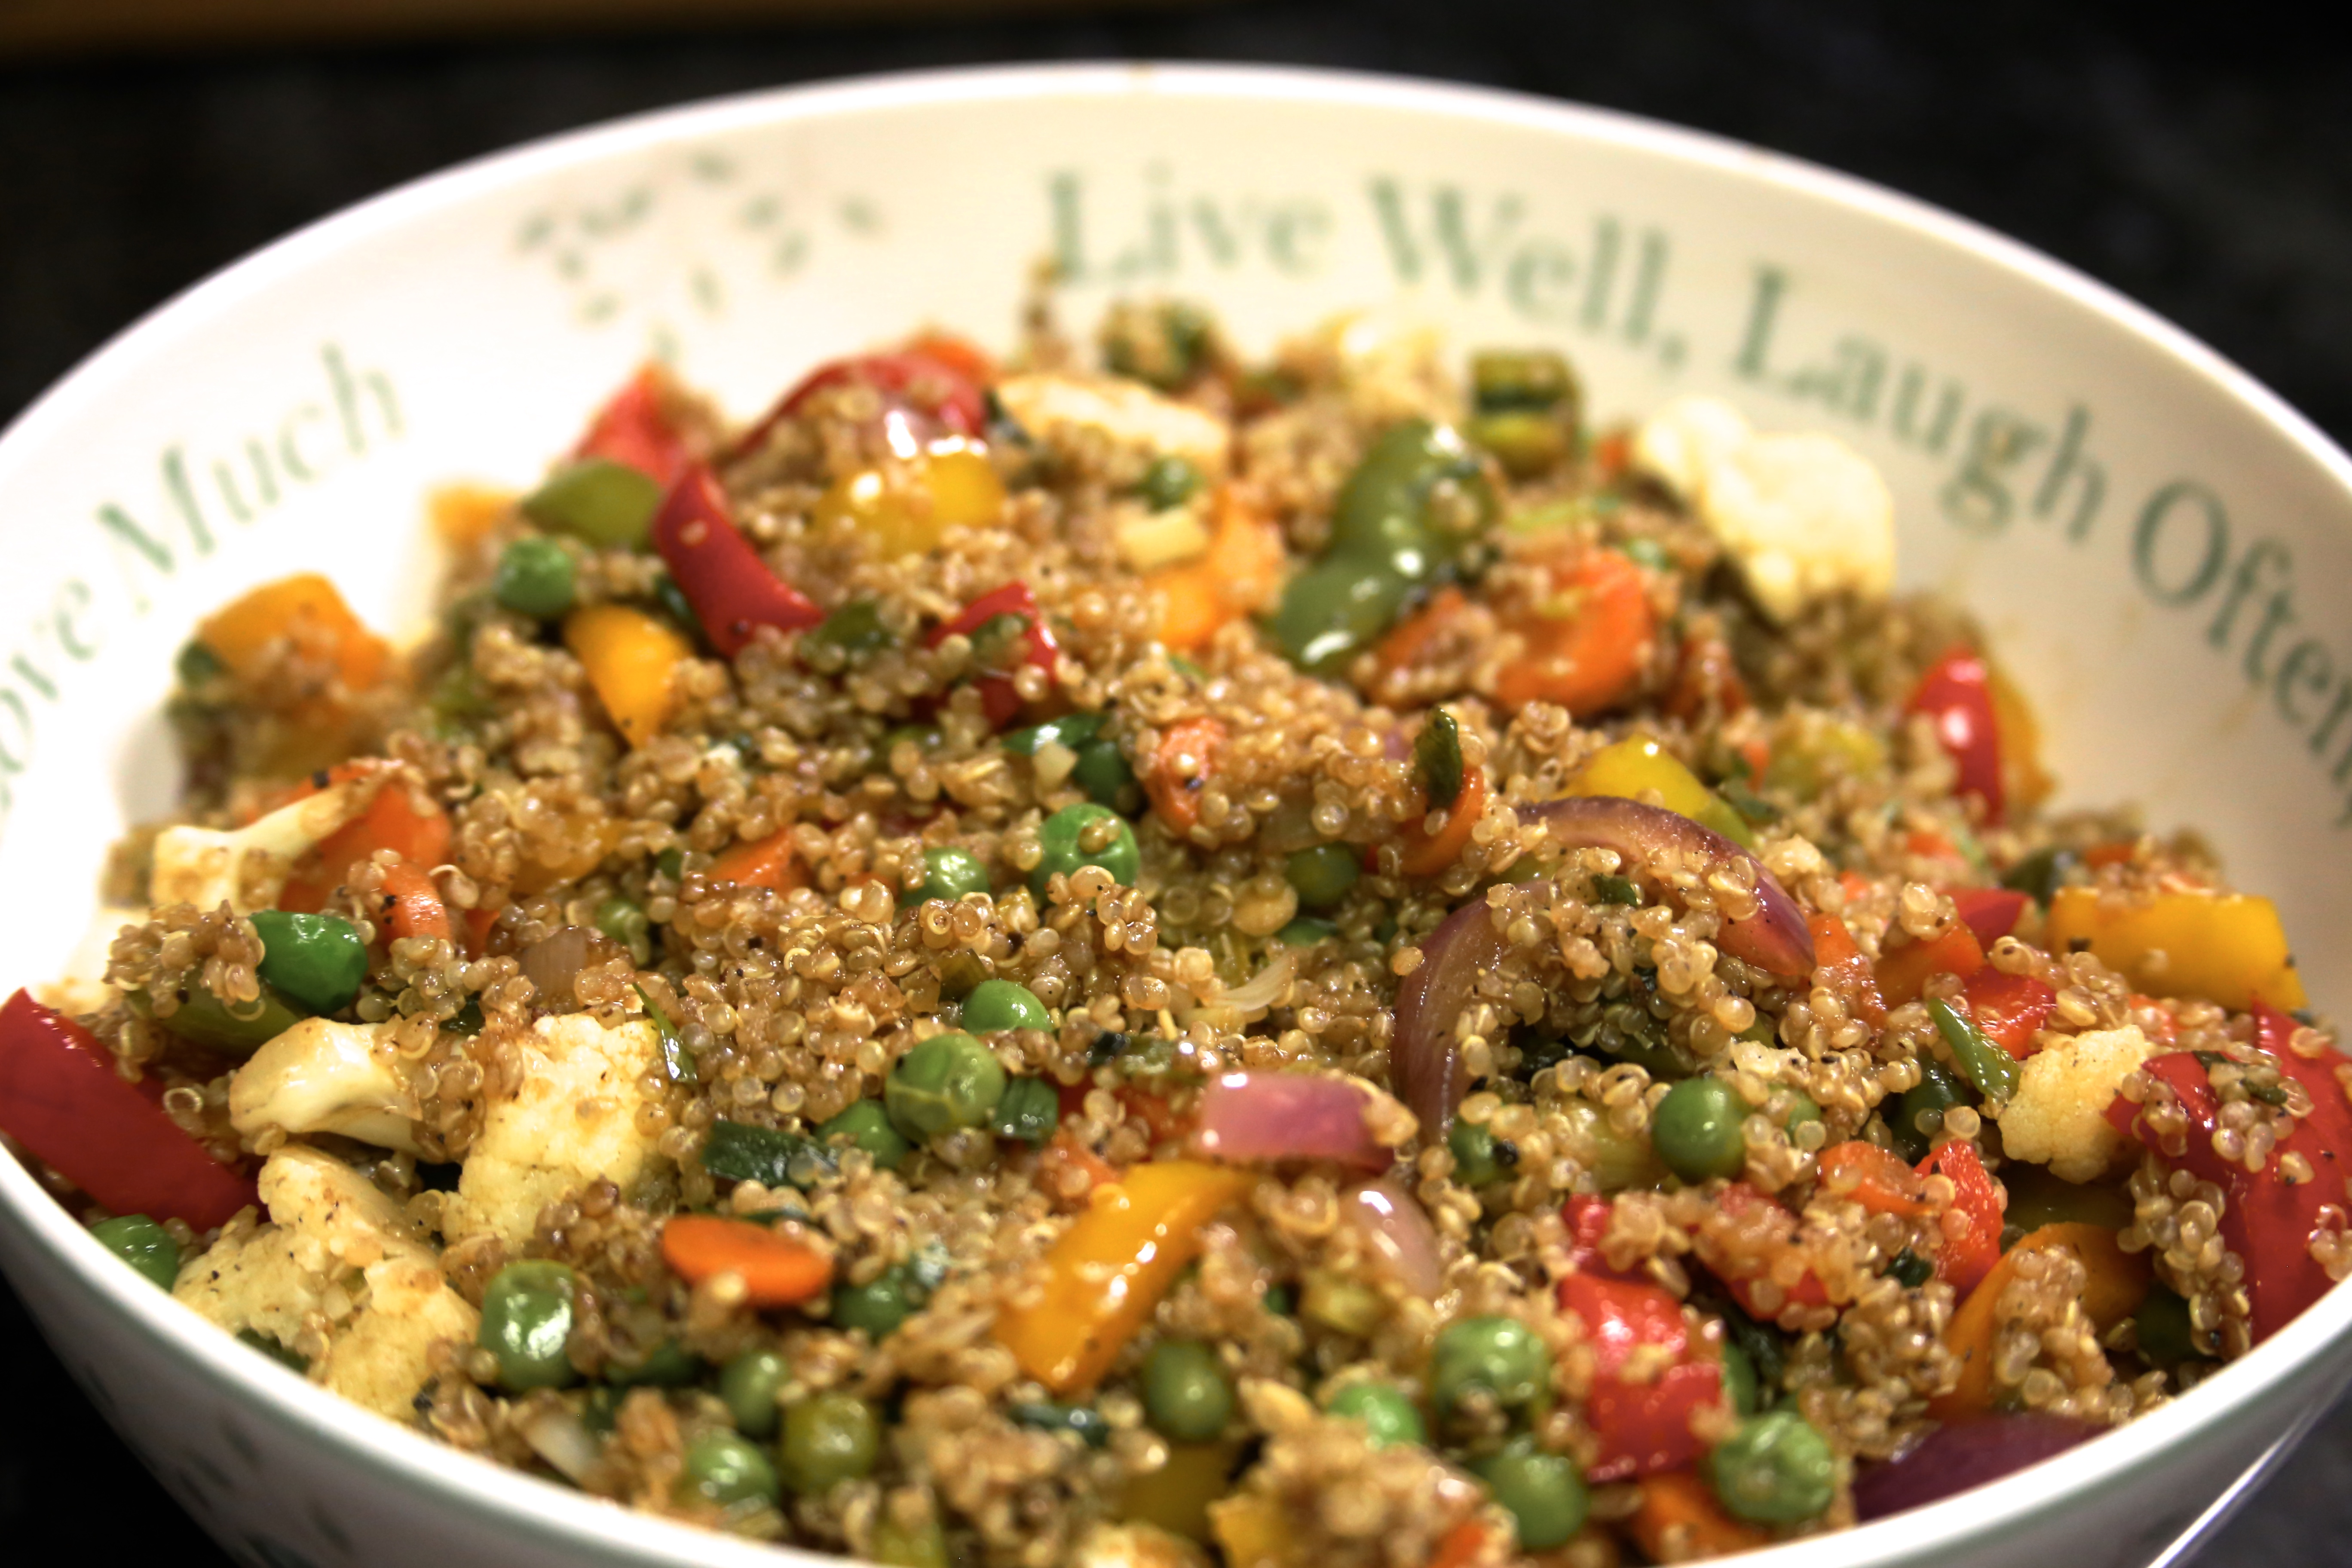
Moong Dal is one of the healthiest lentils with high content of fiber, minerals, proteins and Vitamin C, and a very low calorie count. Essentially its a dieters best friend! Its also light and easy to digest making it really good recovery food. Now add in some ginger, turmeric, flavors from the tempering of spices, carrots and green peas, and you have a wholesome and delicious lentil stew that you can enjoy as is or with some rice or quinoa. This is one of my go-to recipes for those days when I have long working hours and limited time to cook and need something light to eat.

Time for Prep: 5 mins     Time to Cook: 20-25 mins    Yield: 4-6 servings    Level: Easy

Ingredients:

  • 1 cup yellow mung dal
  • 3 cups water
  • 1 cup carrots, grated
  • 1/2 cup fresh or frozen green peas
  • 1 inch ginger, grated
  • 1 bay leaf
  • 4-5 green cardamom
  • 7-8 cloves
  • 1 stick of cinnamon
  • 1 tsp cumin seeds
  • 1 tsp caraway seeds
  • 1 tsp turmeric
  • salt to taste
  • 1 tbsp ghee/ oil
  • 1/4 tsp sugar (optional)
  • 1 tbsp cilantro, chopped for garnish
  • 1 tbsp grated coconut for garnish (Optional)

Process:

  1. In a soup pan, heat ghee over medium heat. Add bay leaf, cloves, cinnamon, cardamom, cumin and caraway seeds.
  2. When the tempering starts spluttering and you can get the aroma, add the moong dal. Saute for 2-3 mins, till they get a little fried.
  3. Add carrots, mix it in, then add ginger, turmeric and salt. Mix everything in, sauté for 3-4 mins.
  4. Add the green peas, fold them in. Add water, cover and cook, stirring occasionally till the dal is mushy. Add more water if needed, depending on whether you like dal to be runny or thick.
  5. Turn of the heat and sugar. Mix it in. Garnish with Cilantro.

Serve with rice or chapatis.

Notes:

  • You can use a pressure cooker instead of a soup pot. Just remember that moong dal cooks very quickly.


Jeera Rice (Cumin Rice)

IMG_3698

Jeera Rice and Aloo Gobi was the very first thing I had ever cooked for Husband, his taste buds approved and the rest is history. This is a simple rice dish ideal for those days when you had a tough day at work and need a touch of richness in everyday food without too much effort. It is also great for dinner parties. It goes with pretty much every dish, in our household it is a must whenever we make Basic Yellow Dal.

Time for Prep:5 mins|Time to Cook:20 mins|Yield:2-4 Servings|Level:Easy

Ingredients:

  • 1 cups of Basmati rice
  • 1.75 cup water or broth
  • 1 inch stick of cinnamon
  • 1 black cardamom
  • 1 bay leaf
  • 5-6 cloves
  • 1 tbsp black peppercorns
  • 1 tsp caraway seeds
  • 2 tsp cumin seeds
  • 1 tsp black cumin
  • 2 tbsp ghee or oil
  • 1 tbsp lemon juice
  • Salt to taste
  • 1 tbsp cilantro, chopped for Garnish
  • 1 tbsp Fried onions/caramelized onion for Garnish (optional)

Process:

  1. Rinse and soak rice for 30 mins. Drain and set aside.
  2. In a heavy bottom pan heat the ghee and add caraway seeds, cumin, cinnamon, cardamom, bay leaf, cloves, black peppercorns. Sauté for till you begin getting the spice aroma around 1-2 mins.
  3. Add the drain rice, which should’ve gotten a little dry by now. Mix and sauté for around 2 mins or until the rice is well coated and starts to glisten.
  4. Add water, salt and lemon juice. Stir slightly.
  5. Cover and let cook for around 10-12 mins, when the rice is almost done and there is still a little bit of moisture remaining. Turn off the heat and let it sit for 20-30 mins.
  6. Using a fork, fluff up the rice a little. Serve with your favorite side dish.

Note:

  • After the rice has been soaked, Drain and spread it on a paper towel or cotton towel to dry it out. This ensures that you get nice seperated grains of rice.

Omeletter Jhol (Omlette Curry)

IMG_4000I love eggs and pretty much every preparation of it, but omelettes have a special place in my heart. Bitting into a piece takes me back to long train journeys from Hyderabad to Agra filled with my dads jokes, my moms come backs and us giggling our guts out, early morning stops at Jhansi station and our family ritual to always relish freshly made omelette from one of the street vendors before our final stop at Agra.

For this dish, we start by first making a masala omelette and then simmer it in tal talle jhol (thin and runny gravy) for a fat and fluffy goodness to enjoy with rice, chapati or bread. Why not just the eat the omelette as is? Because this dish takes the omelette from delicious to DELICIOUS!! IMG_4001My dad was in sales and marketing and travelled often in my growing up years. This was something special my mom made for us girls to make those days feel like fun. We called it the ‘Girls Night Jhol’. I make this with left over Frittatas as well. And if you don’t feel like eating an omelette, bake or fry a couple fish fillets and simmer that in the same gravy and you will get classic bengali maacher jhol (Fish curry).

Time to Prep: 10 mins|Time to Cook: 30 mins|Yield: 4 Servings|Level: Easy

Ingredients:

  • For the Omlette
    • 4 eggs (I use just egg whites)
    • 2 tbsp milk
    • 1/2 tsp black pepper powder
    • 2 tbsp onion, finely chopped
    • 2 tbsp plum tomatoes, chopped
    • 2 tbsp green bell pepper, finely chopped (optional)
    • 1 green chili peppers, finely chopped
    • 1 tbsp cilantro, finely chopped
    • Red pepper flakes (Optional)
    • salt to taste
    • pinch of sugar
  • For the Jhol (Gravy)
    • 1 tbsp oil (or less)
    • 1 tsp cumin seeds
    • 1 tsp caraway seeds
    • 1 onion, finely chopped
    • 2 plum tomatoes, chopped
    • 2-3 green chili peppers, finely chopped
    • 1/2 inch ginger, mined
    • 2 cloves of garlic, minced
    • 1 tsp chile powder
    • 1 tsp coriander powder
    • 1 tsp turmeric
    • Salt to taste
    • 1 potato, cut in thin half-moon shape (around 1/8 inch thick)
    • 1 carrot, cut in thin half-moon shape (around 1/8 inch thick)
    • 1/2 fresh or frozen green peas
    • 2 cups of water
    • pinch of sugar
    • 2-3 tbsp cilantro, finely chopped for garnishing
    • 1 tsp Harissa or Sriracha (optional)

Process:

  1. Making the Masala Omelette:
    • Break eggs in a bowl, beat it. Add milk, salt, pepper and sugar and beat some more (this helps making the omelettes nice and fluffy).
    • Fold in the onions, tomatoes, peppers, chiles and cilantro.
    • Heat some oil in a frying pan/omelette pan in medium heat, pour the egg batter and swirl till its evenly distributed. Cover and let it cook.
    • Slide it on a plate and slice it into triangles, stripes or however you fancy.
  2. Making the Jhol (gravy):
    • Heat oil in a pan and temper it with cumin and caraway seeds.
    • When you can smell the aroma add the onions and chile peppers, sauté till the onions soften.
    • Add in the potatoes and carrots, turmeric, coriander powder and chilli powder. Fry till they start turning golden.
    • Add the ginger and garlic, sauté
    • Add the tomatoes and green peas, fold everything in. Cover and cook till tomatoes are mushy.
    • Add 2 cups of water, bring it to a simmer then cover and cook till the potatoes are cooked.
    • Taste and adjust seasoning, add a pinch of sugar.
    • Add the omelette pieces and simmer for 3-4 mins.
    • Garnish and serve warm

Notes:

  • If you have left over frittata, cut it up into pieces and use instead of omelette. This help converting leftovers into something delicious and new in a jiffy.
  • I like to mix in a spoonful of Sriracha or Harissa to the Jhol to add some extra zing to it.
  • While traditionally its served with rice, my favorite way of eating this make a sandwich with the omelette piece and dip that in the jhol before every bite.
  • If you don’t feel like eating an omelette, bake or fry a couple fish fillets and simmer that in the same gravy and you will get a classic bengali maacher jhol (Fish curry)

Fried Quinoa

Nasi Goreng, Chaufa, Khao Pad, Sinangag, Buteko bhaath, Htamin Gyaw, Arroz Fritto… all different names and variations of the most cooked dish in the world, Fried Rice. While the dish originates from China, it has become popular across the world for its versatility and ease of cooking. A classic way of whipping something delicious from left over rice and in my case all those half used vegetables sitting in the fridge.

Like every household in the world, fried rice is a favorite in our household too and is a regular on our dinner table. But every now and then I feel it’s time for some clean eating, so I make a simple swap – high protein quinoa instead of the carb heavy rice.

IMG_2240

I love fried rice and fried quinoa with loads and loads of vegetables cooked just enough so that it doesn’t feel raw but still remain crunchy. This does a few things – (a) adds a whole lot of color to the dish making it look so pretty when served, (b) the flavor they add to the dish, (c) the texture of crunchy vegetables with soft quinoa (or rice) and (d) then there is also the thing called nutrition.

I get my vegetables from the local farmers market and mostly cook with fresh produce but on occasions after long (12-16 hour) workdays I have reached inside my freezer and cooked this with frozen vegetables as well. It tastes just as good, just lacks crunchiness.

IMG_3631

Time for Prep: 10 mins     Time to Cook: 15 mins     Yield: 4-5 Servings     Level: Easy

Ingredients:

  • 2 cups quinoa, uncooked.
  • 2 tbsp butter
  • 2 tsp oil
  • 1/2 inch ginger, grated
  • 1/4 cup red bell pepper, chopped
  • 1/4 cup yellow bell pepper, chopped
  • 1/4 cup orange bell pepper, chopped
  • 1/4 cup green bell pepper, chopped
  • 1/2 cup carrots, chopped
  • 1 onion, thick slices
  • 1/2 cup green peas
  • 1/4 cup cauliflower, chopped
  • 1/2 cup scallions, chopped
  • 2 tbsp soy sauce
  • 2 tbsp black pepper, ground
  • salt to taste
  • 1 tbsp cilantro, chopped

Process: 

  1. Cooking the Quinoa:
    1. Rinse the quinoa first always, this helps wash away the bitter coating. Make sure to use a fine mesh strainer.
    2. Heat a sauce pan, melt 1/2 tbsp of butter, add the quinoa and sauté for a couple mins. This really brings out a slight nutty flavor.
    3. Add salt and 1/2 tbsp ground black pepper, 4 cups water. Bring to a boil, cover and cook for 10- 15 mins in low heat or till all of the water is absorbed by the quinoa.
    4. Turn of the heat and let it sit for 5-10 mins before fluffing it with a fork.
  2. Cooking the Vegetables:
    1. Heat oil in a wok, add the vegetables (except scallions), ginger and sauté in high heat for 4-5 mins, just so that the rawness goes but they still retain the crunchiness.
  3. Add the cooked quinoa, chopped scallions and the remaining butter, stir it in and cook for another minute or so.
  4. Pour the soy sauce, around the edges of the wok and gently fold it in.
  5. Remove from heat, garnish with cilantro and serve.

Notes:

  • Cook the Quinoa like how you would cook Risotto. Add some chopped garlic and onions to some butter along with (rinsed and drained) quinoa. Mix and coat with oil and dry roast for a few mins before adding the liquid little at a time, stirring every batch of liquid, until its cooked through.
  • You can also use Broth to cook quinoa for extra flavor.
  • Spread cooked quinoa in a baking sheet and chill it in the refrigerator for 15-20 mins. This takes care of any residual moisture and gives the dish a more fried texture. The same holds true if you are using rice as well.

Baked Pasta (Grown-up Mac and Cheese)

IMG_2049

Back in 2005 I baby sat my friend April’s kids often. While the 6 month old toddler, Sophie, absolutely loved eating Kichadi, the older one, Maddie often demanded Mac and Cheese. This was my introduction to this classic American comfort food. I am not a fan of packaged food, so I asked around for a recipe to get started. Traditionally this American dish is made using 3 simple ingredients: Macaroni, cheese (preferably sharp Cheddar) and butter. These are layered and then baked in a hot oven. However, I always sneaked in a serving of vegetables along with it.

Over the years I kept experimenting with various combinations of cheese, type of pasta and vegetables.

Pasta and cheese casseroles, Pasta al forno (pasta baked in an oven) have been an integral part of Italian cuisine for centuries. In addition there is an English version by Elizabeth Raffald which uses Béchamel sauce along with Cheddar cheese, mixed with cooked Macaroni, topped with grated parmesan then baked into gooey goodness. So there was plenty of inspiration out there to help me find the perfect balance of gooeyness, goodness and a little bit of nutrition (in that order!).

My cheese preference:

  • Smoked Gouda for the smokiness and the earthy flavor.
  • Swiss for its nutty sweet flavor.
  • Gruyere for the grainy texture and saltiness.
  • Cheddar for its sharpness.

For moisture I like using Alfredo sauce, because it just brings together the flavors of the cheeses. For a recipe click here.

Time for Prep: 20 mins     Time to Cook: 20-30 mins    Yield: 6 servings    Level: Easy

Ingredients:

  • 8oz of uncooked Penne
  • 1 cup of frozen or fresh green peas, Cooked
  • 1/2 cup baby kale, chopped
  • 1/2 cup baby spinach, chopped
  • 1/2 cup red bell peppers, chopped
  • 1/2 Alfredo sauce
  • 1/4 cup grated gruyere cheese
  • 1/4 cup grated cheddar cheese
  • 1/4 cup grated swiss cheese
  • 1/4 cup grated smoked gouda
  • 2 tbsp grated parmesan
  • 2 tbsp bread crumbs

Process:

  1. Pre-heat oven to 400°F.
  2. Cook the pasta in well salted water as you normally would, but drain the pasta while it is still slightly underdone.
  3. Pour drained pasta in a large bowl.
  4. Add the Alfredo Sauce and mix well.
  5. Add the green peas, spinach, kale and red bell peppers, fold in.
  6. Now add gruyere, cheddar, swiss and smoked gouda cheese, gently fold them in.
  7. In a separate bowl mix in the grated parmesan and bread crumbs.
  8. Transfer to a greased baking dish or smaller baking dishes for individual servings.
  9. Top it with the parmesan and bread crumb mixture and bake for 20-30 mins (Reduce time if doing individual servings) or until the top is nice and brown and the pasta is hot and bubbly.

Serve Hot!

Notes:

  • Any type of pasta can be used, however I had more success using shorter, tabular pastas like Penne, Rigatoni, Ziti or Macaroni.
  • The proportions here are just indicative you can always add more Alfredo sauce or milk or water if you want it to be more moist, more cheese for creamier texture and cooked meat for some protein.