Bangali Style Pulao

IMG_2183

This is one of my all time favorite! Long grained basmati cooked with cashew nuts and raisins with a hint of sweetness that tastes heavenly with spicy Kosha Manghso (Slow cooked mutton) or Deemer Dalna (egg curry) or just by itself. I call it Best Friender Pulao, since growing up this was a staple made by my favorite aunt, Monju Kakima (who I refer to as my best friend). Even today, whenever I visit India I make my demand for this pulao.

Over the years, this has become one of my go-to recipe for whenever I am entertaining and a big hit among my friends, a recipe I share often. A few posts back I wrote about how food to me is about re-living and/or creating new memories. This dish is rich with a lot of memories, some of the best memories of my childhood and a whole bunch as an adult. Hoping it does the same for you as well!

I like adding a lot of fresh vegetables because they add favor, make the dish look beautiful with all that color and then there is also the healthy aspect. You can use a bag of frozen mixed vegetable as well and it will taste just as good.

Time for Prep: 45 mins     Time to Cook: 20 mins     Yield: 6-8 Servings     Level: Medium

Ingredients:

  • 2 cups of Basmati rice
  • Chopped mixed vegetables:
    • 1/2 cup carrots
    • 1/2 cup green beans
    • 1/2 cup green peas (fresh or frozen)
    • 1/4 cup green pepper
    • 1/4 cup red pepper
    • 1/4 cup yellow pepper
    • 1/2 cup sweet corn
  • 1 tbsp cashew nuts
  • 1 tbsp raisins
  • 1 inch stick of cinnamon
  • 4-5 green cardamom
  • 1 Bay leaf
  • 7-8 cloves
  • 1 tbsp black peppercorns
  • 2 tsp caraway seeds
  • 2 tsp cumin seeds
  • 1 tbsp cilantro, chopped
  • 1 tbsp mint, chopped
  • 1 tsp sugar
  • 2 tbsp ghee or oil
  • 1 tbsp lemon juice
  • 3.5 cup water or broth.
  • Salt to taste

Process:

  1. Rinse and soak rice for 30 mins. Drain and set aside.
  2. In a heavy bottom pan heat the ghee and add caraway seeds, cumin, cinnamon, cardamom, bay leaf, cloves, black peppercorns. Sauté for till you begin getting the spice aroma around 2-3 mins.
  3. Add the cashew nuts and raisins, cook for 1 min.
  4. Add all the vegetables, cilantro and mint, sauté for another 2-3 mins.
  5. Add the drain rice, which should’ve gotten a little dry by now. Mix and sauté for around 2 mins or until the rice is well coated and starts to glisten.
  6. Add water, sugar, salt and lemon juice. Stir slightly.
  7. Cover and let cook for around 12-15 mins, when the rice is almost done and there is still a little bit of moisture remaining. Turn off the heat and let it sit for 20-30 mins.
  8. Using a fork, fluff up the rice a little. Serve with your favorite side dish or with just Raita.

Bhapa Doi (Yogurt Pudding)

IMG_3979

Bhapa Doi in english translates to steamed (bhapa) yogurt (doi), it has a consistency similar to cheesecake but without the use of any eggs or gelatin. Hung yogurt is mixed with milk and then steamed in a steamer or a pressure cooker, chilled and served. It does not require any fancy ingredient and is ridiculously easy to make.

Yogurt is considered to be auspicious among Bengalis, I remember my mom feeding me and my sister a spoonful of yogurt when we would be on our way out for an exam or interview. Which makes this yogurt based traditional bengali dessert very popular. I figured what better to start the new years with!IMG_3978Back in the days, this was a slightly complicated process when milk and sugar had to be first simmered over slow heat till it became thick and creamy before mixing it with yogurt that was hung for hours. Now all you need is some condensed milk and some greek yogurt.

This is just the basic recipe, I tend to get more creative. I have made this with various flavors, toppings and garnishes. My absolute favorites are caramel and raspberry flavored topped with a drizzle of chocolate sauce. I have also served it like a creme brûlée, with a crunchy layer of torched sugar on top. Have fun experimenting and figuring out your favorite.

Time for Prep: 1 hour   Time to cook: 30 mins  Yield: 6 Servings   Level: Easy

Ingredients:

  • 1 cup hung yogurt
  • 10 oz condensed milk
  • 1 cup whole milk
  • 1/2 tsp cardamon powder
  • pinch of saffron, for garnishing

Process:

  1. Place the hung yogurt in a bowl, using a whip cream it slightly.
  2. Add the condensed milk, mix it in.
  3. Add the milk and cardamon powder, lightly whip till everything is well blended and the mixture is smooth and creamy, around 2-3 mins.
  4. Pour in the mixture in Ramekins (in my case it exactly filled 6 ramekins), cover the mouth with foil and steam in a steamer or pressure cooker for 20-30 mins or until done. The time will vary depending on the size of your mould, in my case it was 30 mins.
  5. T0 check for doneness, insert a knife right in the center, if it comes out clean its done.
  6. Let it cool down then refrigerate for 2-3 hours, serve cold.

Notes:

  • To make hung curd: Pour yogurt in a cheese cloth and hang it till almost all of the water drains out. For regular yogurt it takes around 4-5 hours. If using Greek yogurt the same is done in around 30 mins.
  • If you want to make a diabetic friendly version of this, going old school is the way. I have made it a couple times by simmering milk with sweetener until it was nice and thick, I then added 1 cup yogurt to 2 cups of simmered milk.
  • There are versions out there which talk about baking the mixture at 300F for 20 mins or so. But it kind of goes against the very name of the dish, it is called ‘Bhapa Doi’ after all!

Roshogolla


1524178_10154220906405573_5115683737530121643_oRoshogolla or Bengali Rasagulla is essentially spongy balls of indian cottage cheese (chhana) cooked in sugar syrup. There are various versions to the origin of this dessert, but this is the one I like, because this is the version my mom told me.

The year was 1868 in Bhagbajaar (Kolkata), a confectioner named Nobin Chandra Das was having a discussion with a bunch of freedom fighters who were concerned about the popularity of English desserts in India.

“Nobinda, these puddings and pies are becoming very popular. These days the youth prefer those to puli and pithe” said one of them.

“Can you think of a way we can change that? Your a master confectioner can you come up with something which is swadeshi and delicious?” said another.

Nonbinda thinks a little and says “I think I have an idea, let me try it out tonight and we can all taste it here tomm”

That evening the confectioner mulls around his kitchen, takes a bit of chhana and gives it a boil in sugar syrup flavored with fresh ground cardamom, a bit of rosewater and voila! One of the most popular dessert of India was created.

IMG_3637
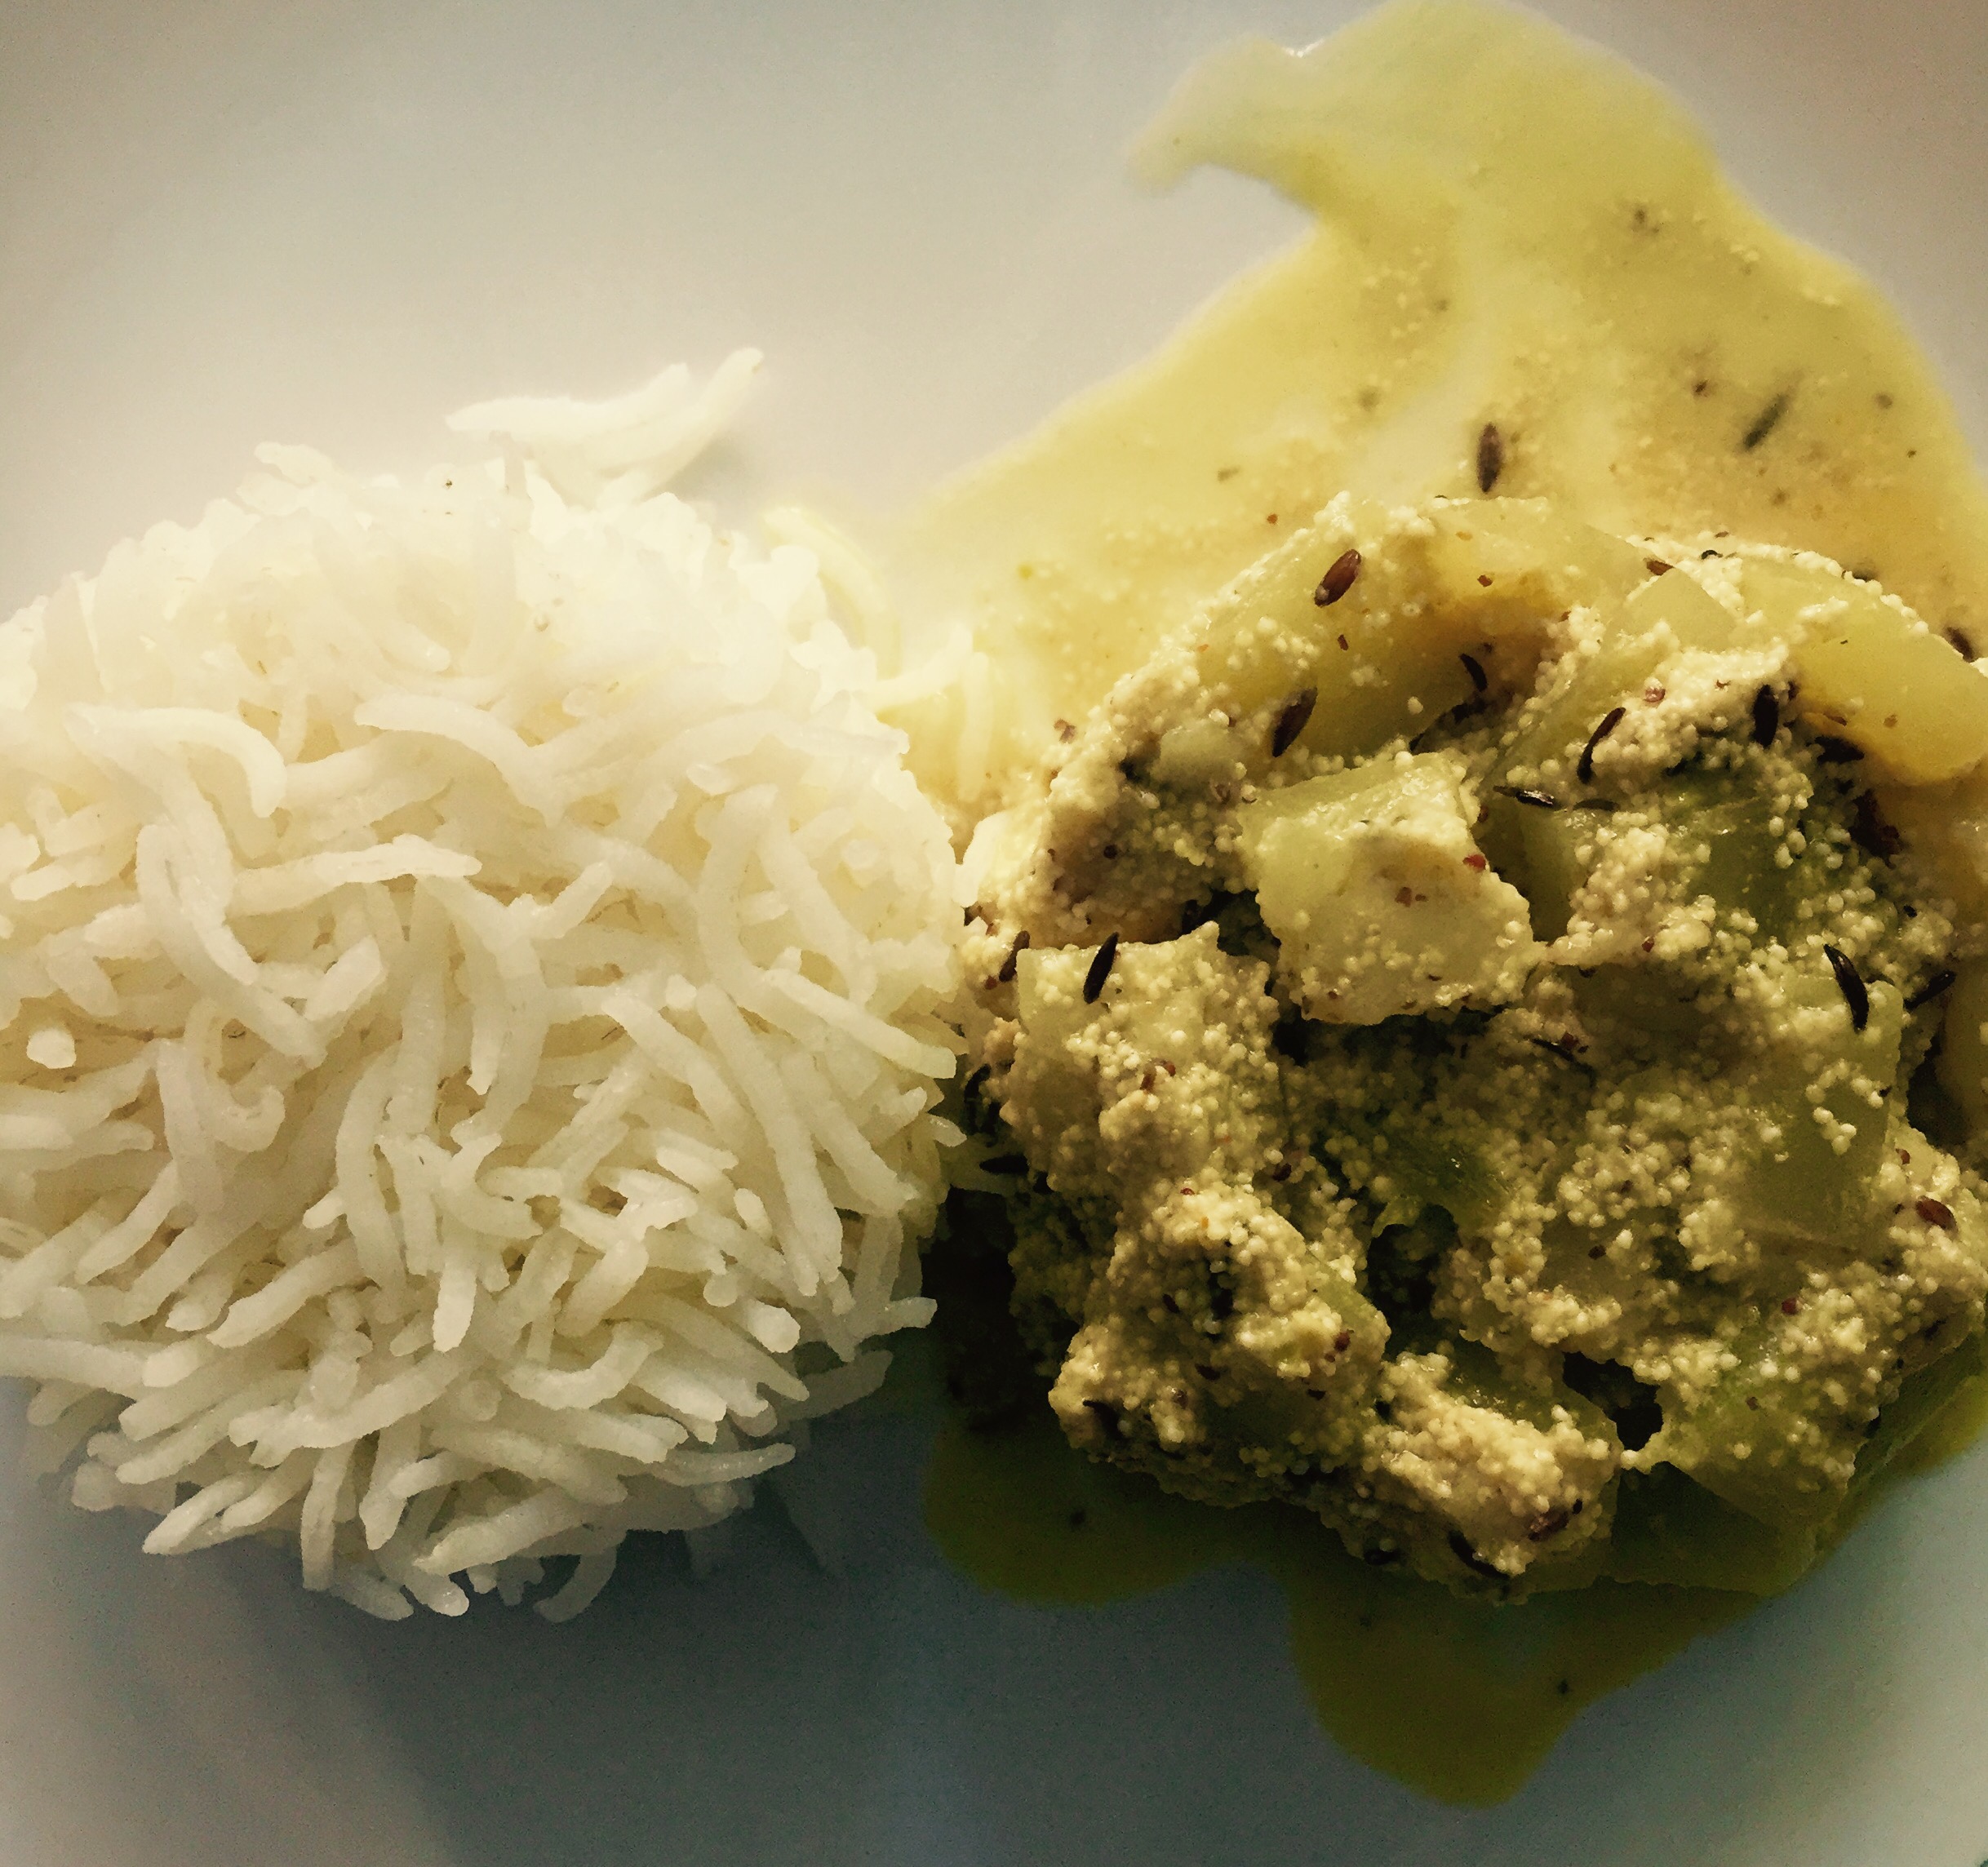
I do not have a sweet tooth, but this dessert has my heart. Its not fried and made from pure chhana (cottage cheese) and considered to be a safe comfort food when recovering from a fever or stomach upset (Not to mention the low calorie count per serving!). Since I grew up in Hyderabad and getting this from the Pada’r mishtir dokan (local sweet shop) was not really an option, my mom whipped some up in her kitchen. Recovering from a flu almost always involved mom feeding me some roshogollas and story telling.

IMG_3639This is a recipe that a lot of people requested I post, so here goes. Let me start by saying that this dessert is a tricky one to master and you might not get perfect result in your very first try, don’t let that discourage you. Here are a couple things that I learnt:

  1. Raw (non-homegenized/non-pasturized) Cow milk gives better result.
  2. After curdling the milk, gently squeeze out the extra whey and hang it for 45min-1 hour. This helps with having the right amount of moisture you need for the softness of the final product.
  3. While kneading  keep in mind that less is more. As soon as you feel grease in your palm, stop!
  4. Boil it in a big stock pot that has enough depth for the chhana balls to expand, thats how they become spongy
  5. Keep aside half of the sugar syrup and add some in between cooking time to ensure the syrup doesn’t get too dense or too hot.

Time for Prep: 45 mins     Time to Cook: 15 mins     Yield: 20-25 Servings     Level: Medium

Ingredients:

  • For the channa
    • 4 cups (32oz) whole milk
    • 2-3 tbsp lemon juice
  • For the sugar syrup:
    • 2 tbsp rose water
    • 3-4 cardamon, crushed
    • Saffron (optional)
    • 1.5 cup sugar
    • 4 cups water

Process:

  1. Making the channa:
    • Bring milk to a boil, add the lemon juice and lower heat. In a few seconds you will notice the milk solids forming. Turn off the heat. When the water is completely separated (turns a greenish shade) drain into a colander lined with cheese cloth.
    • Run a little bit of water on it to get rid of the lemony taste, drain.
    • Gather the ends of the cheese cloth and bring them together, like a purse, slowly squeeze out the water. Be careful not to burn your hands as it is really hot.
      • This is now my mom does it: Hold the ends with your left hand and using a pair of tongs hold the purse just on top of the solids with your right. Then slowly twist the cloth with your left hand. The water squeezes out without resulting in burning fingers.
    • Hang it for 45 mins-1 hour.
  2. Preparing the Golla (Balls from the channa):
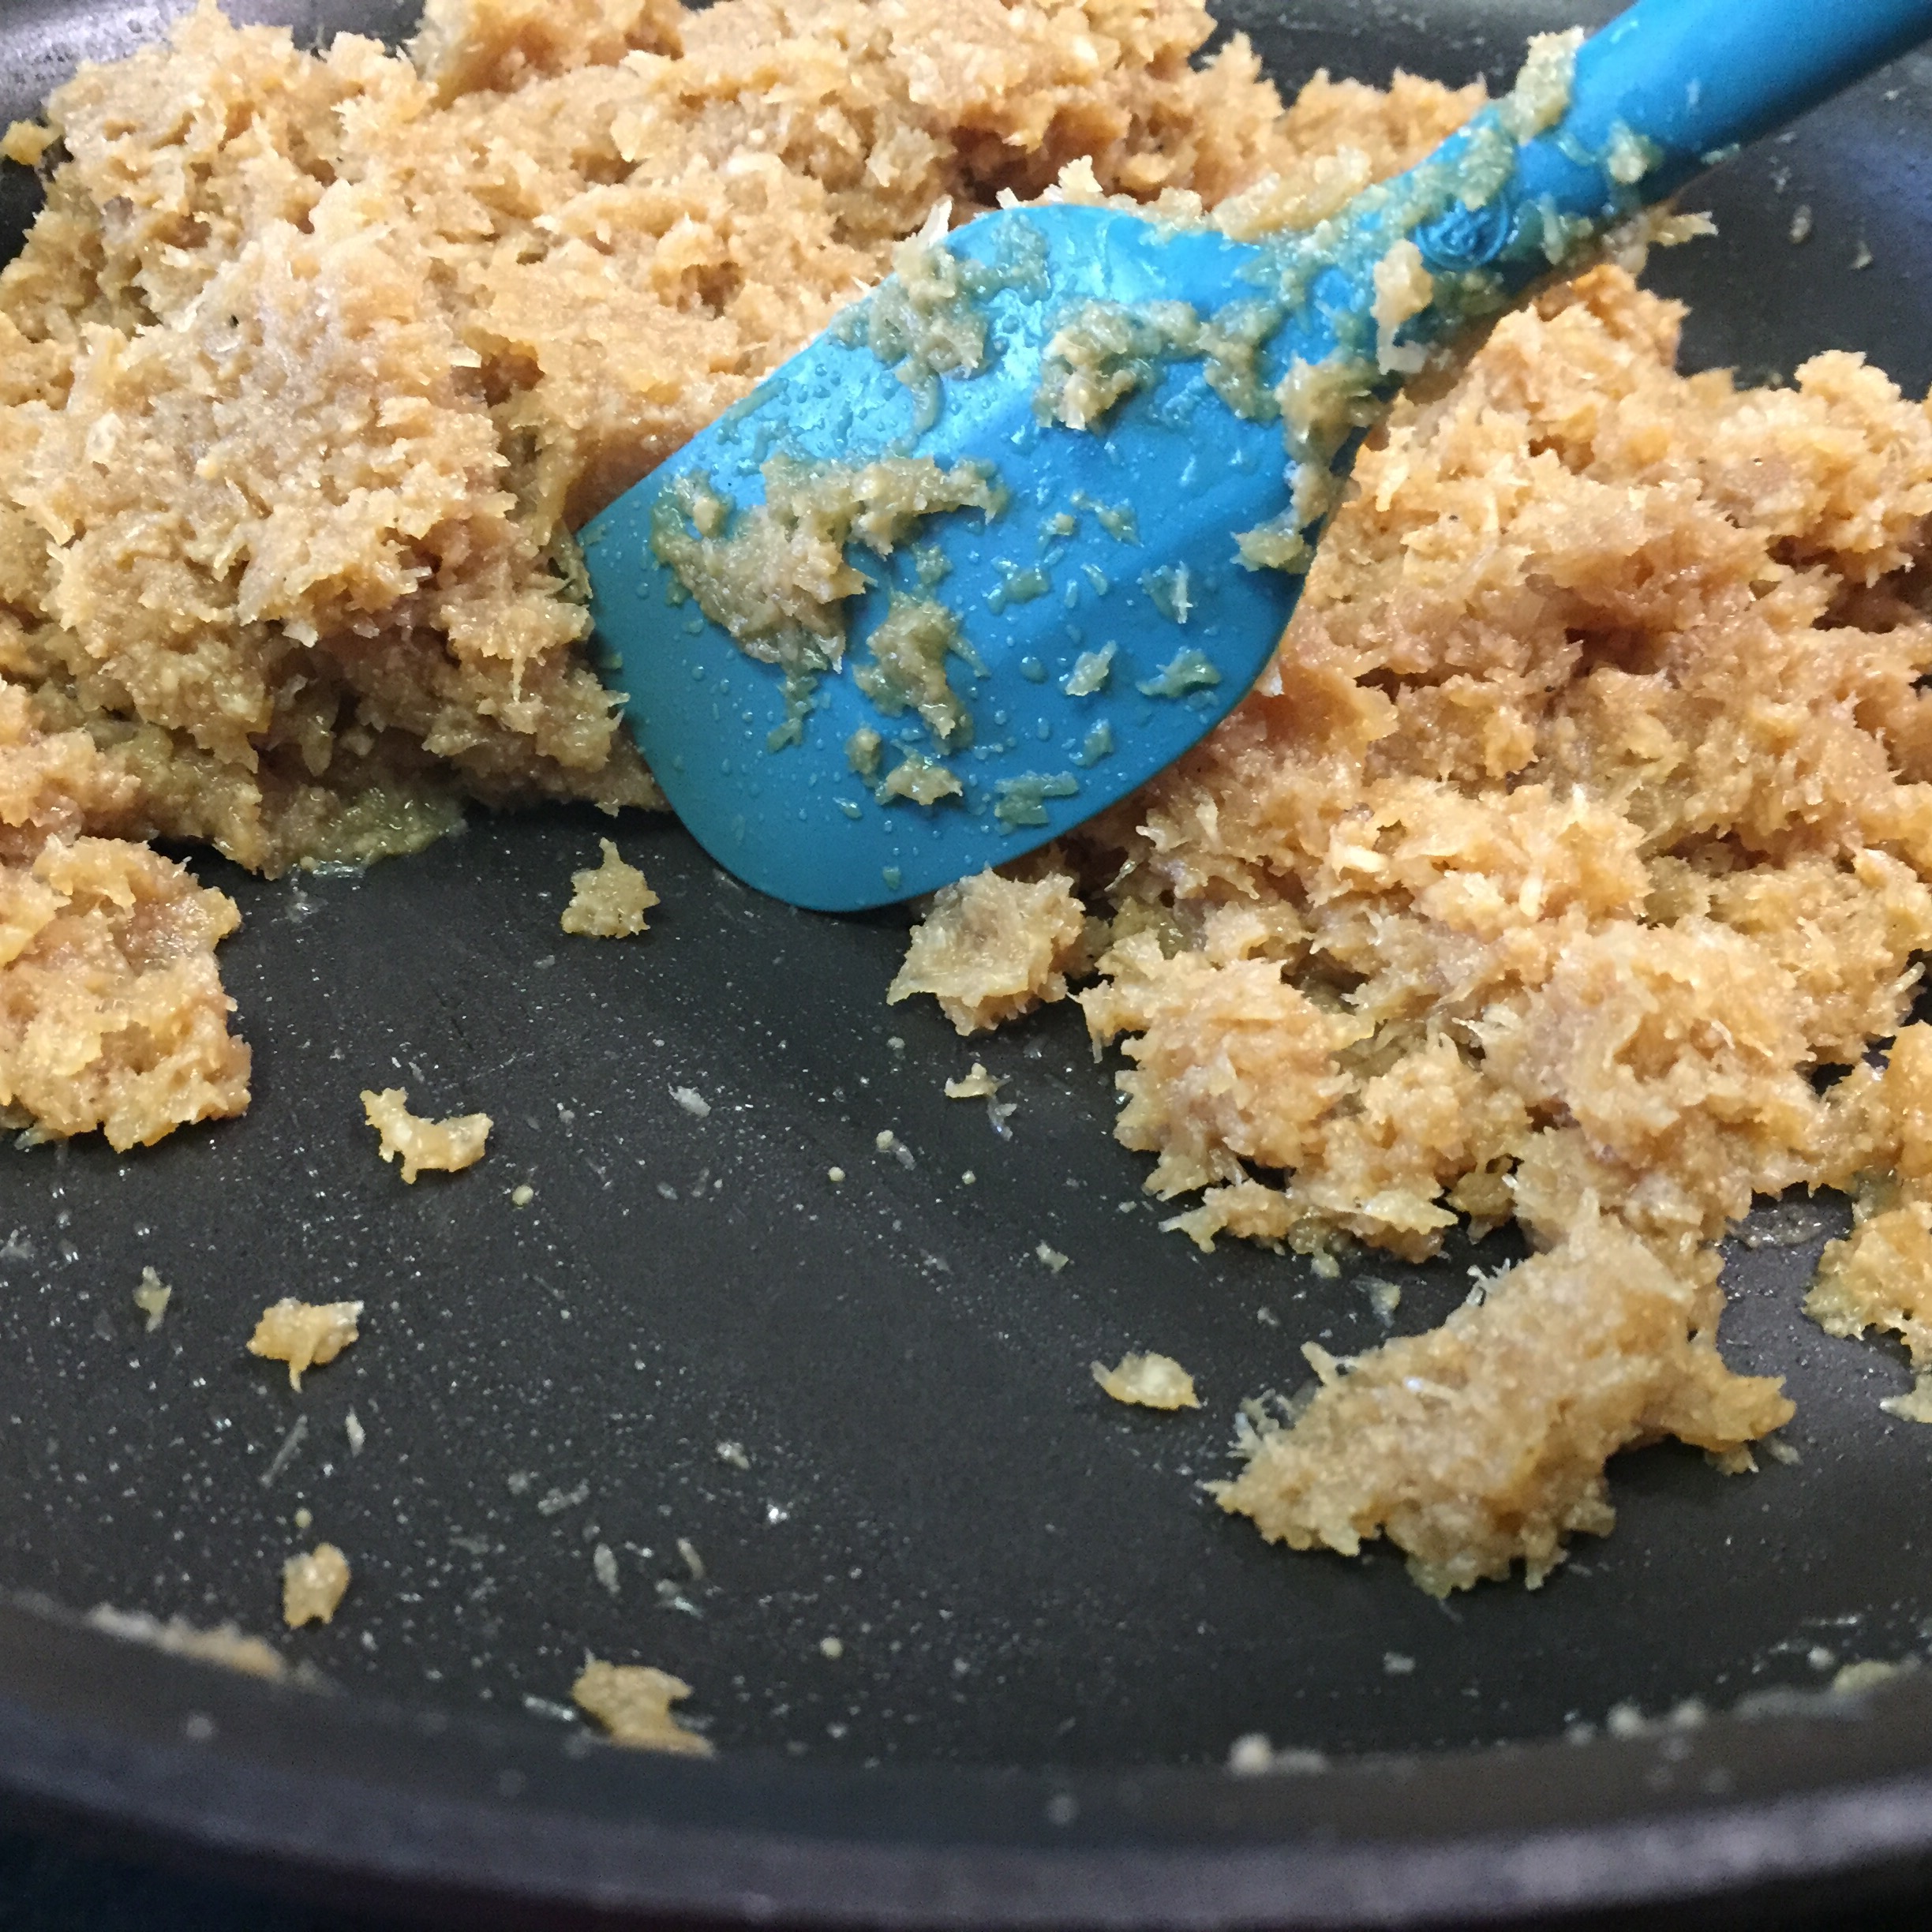
    • Remove the channa from the cheese cloth, it should not be soggy wet nor should it be dry (The picture should give you an idea).
    • With the heel of your palm mash the channa and knead. Collect from the sides, mash, knead. Continue for around 10 mins (or less depending on the pressure of kneading). As soon as you feel a little grease in your palm, stop. over kneading will result in hard Roshogollas.
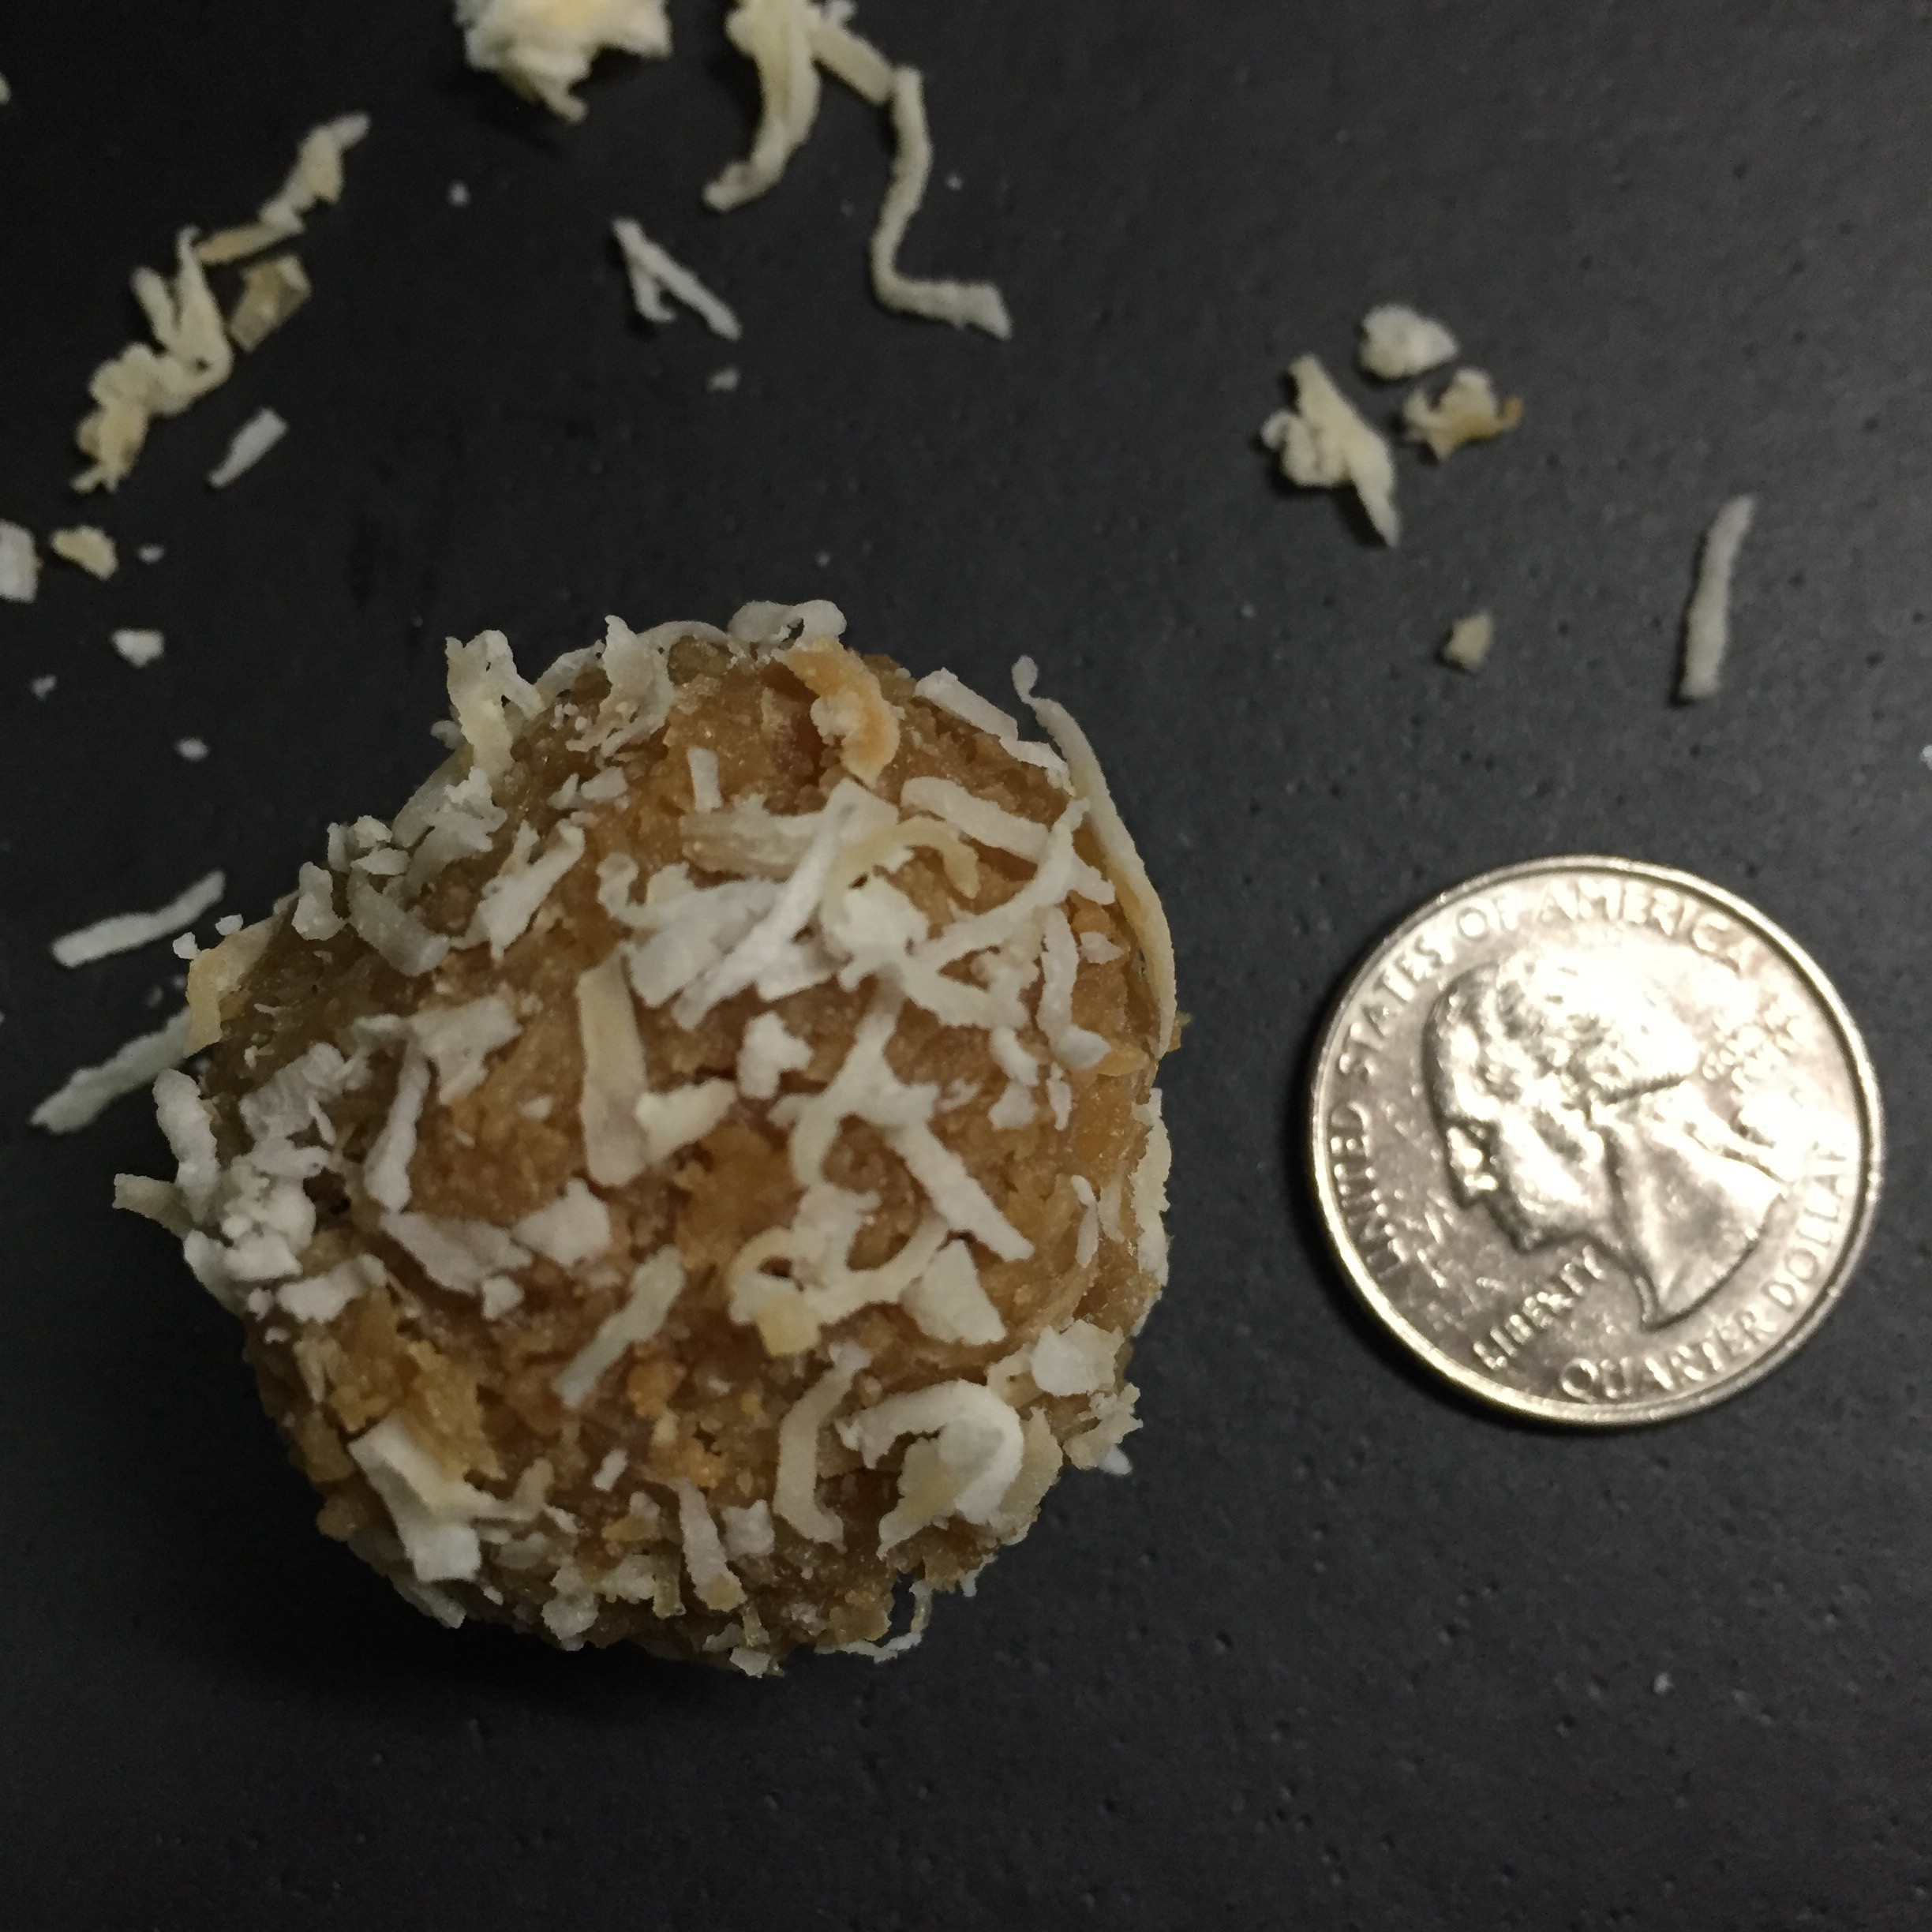
    • Now pinch out small portions and roll between palms to form smooth round balls no bigger than a quarter. (See picture)
    • once done, cover with moist muslin and set aside while you prepare the syrup.
  3. Preparing the Rosh (sugar syrup):
    • Place a large stock pot (or a pressure cooker) over medium heat.
    • Add the sugar, water, cardamon and saffron (optional).
    • Bring to a boil. Set aside around 1/2 cup of this syrup.
  4. Cooking the Roshagollas: 
    • To the rest of the sugar syrup add the chhana balls one by one.
    • Shake the pan gently, to move the balls a little and cover immediately. Do not stir, that will break the chhana balls.
    • After around 3-4 mins, open the lid and add half of the reserved sugar syrup and shake the pan. This step ensures that the consistency and temperature of the sugar syrup stays constant.
    • After another 3-4 mins repeat the step above and add the remaining reserved syrup, shake the pan.
    • Cook for 2 more mins. Check for the doneness of the roshogollas and switch off the heat. And add the rose water.
    • To check for doneness:
      • Take it out with slotted spoon, press a portion. If it springs back to original shape its done.
      • Or take one of them out and drop it in a glass of water, if it sinks its done. (I prefer this method).

If you ask a non-bangali, they would say that let it cool and then serve. But a Bangali will always say that the best way to enjoy these are when they are fresh and warm! The second best way is to let it chill for a couple hours first.

Note:

  • While preparing the Gollas from channa you can add 1-2 tsp of Sooji (Cream of wheat) or all purpose flour or arrowroot powder. This ensures that the chnana balls will not crumble when boiling in syrup.

Lao Posto (Opo Squash with KhasKhas/Poppy Seed)

IMG_2097

Posto or khaskhas or poppy seed is a pretty popular ingredient in bengali kitchens. It has this euphoric sleepy effect, which makes it a perfect ingredient for those lazy weekend afternoons, when all you have in the days plan is some reading and a nice long afternoon nap. And in a bengali household, thats usually the plan. We love our adda (chit chat/debates/political discussions), literature, good food and lazy afternoon naps followed by Cha (tea) and biscuit cookies (pronounced biskut) at 4:00 pm.

IMG_2108

Its not often that I find opo squash or bottle gourd in the local farmers market. I always do a little happy dance when I find them (Yes, fresh produce makes me happy! I am weird that way). This vegetable is one of my favorite, its versatile, light and packed with health benefits. But if your unable to find some, you can replace it with zuccini or summer squash as well.

Opo squash is very high in water content and usually shrinks to 1/2 the quantity when cooked so be careful while adding salt. Less is more, remember you can always add more salt later if need be.

IMG_2095

Time for Prep: 10 mins     Time to Cook: 30 mins     Yield: 4-6 Servings     Level: Easy

Ingredients:

  • 1 medium sized Opo Squash, cubed (around 3 cups)
  • 6 tbsp khaskhas/poppy seeds
  • 5-6 fresh green chilli, slit in half
  • 2-3 dried red chilli
  • 1 tsp black cumin
  • 1/2 tsp sugar
  • 3 tsp ghee or 2 tsp oil
  • salt to taste

IMG_2096

Process:

  1. Soak khaskhas/ poopy seeds in water for 15-20 mins.
  2. Heat 2 tsp of ghee in a pan in medium -high heat, add black cumin and dried red chilli, wait till they splutter.
  3. Add the chopped opo squash/ bottle gourd, pinch of salt and fresh green chilli, saute for 3-4 mins.
  4. Cover, reduce heat and let the squash cook until tender, 15-20 mins.
  5. In the mean time, drain and transfer the soaked khaskhas/ poppy seed to a blender, add a couple green chilli and salt to taste and grind to make a smooth paste. The paste should be thick and not watery.
  6. Once the squash is tender, add the poppy seed paste, mix it in so that its evenly coated, cover and cook for 5 more mins.
  7. Turn off the heat, add 1 tsp of ghee and 1 tsp of sugar, mix it in.
  8. Serve with plain rice.


Narkel Nadu (Coconut Confectionary/ Coconut Truffle)

IMG_2294

Mahalaya (which just went by on October 12th) brings with it a tide of memories – setting the alarm for 3:45 am and gathering around the radio promptly at 4:00 am to hear ‘Mahisasura Mardini’ sung in the magical voice of Birendra Krishna Bhadhra, the man who made Mahalaya memorable. As he masterfully recites versus and narrates the story of the decent of Goddess Durga on earth and her valiant slaying of the demon Mahisasura, mom would get busy in the kitchen making a breakfast of Luchi (Puri), Aloor Torkari (sautéed potatoes) and Narkel Naru. The narration ends with mankind bowing to this supreme power- “Ya devi sarbabhuteshshu, sakti rupena sanksthita Namasteshwai Namasteshwai Namasteshwai namo namaha.”

And the feasting would begin! I am an Athiest,  but even today I wake up early morning every Mahalaya, turn on iTunes and listen to Mahisasura Mardini while making Luchi, Torkari and Narkel Nadu. It’s about traditions and re-living memories.

This is also a quick recipe for making a decadent dessert for any day in the year. My mom is known in our friend circle for the amazing Narkel Nadu she makes, I have just made a couple tweaks – she uses Cardamon Powder, I like to use All-Spice instead and replaced regular sugar with coconut palm sugar (for its low glycemic index).

Time for Prep: 5 mins     Time to cook: 30-35 mins      Yield: around 24     Level: Easy

Ingredients:

  • 12oz frozen grated coconut (or fresh grated coconut)
  • 8 tbsp sweetened condensed milk
  • 1/4 cup whole milk
  • 4 tbsp coconut palm sugar (or regular sugar)
  • 1 tsp ghee
  • 1 tsp all spice (or cardamon powder)
  • Dry coconut flakes (optional)

IMG_2290

Process:

  1. In a heavy bottom pan mix in the sugar and coconut, before turning on the heat.
  2. Turn the heat to low settings and cook the mixture for 4-5 mins, stirring frequently, till the sugar is melted and the coconut is lightly toasted.
  3. Add the milk and condensed milk, slowly stirring it in.
  4. Add the ground all spice (or cardamon powder). Taste test to see the level of sweetness and add more sugar if needed.
  5. Keep stirring frequently and cook in low-medium heat till the coconut is cooked. This will take approximately 30-35 mins.
    1. Milk dries up and the coconut comes out clean from the sides (see picture above).
    2. Be careful not to dry too much or you cannot make the balls.  I usually just test it out by making a ball and seeing if it stays, if not I cook a little more).
  6. Take off the heat, Add ghee and stir it in.
  7. Cool slightly and start making the balls by rolling it between your palms which are around 1 inch in diameter.
  8. Roll in dried coconut flakes (Optional).

IMG_2295